].")

When you modify the in-built templates inside Microsoft Office 2013 applications, custom templates are generated. Now by default, this iteration of Office has a tendency to generate a Custom Office Templates folder under user documents directory and save your custom templates into it.
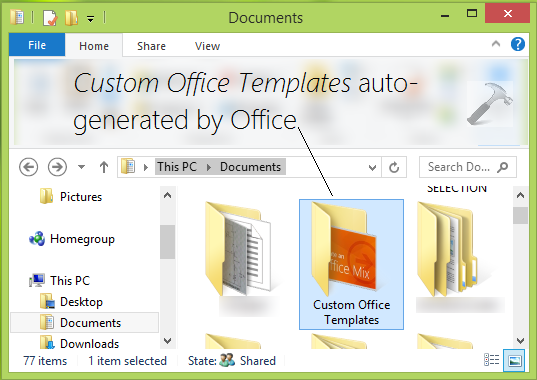
This sounds okay for some users, however there exists some other users who may not convince with this in-built policy of Office applications and they do not want to let Office generate Custom Office Templates folder in My documents directory. If you’re also not okay with this in-built policy, this article will help you to prevent Office from creating Custom Office Templates folder under user folders.
Recommended : How To Repair Office 2013 Offline
Here is how you can alter this. Before proceeding make sure you have closed Office applications and they’re not running even in background.
How To Change Custom Office Templates Folder Location In Office 2013
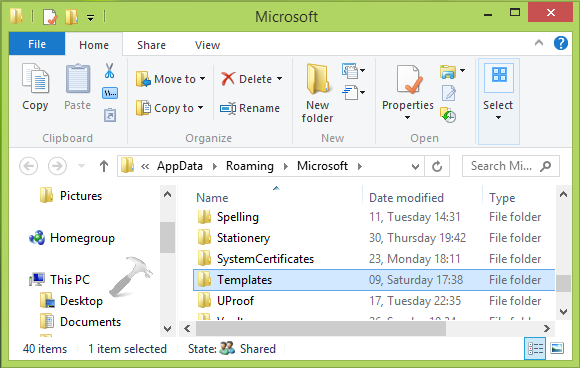
1. Firstly create a new directory to generate custom Office templates. It’s better to use default templates directory of Office for this purpose. So just make sure that Templates folder exists at under this location:
C:\Users\<USER NAME>\AppData\Roaming\Microsoft
(Assuming C: as system root drive.)
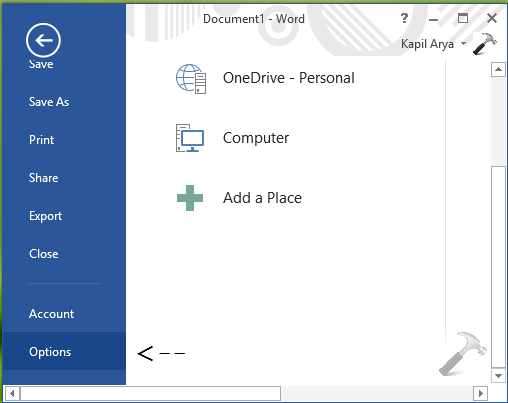
2. Next, open Word or that application in which you’re about to generate custom templates. Open a blank document and click FILE -> Options.
3. Moving on, in the Options window, click Advanced in left pane. Then in the right pane scroll down and click File Locations under General heading.
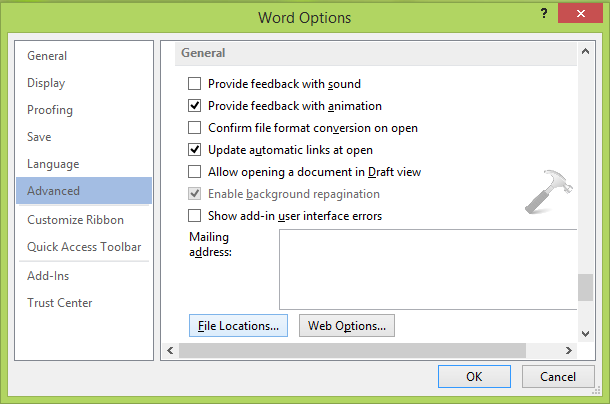
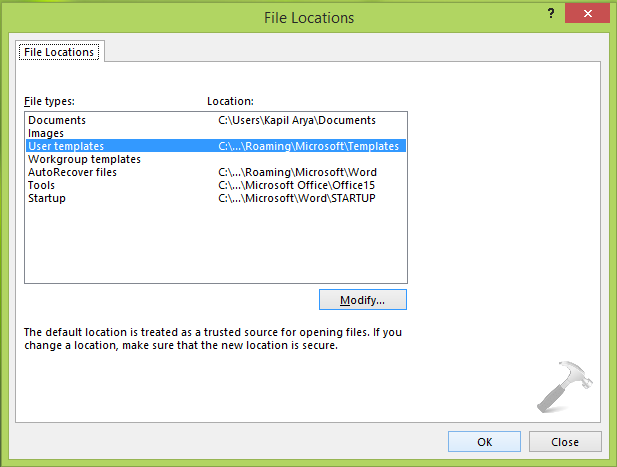
4. Finally, in the File Locations window shown below, highlight User templates option and click Modify and select Templates folder we identified in step 1, which is C:\Users\<USER NAME>\AppData\Roaming\Microsoft\Templates. Click OK.
In this way, from now onwards, Office will no longer generate custom templates under my documents and will instead create them under root templates location.
Hope you find the article useful! Also learn how to disable animations in Office 2013.


6 Comments
Add your comment
Hi, Kapil. I don’t use templates, and therefore don’t need to move the folder location by creating a new directory. I simply want to delete my empty Custom Office Templates folder, which re-appears every time I attempt to do so. Can you provide an explanation of what is overriding the delete command, and why, along with instructions on how to delete it?
Vanessa
^^ Good question! Will work on that and revert back to you :)
Hi Kapil, I mailed you before and was happy it worked… but now the folder pops up again whenever I open a doc attached to an email. When I check the file location as you mentioned, it always shows the correct appdate-office-template … target folder. so what to do?
thnx a lot,
Jurgen
Here is an article to try answers.microsoft.com/en-us/msoffice/forum/msoffice_word-mso_winother/how-to-stop-custom-office-templates-folder/179b1c2c-2dc1-4d95-838b-948c70afe28f
This does not work for me.
I am using Win 10 and Office 365 (think that = Office 2016). Word’s templates location is already set to C:\Users\\AppData\Roaming\Microsoft\Templates (and I use it there) but Custom Office Templates still recreates itself every time I delete it.
Looked in Excel and Outlook and could not find a way to set default template location in either
But in Outlook, when I save a template it goes to C:\Users … \Templates – so suspect that’s OK
In EXCEL however, it goes to Custom Office Templates – and I cannot find a way to get it to send new templates to C:\Users … \Templates.
^^ The article is only intended for Office 2013.