].")

Whenever we have to test a beta operating system build, we opt for virtualization. Using the way of virtualization has two advantages; firstly your original operating system remain safe and not subjected to contradiction with newer OS you installed and secondly, you can manage the newer operating system very easily using virtualization software. Oracle VirtualBox is the well known software, which I prefer to have virtualization; whether I am on Windows or Mac, since its available for both.
See : Oracle VirtualBox : Clone Operating Systems, Emulate Consoles & Much More
So we’ll use the same software in this guide.
Well, in this article, I am going to share you the step-by-step guide to install Windows 10 on Macbook. Thus to proceed with the guide, here are the requirements you need to make sure about first:
- A Mac (laptop or desktop; whatever) installed system running with Mac OS X
- Oracle VirtualBox installed on your Mac
- A Windows 10 ISO file located on Mac OS X
You can also use the steps mentioned below to install Windows 10 on an existing Windows operating system itself, if your system support virtualization. In that case, you have to use VirtualBox for Windows and you’re good to go. Well, lets see the how-to part now:
How To Install Windows 10 On Mac Using Virtual Machine
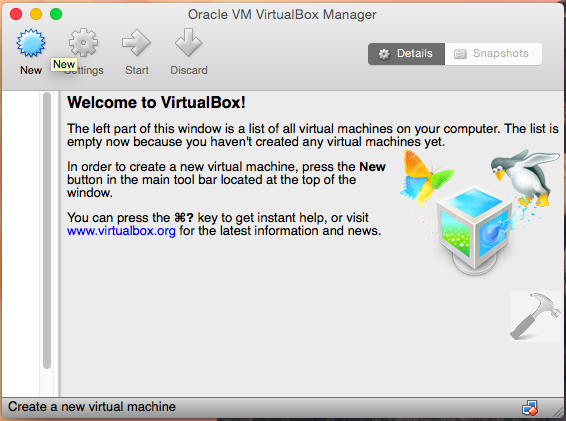
1. Open VirtualBox on the existing operating system and click New.
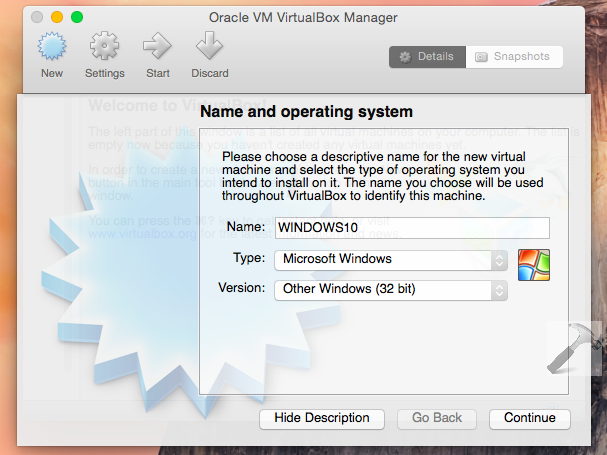
2. Next, we have to select the operating system name and type. Name it whatever you want, but make sure the operating system type is Microsoft Windows and the version is Other Windows plus edition is same as of the ISO you’ll use to install Windows.
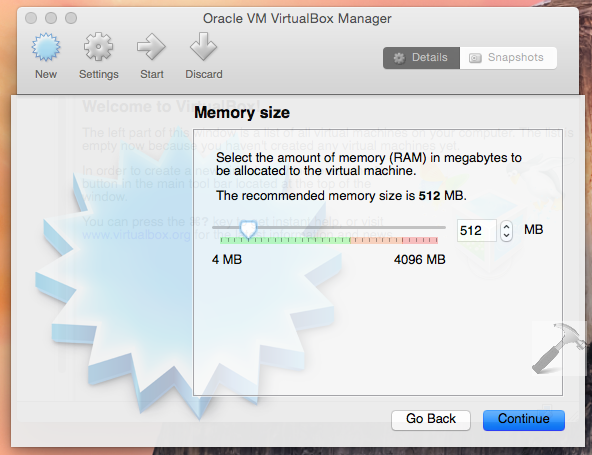
3. Now in the memory size screen, choose the recommended memory size. If you don’t know what you should choose, go ahead with automatically allotted memory by virtual box, hence simply click Continue.
4. Click Create then:
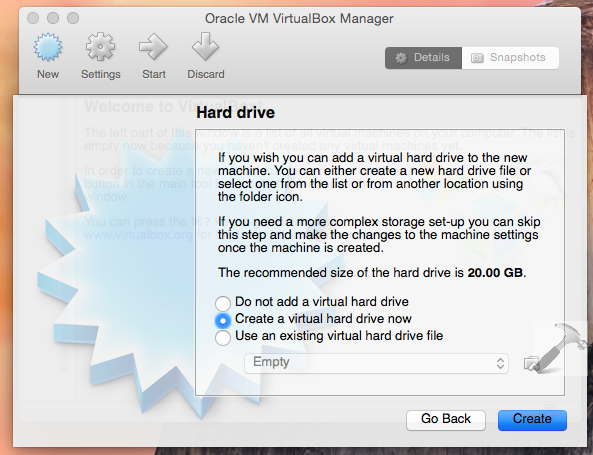
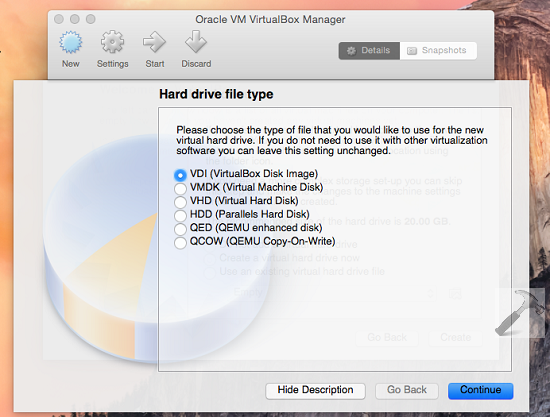
5. Select VDI (VirtualBox Disk Image) in the below shown screen, its highly recommended. You can opt for HDD (Parallels Hard Disk) if you later want to import the virtual machine to Parallel‘s virtualization software. Click Continue.
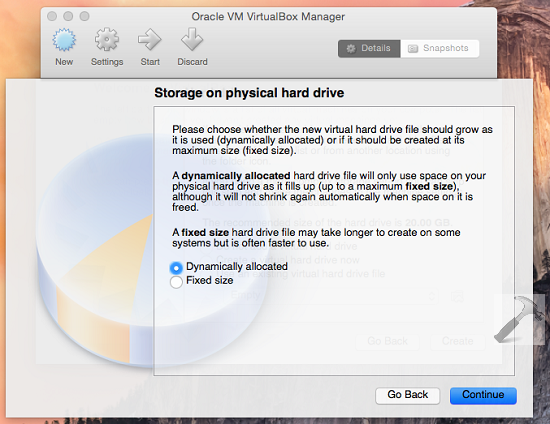
6. Select Dynamically allocated here and click Continue.
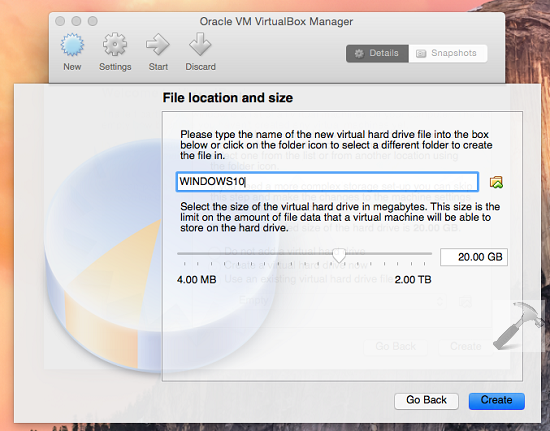
7. Finally, the time to select hard drive space. You must select at least 16 GB for 32-bit edition of Windows and 20 GB for 64-bit edition of Windows. Click Create then.
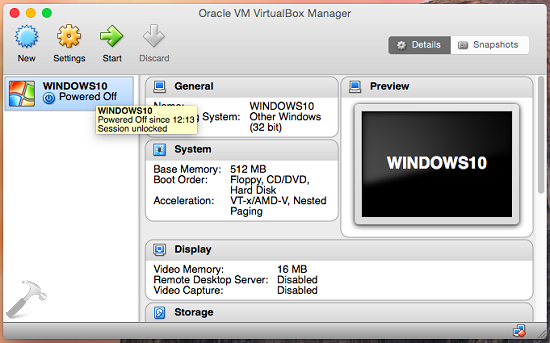
8. So now our machine; that is the environment to run Windows is created so far. Next, we have to install Windows on this machine, thus simply double click on the virtual machine.
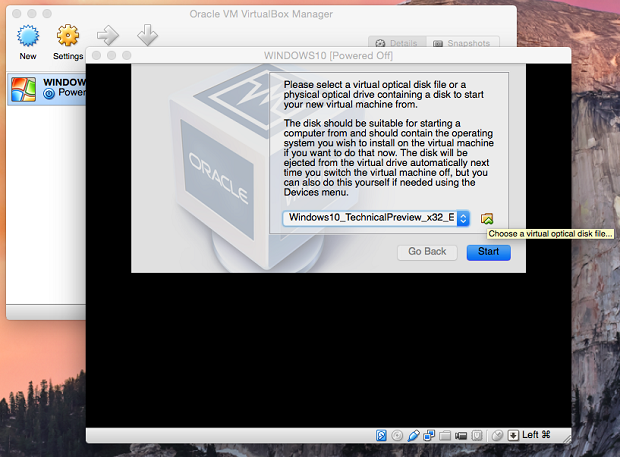
9. In the below shown screen, you need to locate the ISO image of Windows to order to proceed the installation.
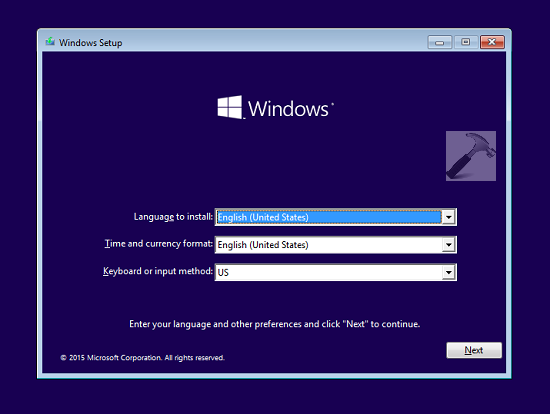
10. Once you selected the ISO in previous step, the virtual machine will boot using that and you’ll be taken to following screen to start installation:
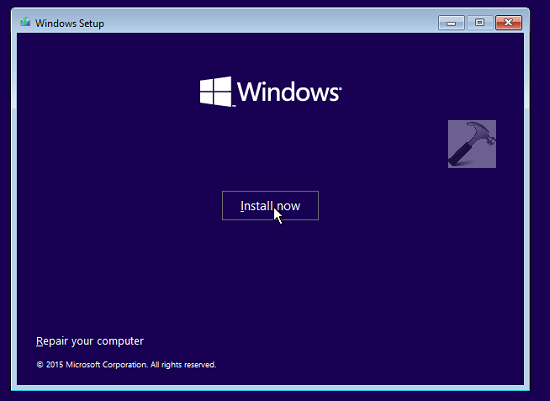
11. Finally, you need click Install Now and from here, rest steps are similar as mentioned in steps 4 to 14 of this tutorial.
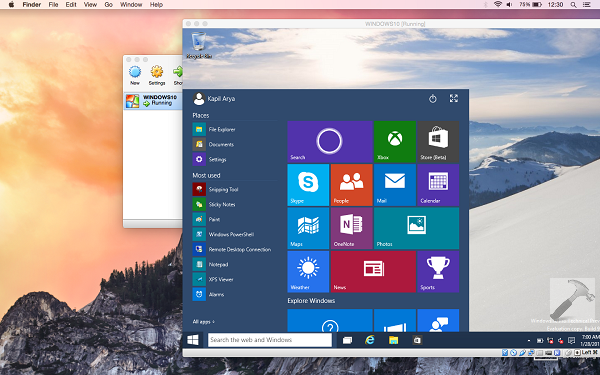
In this way, you have successfully installed Windows 10 on your Macbook, Enjoy!
Related Stuff:


Leave a Reply