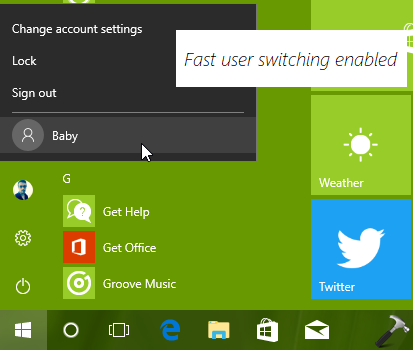
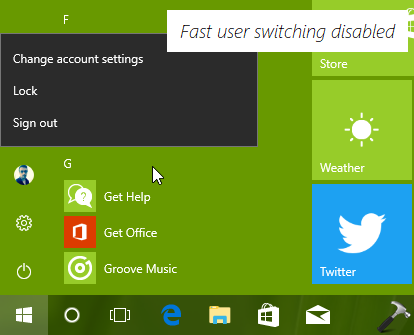
Windows 10 comes with fast user switching enabled, so that you can easily switch user accounts, while you’ve more than one user account on system. This means you don’t need to sign out first and then sign in to another account. You can simply switch to another account by click on your user account picture/profile picture on Start Menu (refer below image). In this article, we’ll see how to enable/disable fast user switching in Windows 10.
Fast user switching may affect the shut down ability with ease, because if you kept sign in into first account and you switch to second account and if you attempt to shut down, you may receive ‘Someone else is still using this PC’ message. For any other anonymous reason, if you want to disable fast user switching, which is enabled by default, here is how you can.
Page Contents
How To Enable/Disable Fast User Switching In Windows 10
Enable Or Disable Fast User Switching Using Registry
Registry Disclaimer: The further steps will involve registry manipulation. Making mistakes while manipulating registry could affect your system adversely. So be careful while editing registry entries and create a System Restore point first.
1. Press  + R and put regedit in Run dialog box to open Registry Editor (if you’re not familiar with Registry Editor, then click here). Click OK.

2. In left pane of Registry Editor window, navigate to following registry key:
HKEY_CURRENT_USER\Software\Microsoft\Windows\CurrentVersion\Policies
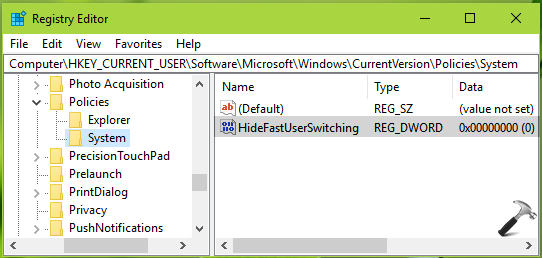
3. In the left pane of the above shown window, right click Policies registry key and select New > Key. Name the newly created registry key as System. In the right pane of System registry key (HKEY_CURRENT_USER\Software\Microsoft\Windows\CurrentVersion\Policies\System), right click and select New > DWORD Value. Name the newly created registry DWORD (REG_DWORD) as HideFastUserSwitching. Double click on this DWORD to modify its Value data.
4. Use 0 as the Value data to enable fast user switching, whereas using 1 as Value data will disable fast user switching. Click OK.

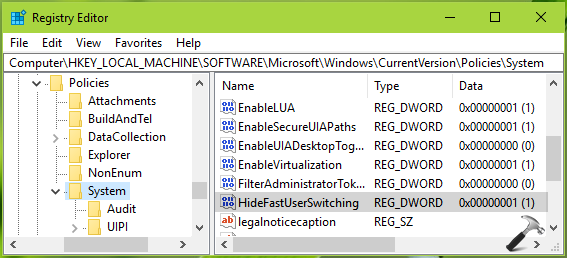
5. Right click on System registry and select Go to HKEY_LOCAL_MACHINE. Now make sure same value for HideFastUserSwitching registry DWORD exists at HKEY_LOCAL_MACHINE\SOFTWARE\Microsoft\Windows\CurrentVersion\Policies\System.
Close Registry Editor. Reboot to make changes effective.
Enable Or Disable Fast User Switching Using Group Policy
1. Press + R and put gpedit.msc in Run dialog box to open Local Group Policy Editor. Click OK.

2. Next, in the GPO snap-in window, navigate here:
Computer Configuration > Administrative Templates > System > Logon
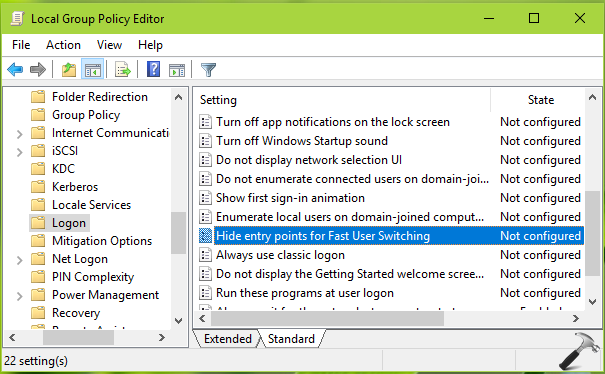
3. In the right pane of Logon, look for the Hide entry points for Fast User Switching setting. Double click on it and set it to Enabled to disable fast user switching. Click Apply followed by OK.

4. Close the Group Policy Editor snap-in and restart the computer to make changes effective.
So this is how you can manage fast user switching in Windows 10.
Hope you find the article useful!
Read next: Can’t switch users in Windows 10.