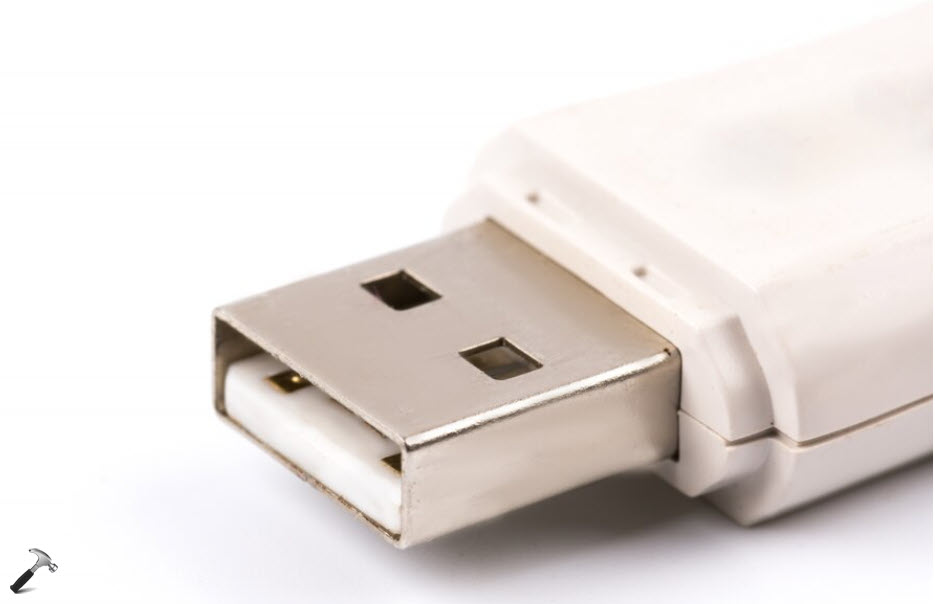
The users of Windows 11 are sometimes seen facing the trouble of not being able to boot from USB. This might be a result of various issues such as corrupted USB drive, PC not supporting USB boot, etc. However, the users can easily solve this issue with the help of some fixes.
Page Contents
Fix: Can’t boot from USB on Windows 11
Now, let us check the fixes in detail which will help in booting from USB in Windows 11.
Fix 1: Ensuring PC supports USB boot
At first, the users must ensure that their PC supports USB boot. Hence, the steps for doing the same are provided below.
Step 1- Restart the PC and press F1/F2/F10 depending upon the PC for entering into BIOS mode.

Step 2- Next, go to UEFI Firmware Settings > Boot Menu and search for options including USB, USB Device, etc. The existence of such options implies that the PC supports USB.

Fix 2: Enabling Legacy Boot and disabling Secure Boot
Disabling the Security Boot and enabling the Legacy Boot can also help the users in fixing the issue. Thus, the steps for doing that are provided below.
Step 1- Firstly, connect a USB device to the PC. Thereafter, start the PC and enter into BIOS mode.
Step 2- Secondly, navigate to Security > Secure Boot Control. Further, disable the option of Secure Boot Control.

Step 3- Now, go to Boot > Launch CSM. Then, enable it.

Step 4- Next, set the BIOS Boot Mode or UFFI Mode to Legacy. Lastly, save all the changes and start the PC.
Fix 3: Creating new bootable USB
The persistency of the problem can also be fixed by creating a new bootable USB. Now, let us check the steps with the help of which a new bootable USB can be created.
Step 1- At first, go to the Microsoft software download page for Windows 11 (https://www.microsoft.com/en-us/software-download/windows11).
Step 2- Next, select the option of Download Now below Create Windows 11 Installation Media.

Step 3- Now, insert the USB drive. Thereafter, open the installed Windows 11 Media Creation Tool.

Step 4- Further, follow any prompt that may appear for creation a USB medium. After the creation of a USB medium, shut the PC, boot into BIOS and set the USB drive as the boot drive.
Step 5- Now, select Next when the interface given below appears on the screen.

Step 6- Lastly, either select Install now or Repair your computer as per requirement. If Repair your computer is selected, visit Troubleshoot and select the required option for solving the issue.

Fix 4: Ensuring USB drive is bootable and correctly formatted
The users must ensure that the USB drive is bootable and correctly formatted for fixing the issue. Therefore, follow the steps for doing the same.
Step 1- For ensuring the drive is bootable, at first, insert the USB drive and open PowerShell as an administrator. Then, copy and paste the command given below and press Enter.
get-disk
Step 2- Now locate the USB drive and check that its HealthStatus is “Healthy” and OperationalStatus is “No Media.” The existence of both implied the USB drive is bootable.

Almost every PC can boot from a FAT (File Allocation Table) formatted USB. Thus, check if the USB is formatted to the same and if not follow the steps below for formatting it.
Step 3- Insert the USB drive. Open File Explorer. Now click This PC on the left side which will show the USB on the right side.

Step 4- Next, right-click the USB drive and click Format. Select FAT from the File system drop-down menu.

Step 5- Lastly, select Start for formatting the USB drive.
Fix 5: Setting Boot Priority to USB drive in BIOS
Lastly, setting the Boot Priority to USB drive in BIOS mode can also aid in solving the issue. Now, the steps for doing it given below.
Step 1- Restart the PC and enter into BIOS mode.

Step 2- Next, go to Boot Options and set the first boot drive to USB. Thereafter, select Save & exit button and start the PC.
In the end, wishing that all the fixes mentioned in this post will help the users to fix the issue of can’t boot from USB in Windows 11.
![KapilArya.com is a Windows troubleshooting & how to tutorials blog from Kapil Arya [Microsoft MVP (Windows IT Pro)]. KapilArya.com](https://images.kapilarya.com/Logo1.svg)


Leave a Reply