Do you want to disable Remote Desktop access functions in Windows 11? If you need to protect your device from unauthorized logins during times when you do not need remote desktop access, then this article is just for you.
The accessibility feature of Remote Desktop provides convenient PC access. However, it creates security vulnerabilities when users fail to monitor its usage, or it does not work on Windows 11/10. Hence, this detailed guide presents step-by-step instructions with six different ways to disable Remote Desktop access on Windows 11.
Page Contents
Way to Disable Remote Desktop Access on Windows 11
Method 1: Disable Remote Desktop via Windows Firewall
Windows Firewall disables access, which blocks RDP (Remote Desktop Protocol) traffic while leaving all other system configurations intact.
Note: The change disables all external devices from accessing your PC through Remote Desktop regardless of the feature status.
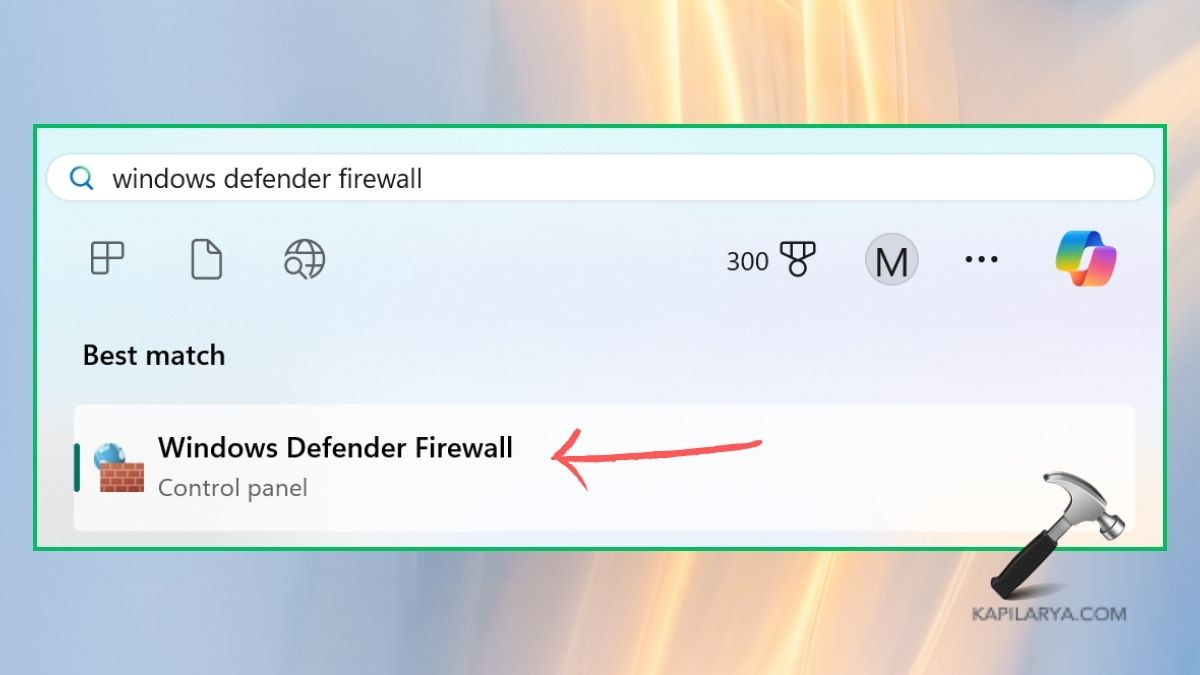
1. Open the Windows + S dialog and search for Windows Defender Firewall. Click to open it.
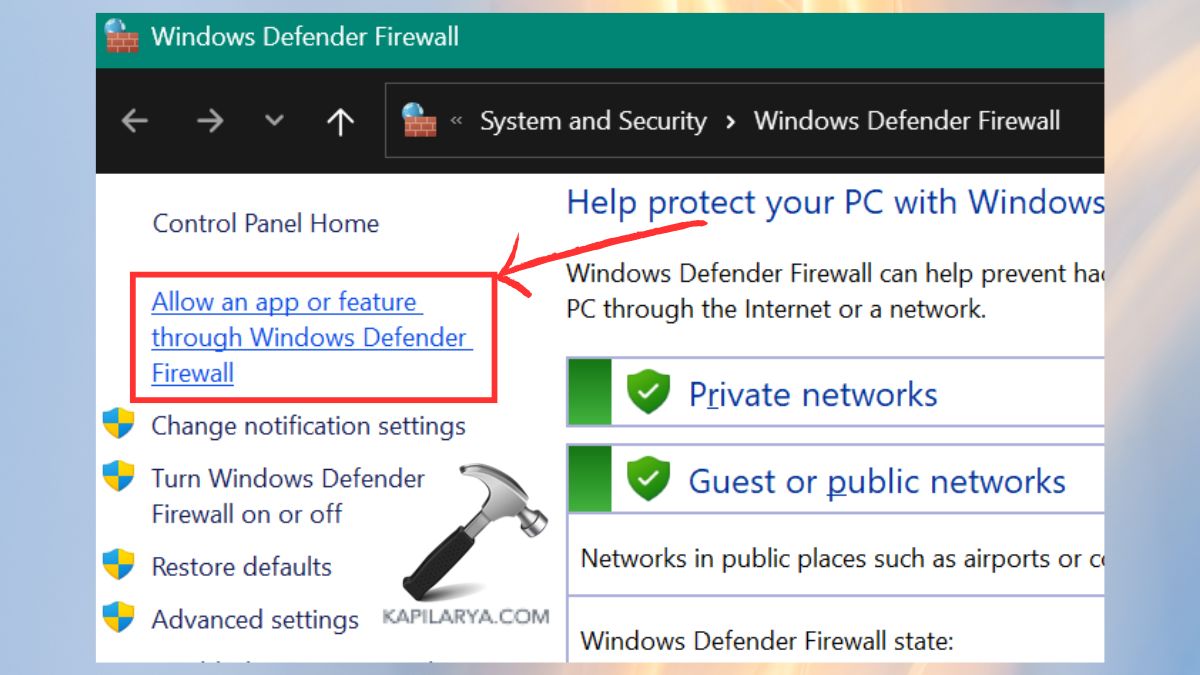
2. Choose Allow an app or feature through Windows Defender Firewall from the left sidebar.
Click on Change settings.
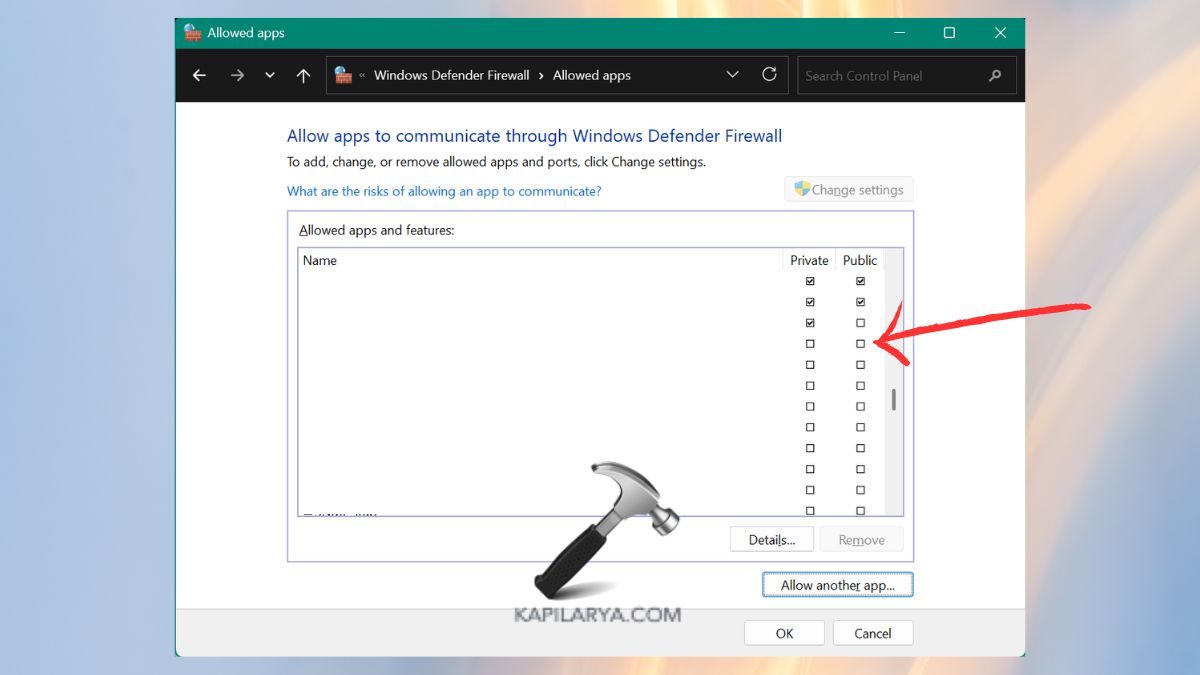
3. Locate Remote Desktop among the listed options. Disable Remote Desktop access by unchecking both Private and Public options under Windows Firewall. You can save your modifications by selecting OK.
Method 2: Disable Remote Desktop Using the Settings App
Users can manage Remote Desktop access through the Settings application in Windows 11 by using its simple interface.
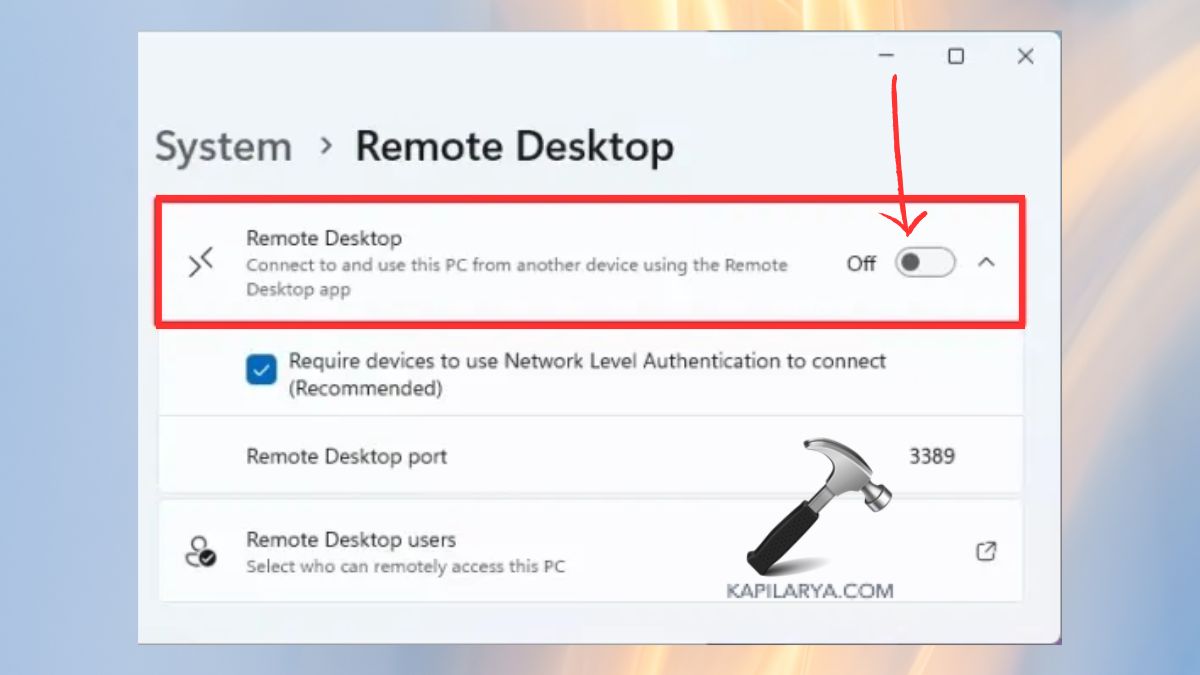
1. Open Settings by pressing Windows + I. Access the System through the menu and select Remote Desktop.

2. Toggle off the switch next to Remote Desktop. Confirm your choice when prompted.
Method 3: Disable Remote Desktop Using the Registry Editor
The Registry Editor enables advanced users to disable it through its powerful system settings modifications.
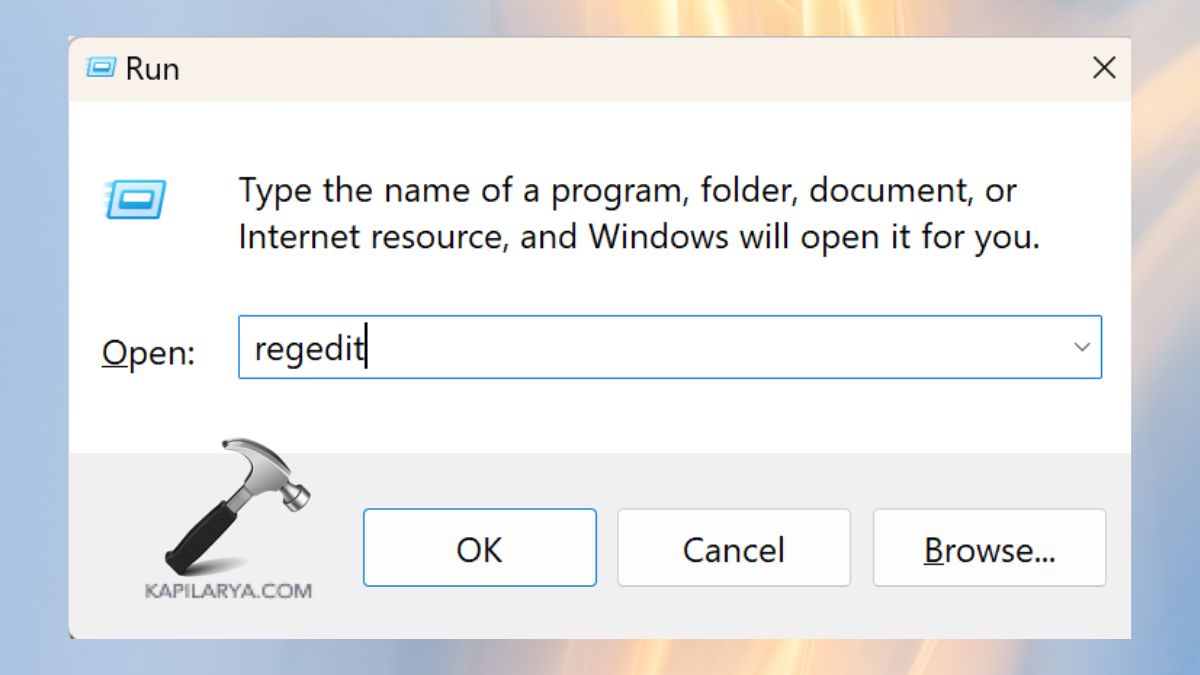
1. Open the Run dialog by pressing Windows + R, then enter the command followed by pressing Enter.
regedit
2. Navigate to the following path-
HKEY_LOCAL_MACHINE\SYSTEM\CurrentControlSet\Control\Terminal Server
The entry “fDenyTSConnections” exists on the right side of the pane. Use the double-click function to access the entry and change its value to 1.
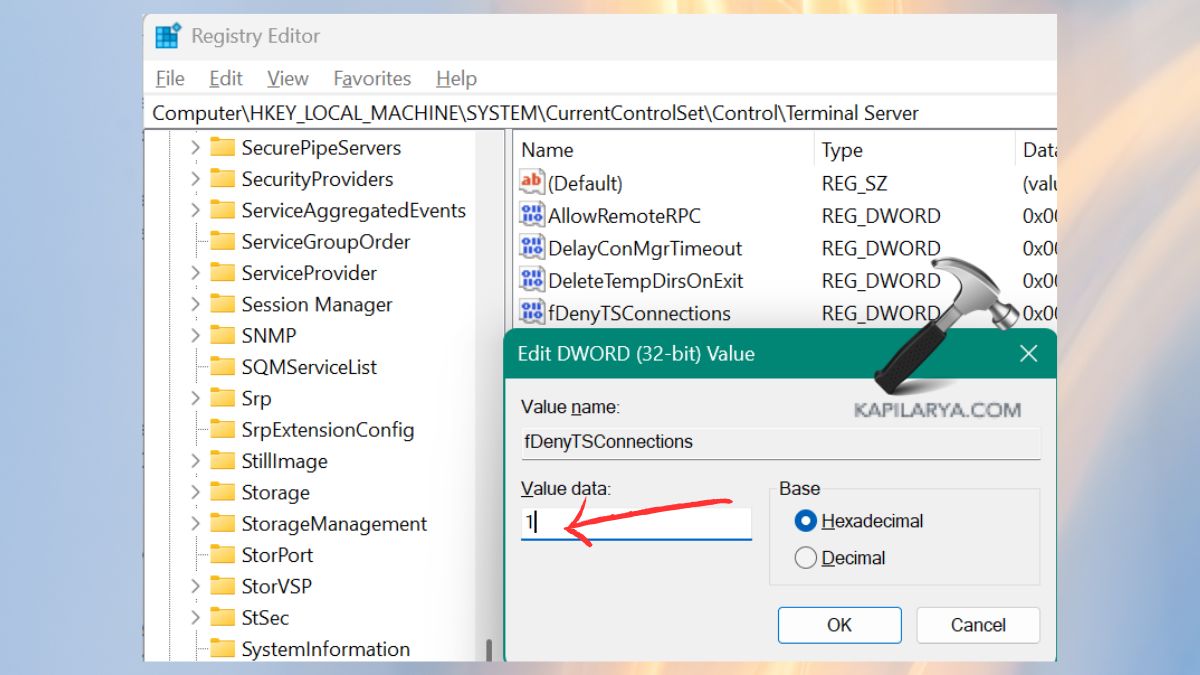
After making changes in the Registry Editor, click OK, then close the application. The system requires a computer restart to implement these modifications.
Note: Modifying the registry system requires caution because mistakes can lead to severe problems. Proceed with caution while making sure to create a backup of your registry before starting.
Method 4: Disable Remote Desktop Using the Control Panel
The classic Control Panel in Windows 11 provides users with an alternative method to disable Remote Desktop access.
1. Open the search bar by pressing Windows + S and type Control Panel into the search field.

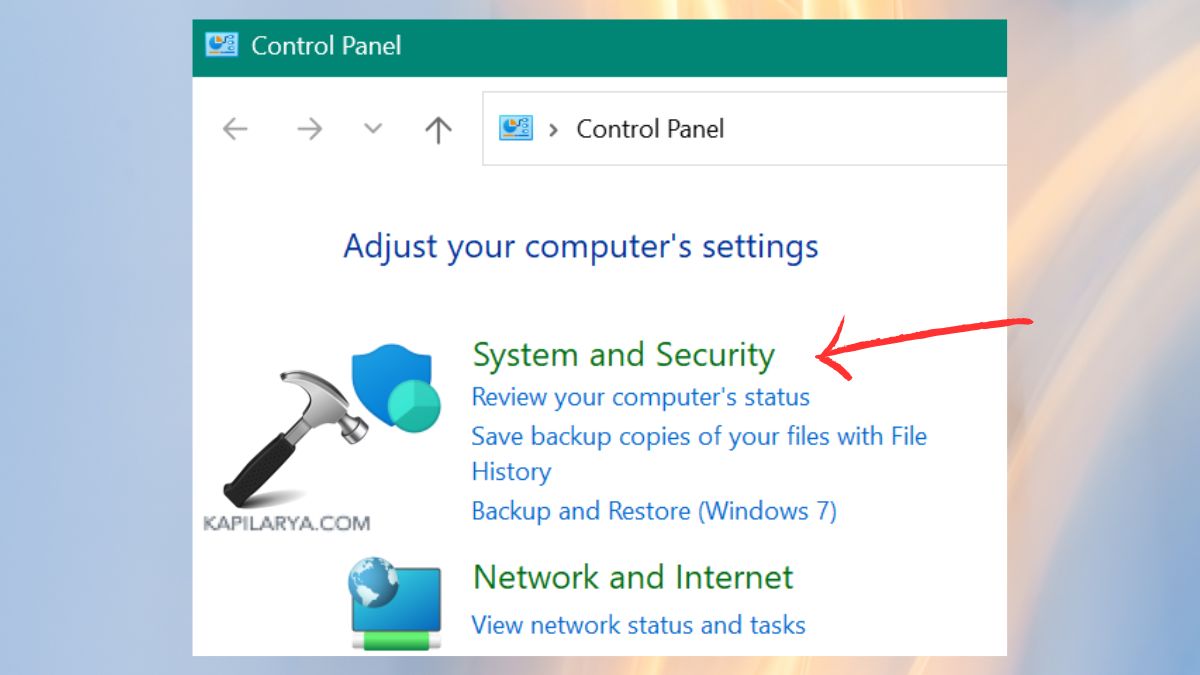
2. Open System and Security, followed by System from the menu.
3. Select Remote settings from the sidebar options. The Remote Desktop section contains an option to select “Don’t allow remote connections to this computer”. Click Apply, then OK.

Method 5: Disable via Command Prompt
A single command in Command Prompt enables advanced users to disable Remote Desktop functionality.
1. Open the Windows Terminal (Admin) or Command Prompt (Admin) by pressing Windows + X.

2. Enter the following command, then press Enter–
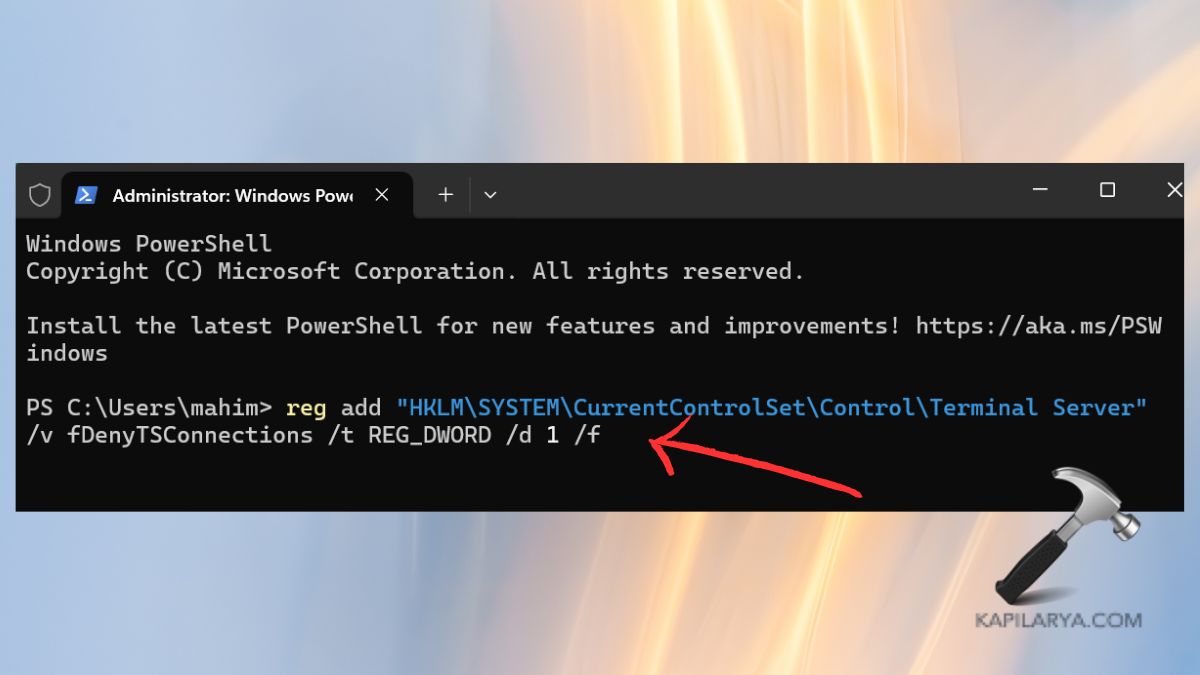
reg add "HKLM\SYSTEM\CurrentControlSet\Control\Terminal Server" /v fDenyTSConnections /t REG_DWORD /d 1 /f
This command enables “fDenyTSConnections” with a value of 1 in the Terminal Server key under CurrentControlSet\Control.
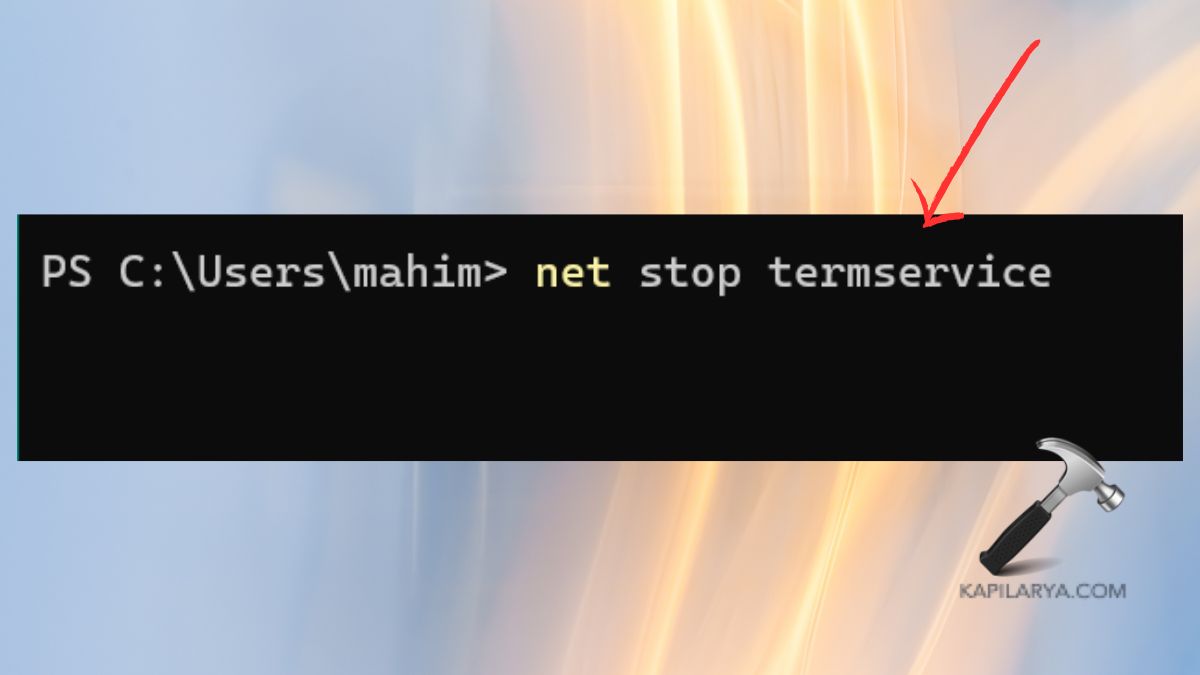
3. The command to stop Remote Desktop Services is-
net stop termservice
Method 6: Disable Remote Desktop Using a Batch File
A batch file provides automatic control of settings when you need to enable or disable them frequently.
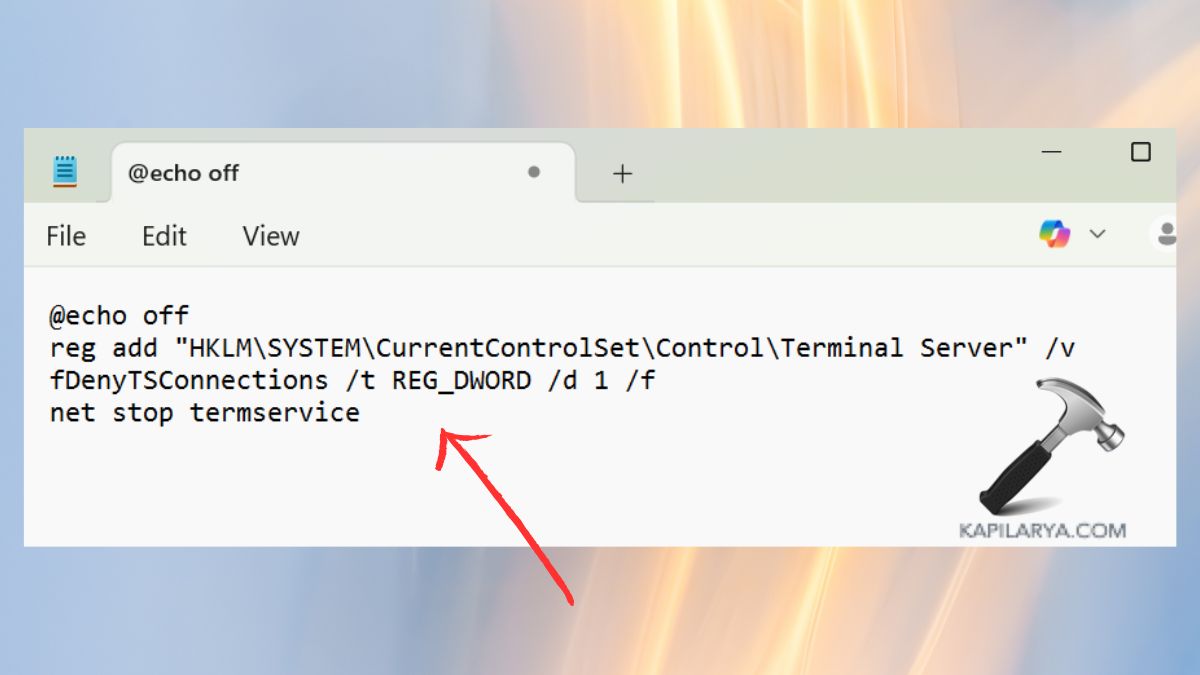
1. Open Notepad.

2. Paste the following code.
@echo off
reg add "HKLM\SYSTEM\CurrentControlSet\Control\Terminal Server" /v fDenyTSConnections /t REG_DWORD /d 1 /f
net stop termservice
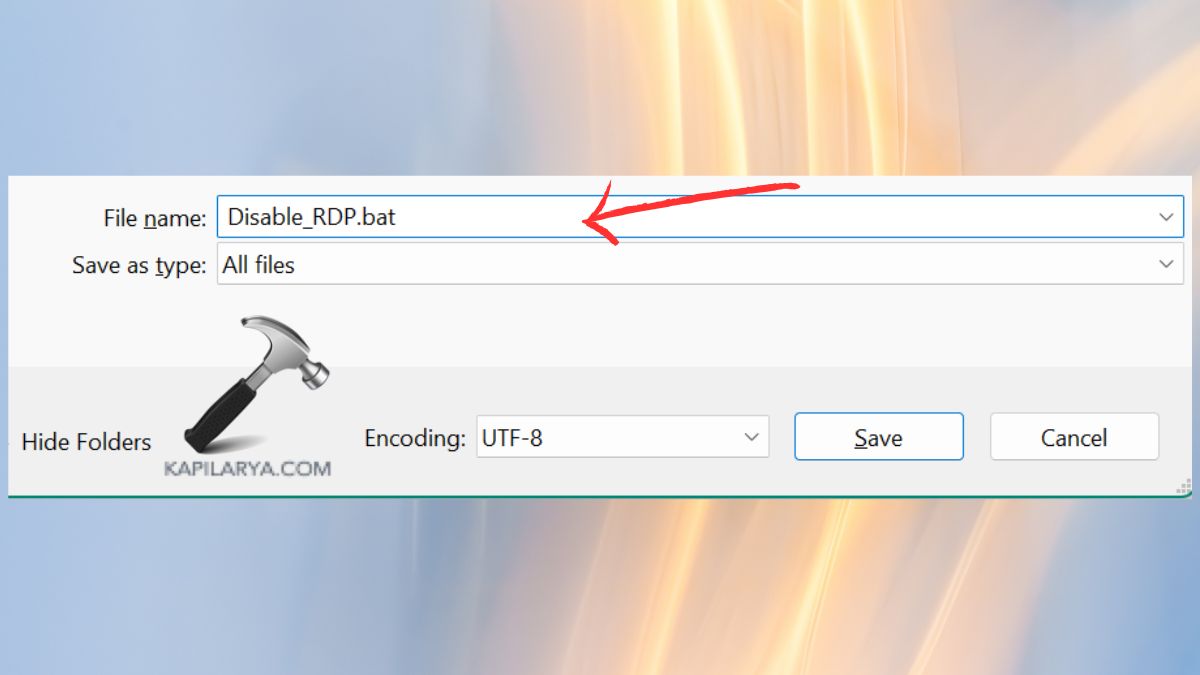
3. Save the file as “Disable_RDP.bat”. After saving, right-click the file. Then, choose the “Run as administrator” option from the drop-down menu.
Frequently Asked Questions (FAQs)
#1 Is it safe to disable Remote Desktop in Windows 11?
The procedure is entirely safe for your system because it enhances security and performance while Remote Desktop remains disabled.
#2 Will disabling Remote Desktop affect other services?
The disablement of Remote Desktop functions solely on remote access capabilities. The local usage, together with other network services, operates normally.
#3 Can I enable Remote Desktop again after disabling it?
Absolutely. You can reactivate Remote Desktop through the same procedures after reversing the configuration changes.
That’s it!