In the corner of the Windows 11 Taskbar, the network, sound, and battery icons are combined into a single button that pulls up Quick Settings when clicked. But still, the battery icon alone can go missing sometimes. This could be due to the icon being hidden, disabled, or a system error. If the battery icon is missing from your Windows 11 taskbar, follow this guide to fix it.
Page Contents
Fix: Battery Icon Missing from Taskbar in Windows 11
Before attempting complex solutions, try restarting your PC and checking for updates on your Windows 11 device.
Method 1: Check If the Battery Icon is Hidden
Maybe the battery is not missing from your taskbar, it is simply hidden. Just, click the up arrow on the taskbar to check if your missing battery icon is hidden among the hidden items in the system tray. If you find the battery icon in the system tray, click and drag it back to the taskbar.
Method 2: Restart Windows Explorer
1. Right-click the empty area in the taskbar and select “Task Manager“.

2. In the Task Manager window, go to the “Processes” tab.

3. Now, find the process named “Windows Explorer”.
4. Right-click on the Windows Explorer process and select “Restart“.

5. Your Taskbar will disappear and appear again. If the battery icon is not visible then, restart your PC.
Method 3: Run SFC and DISM Scans
1. Press the Windows key, type “Command Prompt“, and select “Run as administrator“.
2. In the Command Prompt window, run the following command:
sfc /scannow
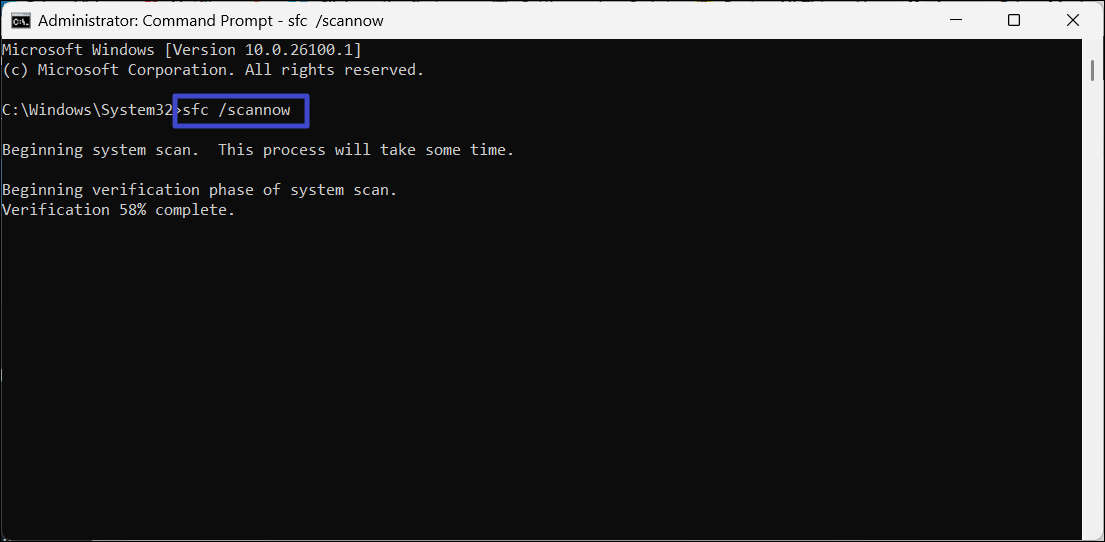
3. Once the scan is complete, restart your PC.
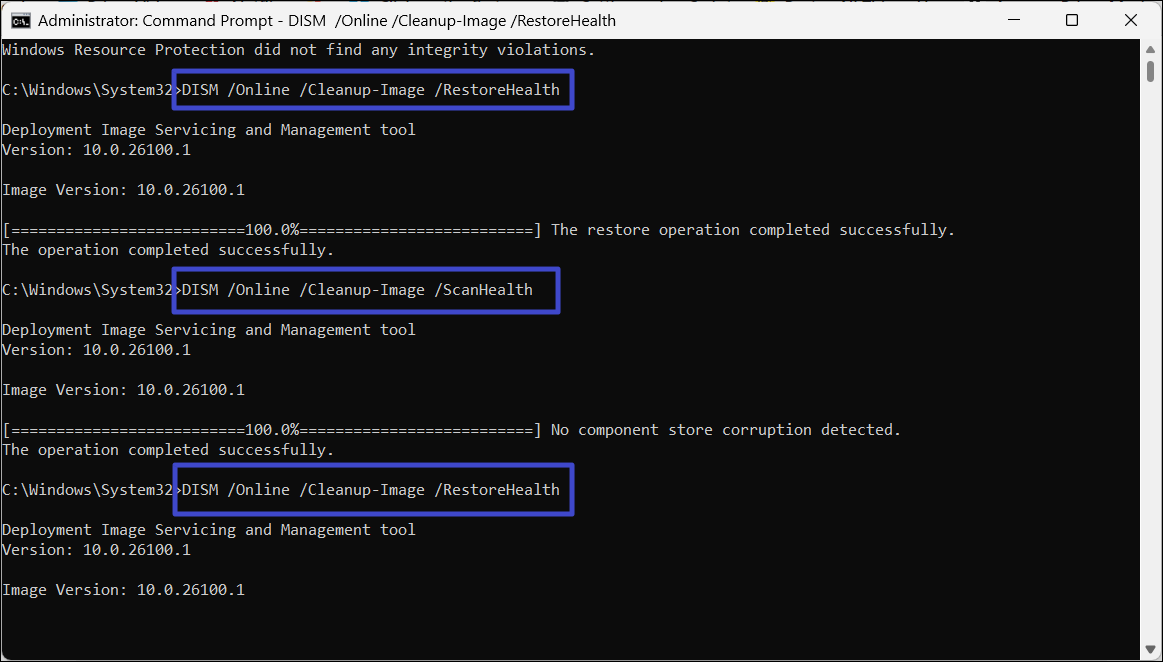
4. If the SFC shows any errors, open Command Prompt as administrator again, and run these commands one by one:
DISM /Online /Cleanup-Image /CheckHealth
DISM /Online /Cleanup-Image /ScanHealth
DISM /Online /Cleanup-Image /RestoreHealth
Method 4: Edit the Local Group Policy Editor
1. Press Windows + R to open the Run dialog box. Type “gpedit.msc” in the text field and press Enter to launch the Local Group Policy Editor.

2. Once the Local Group Policy Editor opens, expand “Administrative Templates” under “User Configuration”.

3. In the left-side panel, select “Start Menu and Taskbar“, then scroll down the right-side panel and double-click the “Remove the battery meter” option.

4. Then, select “Not Configured” or “Disabled“, click “Apply“, and “OK“.

5. Restart your PC to apply the changes.
Method 5: Re-enable or Reinstall Battery Drivers
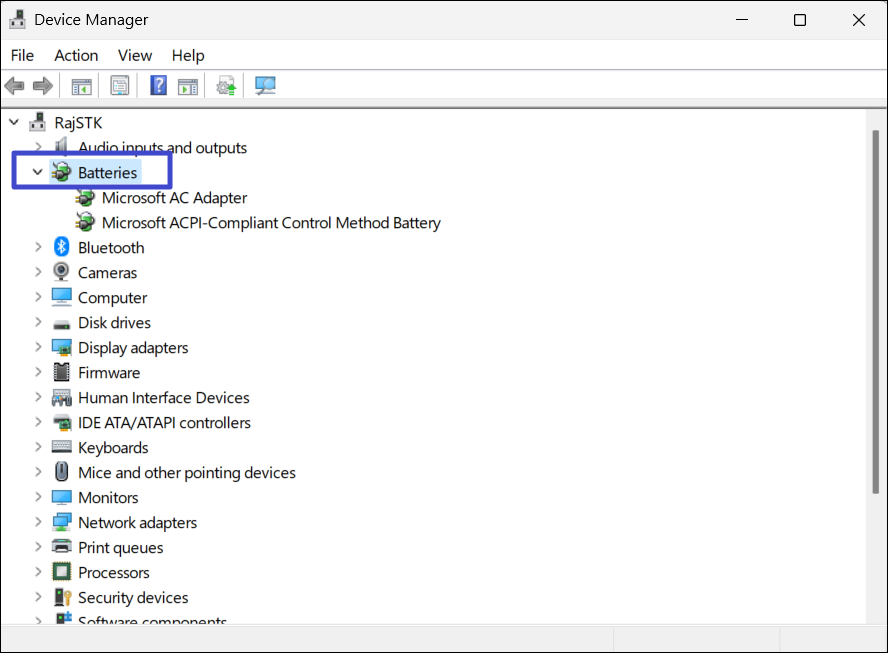
1. Right-click the Start menu and select “Device Manager” from the context menu.

2. In the Device Manager window, double-click the “Batteries” tree to expand it.
3. Under Batteries, you will find two options ” Microsoft AC Adapter and Microsoft ACPI-Compliant Control Method Battery.“ and “Microsoft ACPI-Compliant Control Method Battery”.
4. Right-click the “Microsoft AC Adapter” device and select “Disable device“.

5. Click “Yes” in the confirmation box.

6. Then, repeat steps 4 and 5 for “Microsoft ACPI-Compliant Control Method Battery”.
7. After that, restart your PC.
Video fix
Here’s a video fix to help you further on this issue: