In Windows 11, some users report that the Calculator app is not working properly after they have updated. It could happen because of a faulty Windows update installed, problems with the user account, damaged system files, pending updates or other such issues. So, how to fix Calculator app not working on Windows 11?

Here, we have discussed some of the effective solutions to get rid of this annoying issue. Now, let’s see how to fix the issue in different ways!
Page Contents
Fix: Calculator app not working on Windows 11
Fix 1: By Re-registering all Microsoft Apps
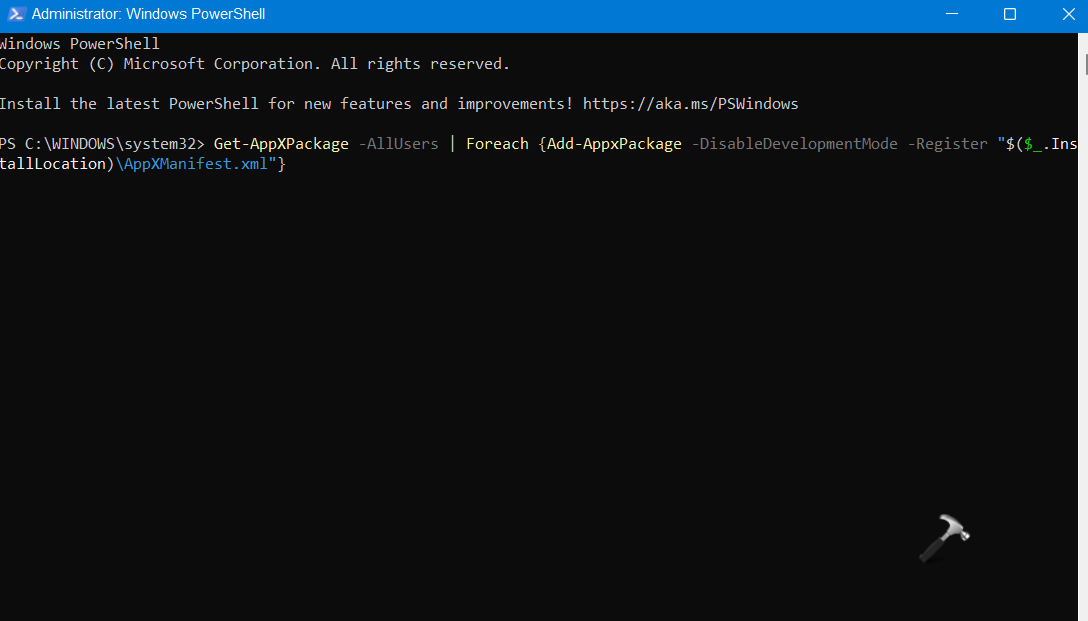
1. Open Windows PowerShell with admin privileges. To do so, open Windows Search and search Powershell. Next, click on Run as administrator.
2. Once opened, execute the following command:
Get-AppXPackage -AllUsers | Foreach {Add-AppxPackage -DisableDevelopmentMode -Register "$($_.InstallLocation)\AppXManifest.xml"}
3. Now, check if the issue has been resolved.
Fix 2: By Updating the Calculator App
1. Open Microsoft Store and click on the books icon (Library) present at the bottom left.
2. Now, click on the Get updates button to update the apps.
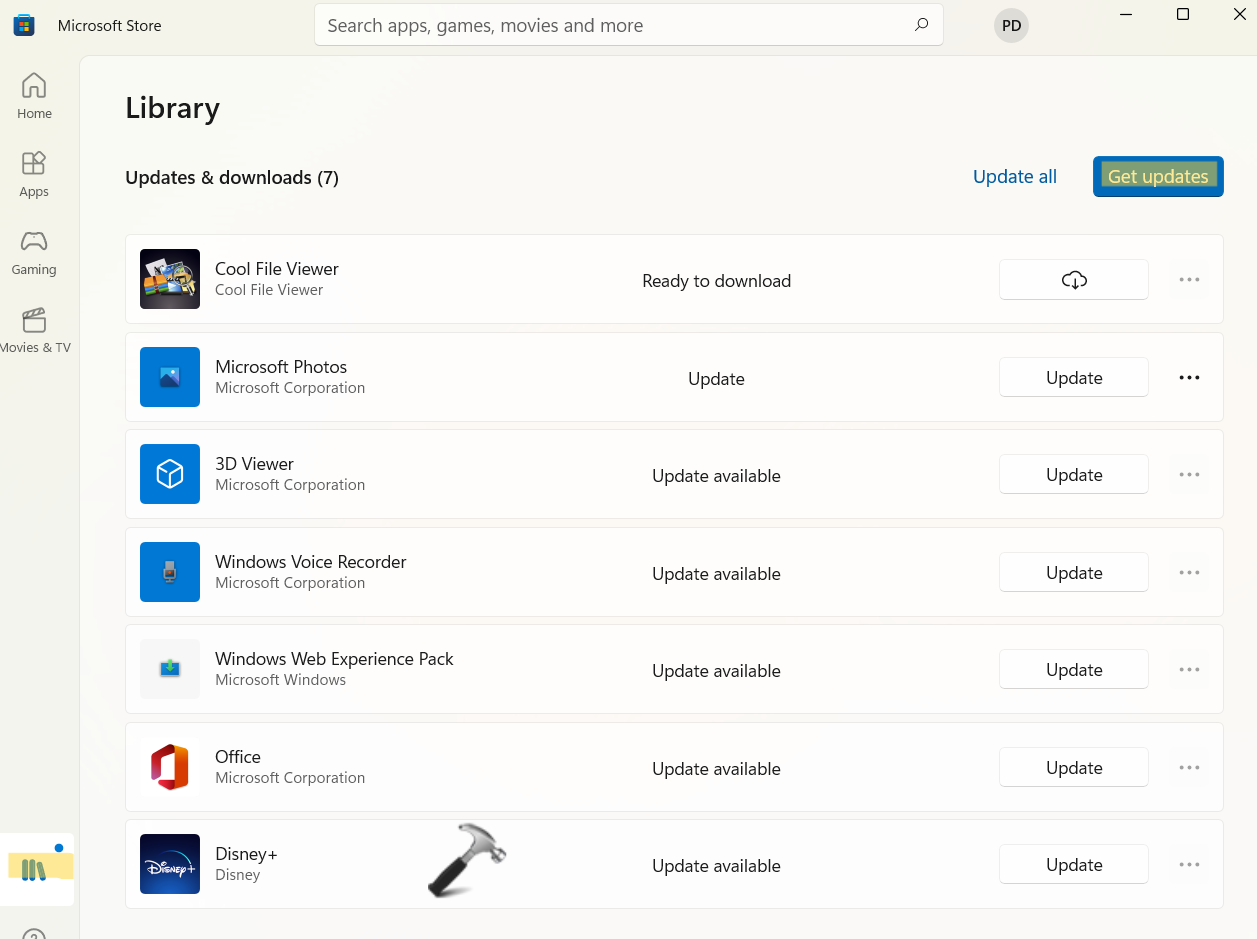
3. Once the apps are installed, check if the Calculator app is working properly now.
Fix 3: By Resetting the Calculator App
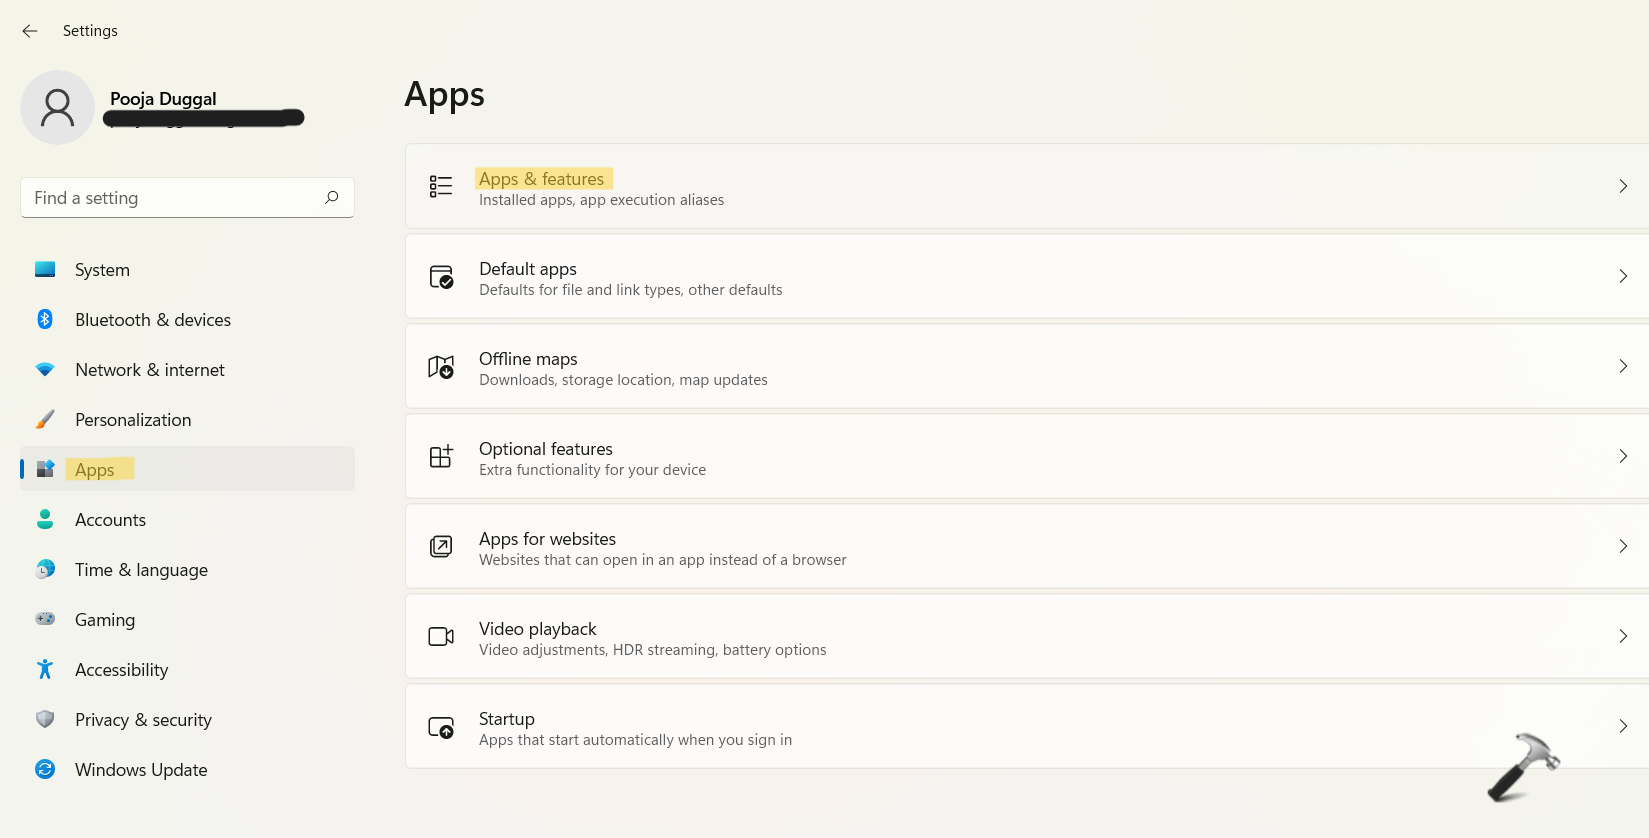
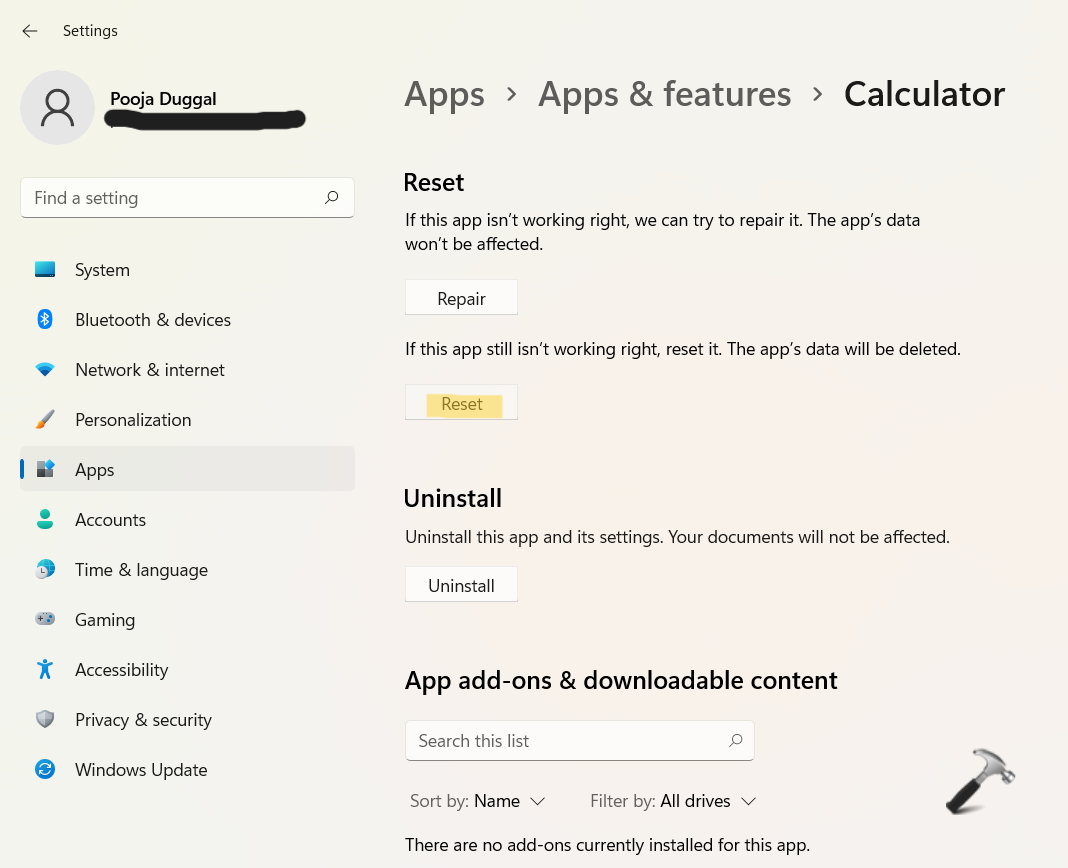
1. Firstly, open Settings and then, go to the Apps tab. Then, click on Apps & features present on the right.
2. Next, look for Calculator app and click on the three vertical dots. Then, choose Advanced options.
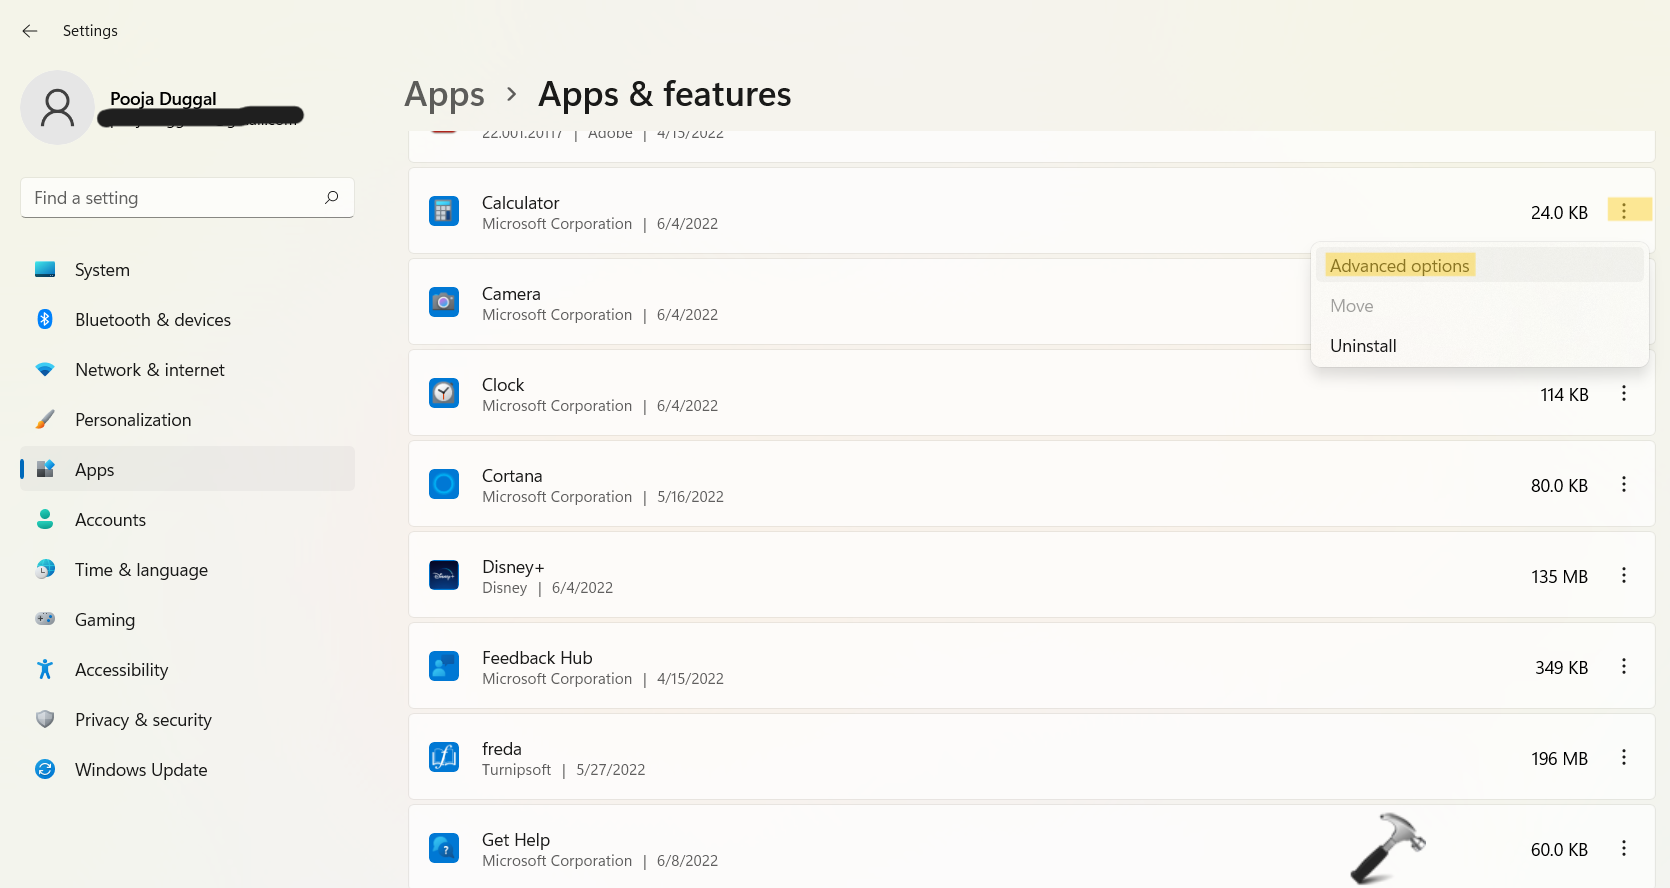
3. Now, click on the Reset button.
Fix 4: By Editing the Registry Keys
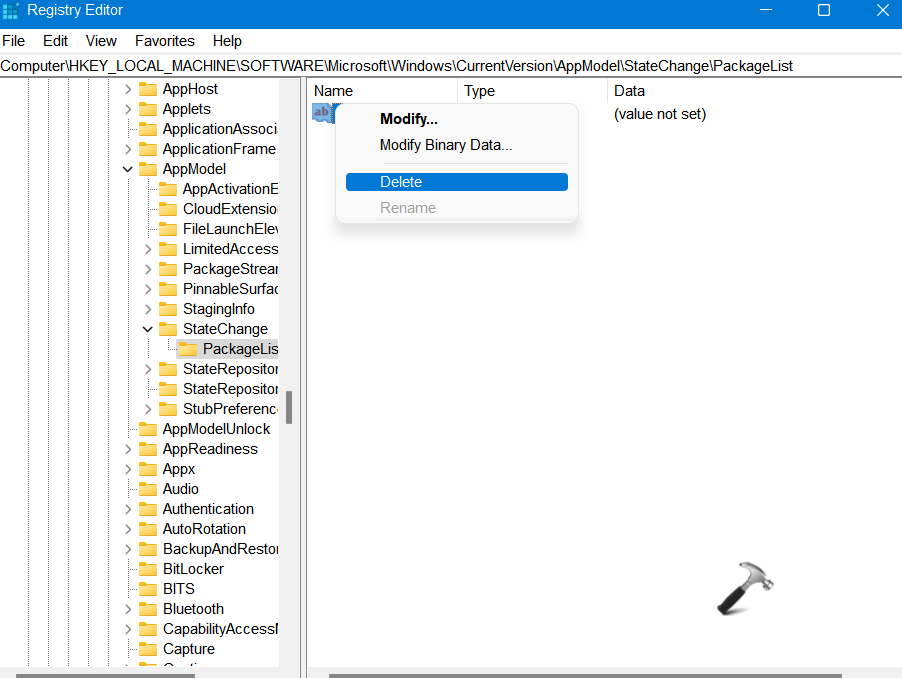
1. In the first place, you need to open the Run dialog box. For this, press the Windows + R keys simultaneously on your keyboard. Once opened, type regedit in the Run dialog box to open Registry Editor.
2. After that, navigate to the following location:
HKEY_LOCAL_MACHINE\SOFTWARE\Microsoft\Windows\CurrentVersion\AppModel\StateChange\PackageList
3. Once there, delete all the folders under PackageList. To do so, right-click on the key and select Delete from the context menu.
4. Lastly, close Registry Editor and reboot your system.
Fix 5: By Enabling User Account Control
1. Firstly, you need to open the Run dialog box. For this, press the Windows + R keys simultaneously on your keyboard. Once opened, type useraccountcontrolsettings in the Run dialog box to open User Account Control Settings.
2. Now, move the slider upwards for setting it to Always notify.
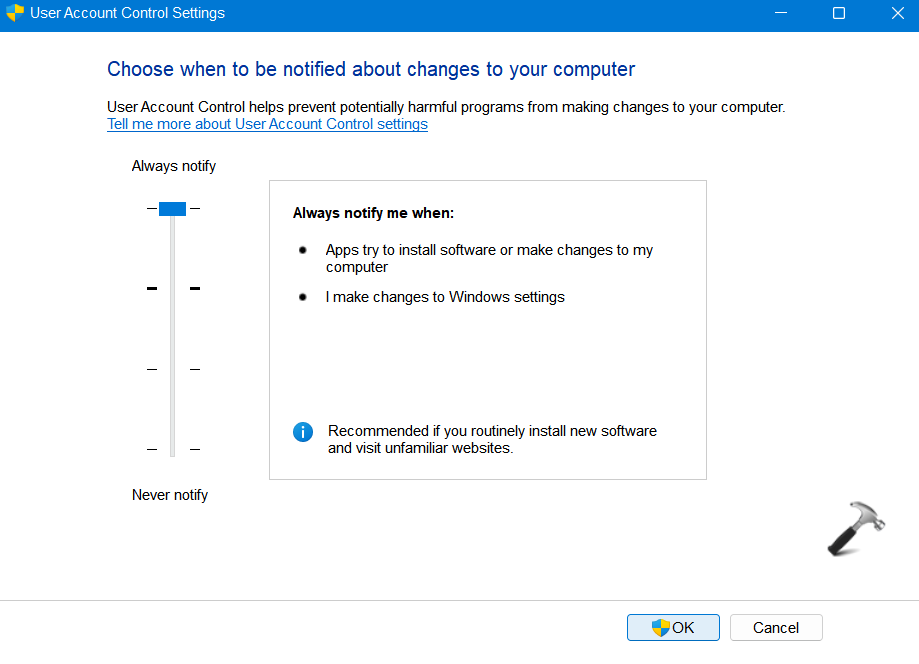
3. Once done, click OK for saving the changes.
Fix 6: By Running SFC Scan
1. Open Command Prompt with admin privileges.
2. Now, copy-paste the following command and hit Enter:
sfc /scannow
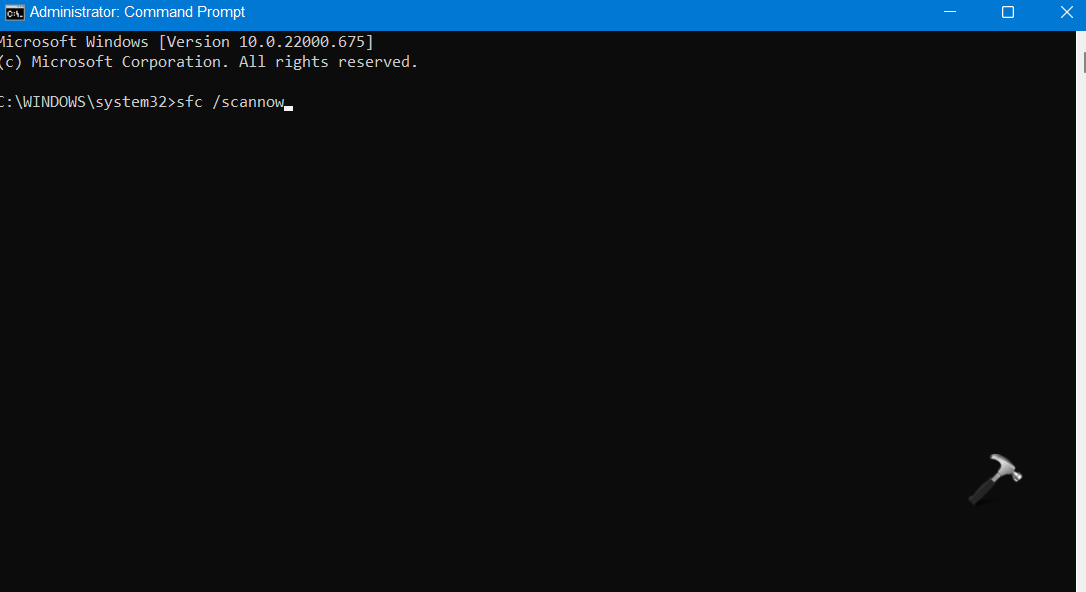
3. Once executed, the system will scan the system for corrupted files and fix the same.
Fix 7: Reinstall Calculator app
Make sure Calculator app is not running and then try below steps:
1. Right click Start button, select Terminal (Admin).
2. In PowerShell tab, paste following command and press Enter key:
Get-AppXPackage -AllUsers -Name Microsoft.WindowsCalculator | Foreach {Add-AppxPackage -DisableDevelopmentMode -Register "$($_.InstallLocation)\AppXManifest.xml" -Verbose}
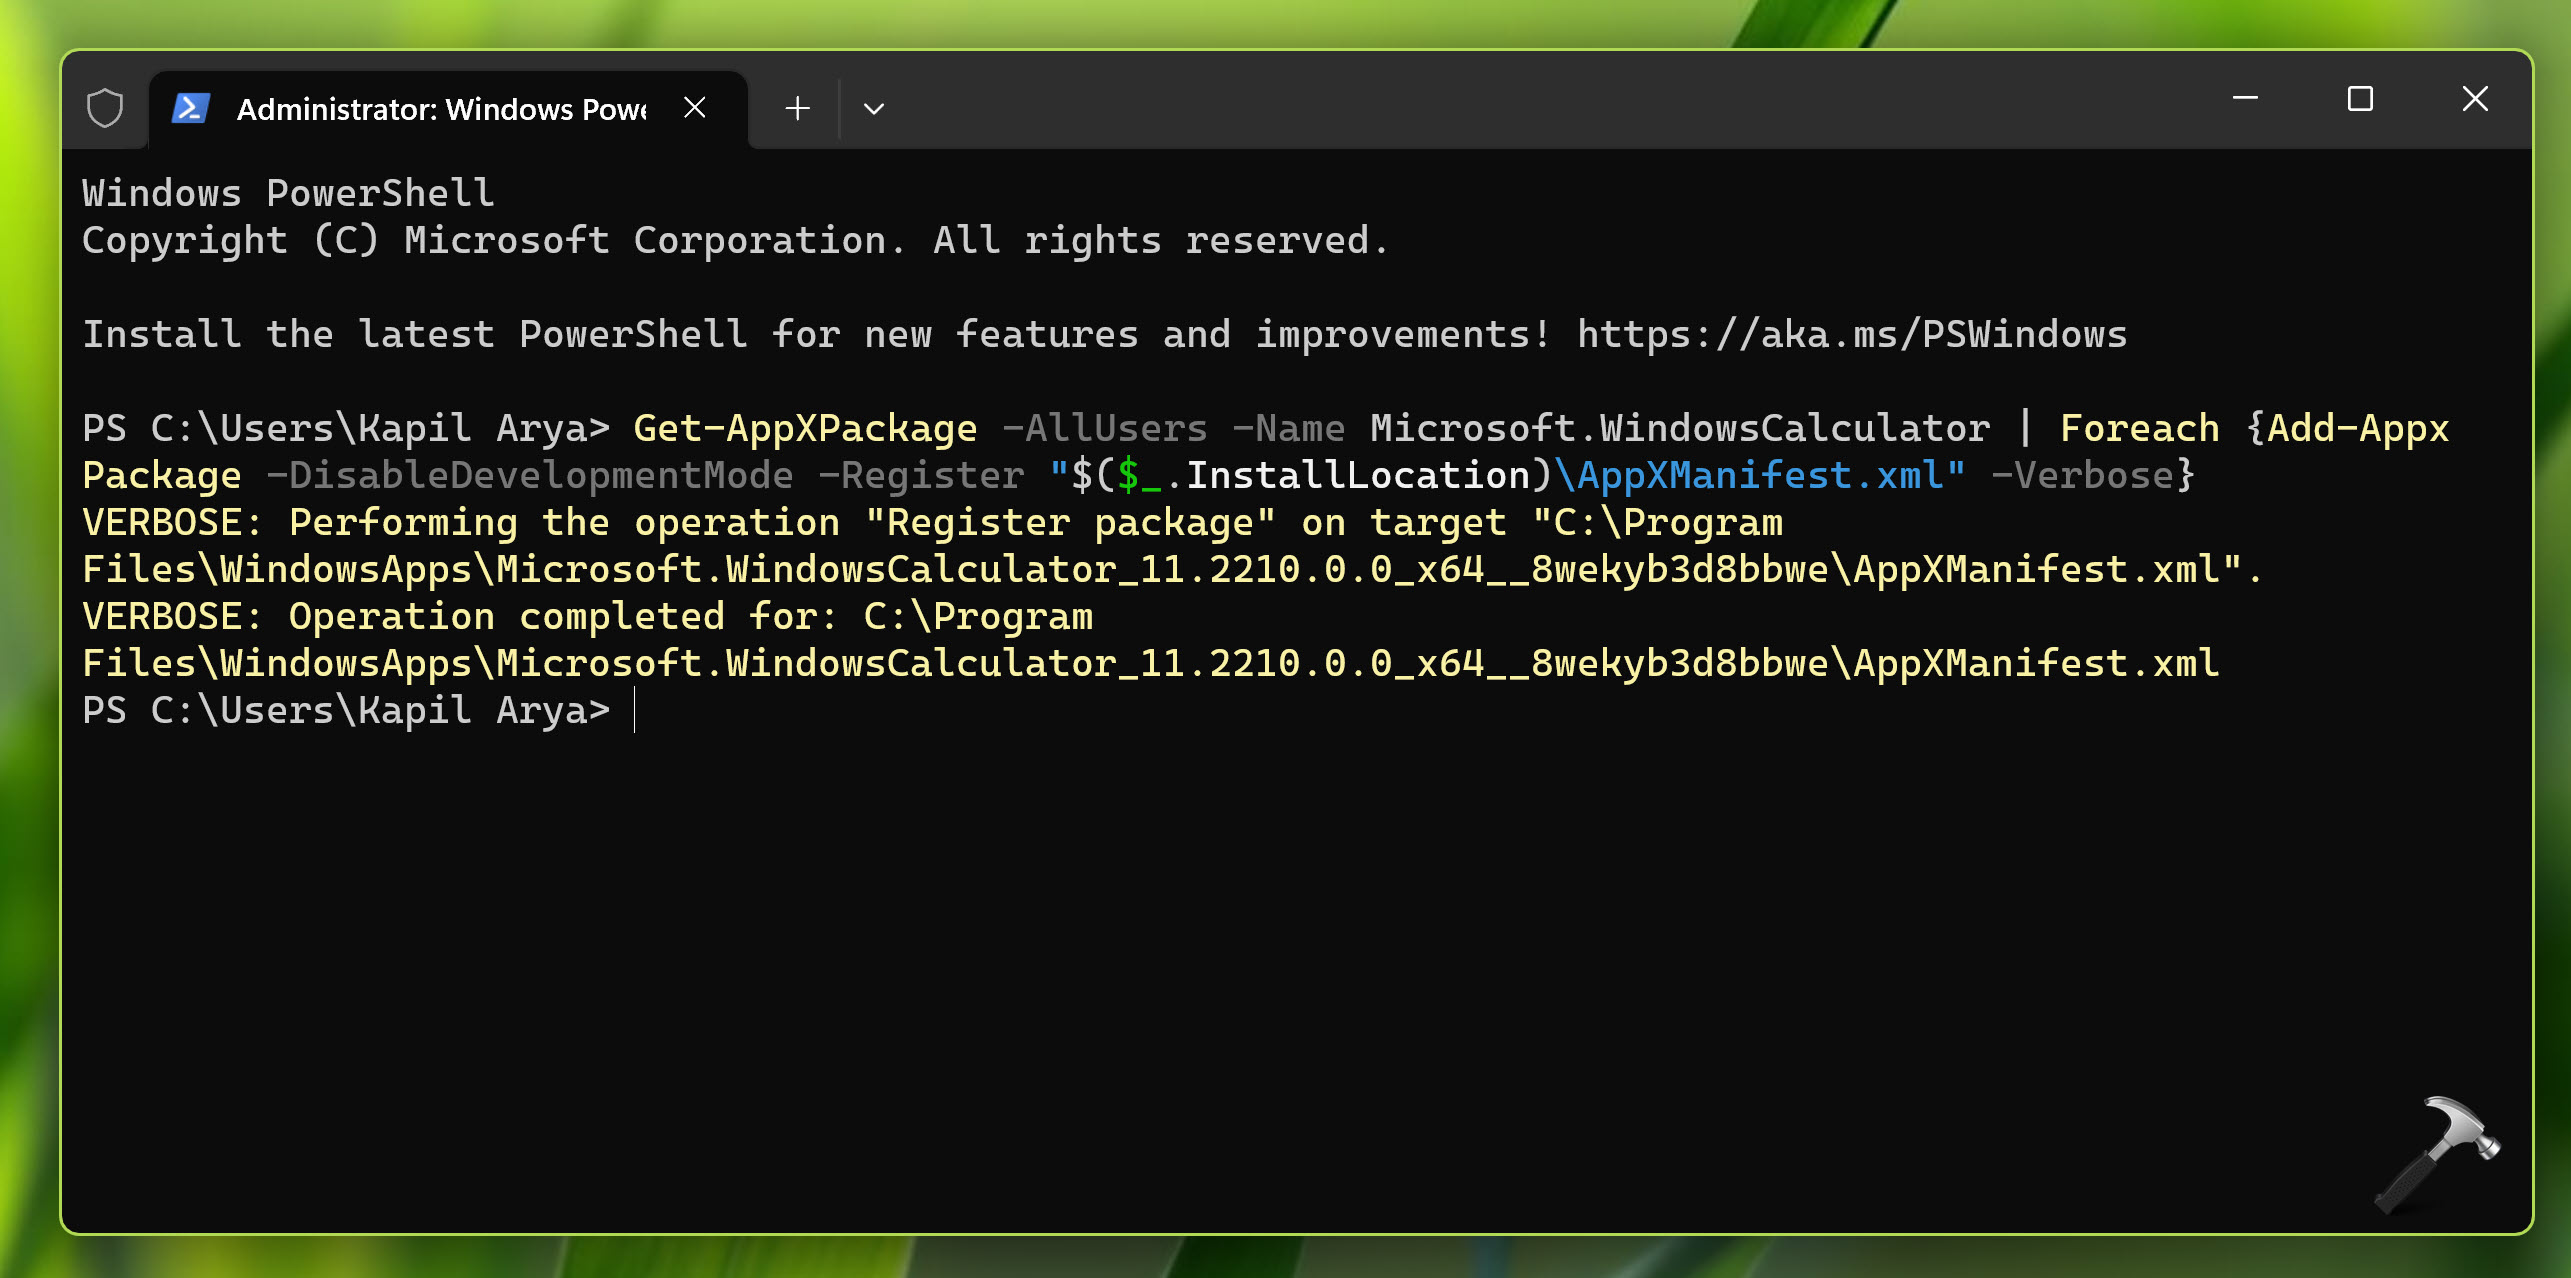
3. Once command executed successfully, close Terminal app.
So, these are some of the possible fixes to fix Calculator app not working on Windows 11 issue.