
Have you ever tried to change the language on your Windows 11 computer and hit a roadblock? Some folks are finding it tricky to remove a language they don’t need. It can be annoying, especially if you want things in a language you understand. In this article, we’re going to figure out why this happens and, more importantly, how to fix cannot remove a language in Windows 11 issue step by step.
Page Contents
Fix: Cannot remove a language in Windows 11
The difficulty in removing a language in Windows 11 can arise due to various reasons, such as:
- Incomplete or Corrupted Language Packs: Partially installed or corrupted language packs can hinder the removal process. Inconsistent installations may trigger conflicts when attempting to remove a language.
- System Dependencies: Certain language components might be interlinked with system functions. Dependencies can restrict the removal of a language to maintain system stability.
- User Account Permissions: System restrictions or user account settings may limit language management options.
- Software Glitches or Bugs: Windows 11, like any software, may have occasional glitches or bugs affecting language management. Software updates or patches may address these issues and improve language removal functionality.
- Security Measures: Security features might restrict language modifications to prevent unauthorized changes.
Now, we will provide a solution to overcome them, ensuring a smoother language management experience on Windows 11.
Method 1: Using Windows PowerShell
You can resolve the issue using a PowerShell command. PowerShell offers a more advanced and direct approach to managing language settings.
Here’s a step-by-step guide:
1. Open the Windows PowerShell and run as administrator.
2. Copy and paste the below command:
Get-WinUserLanguageList
Press Enter.
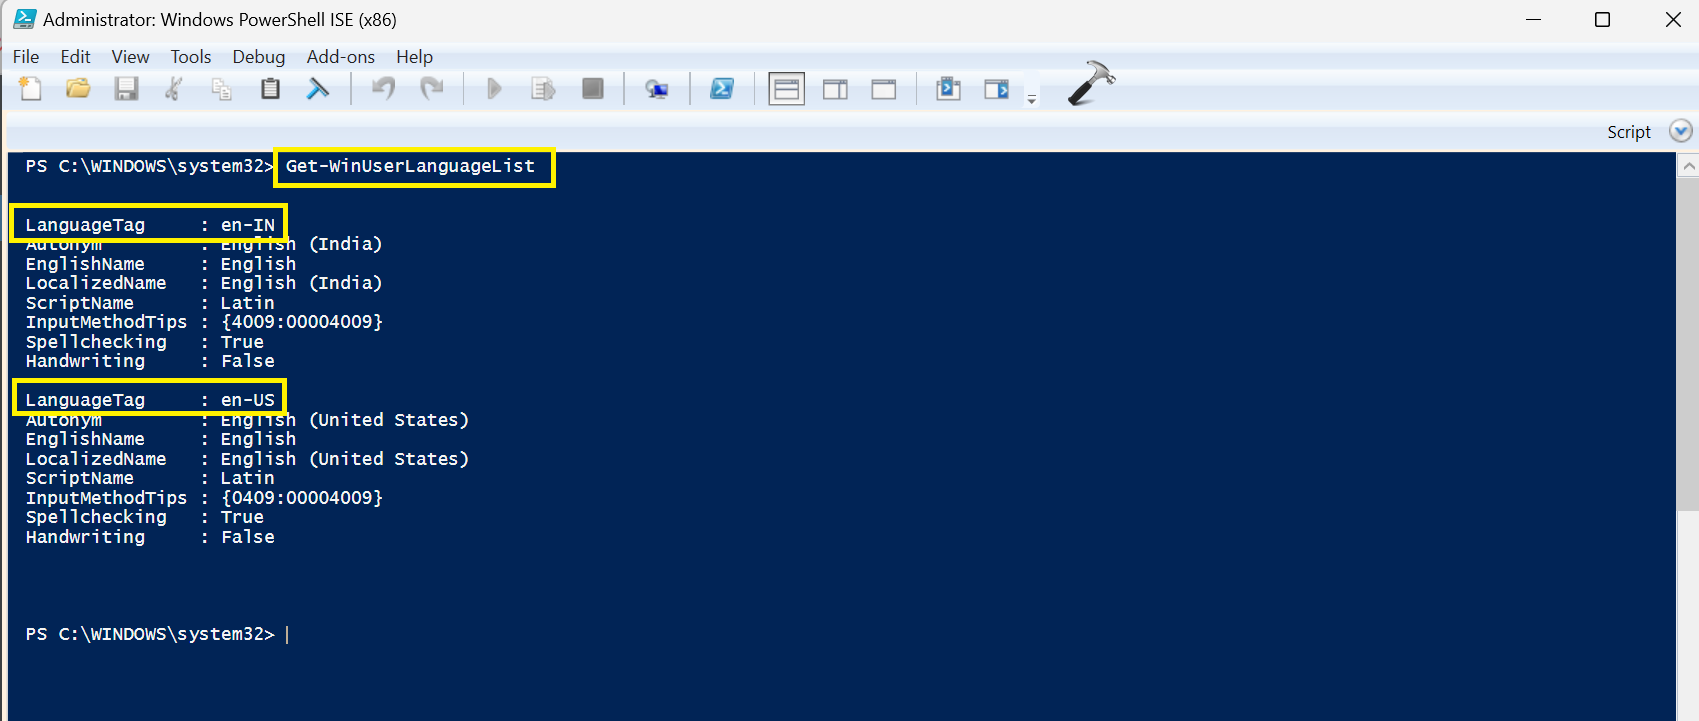
Here, note the language tag that you want to remove.
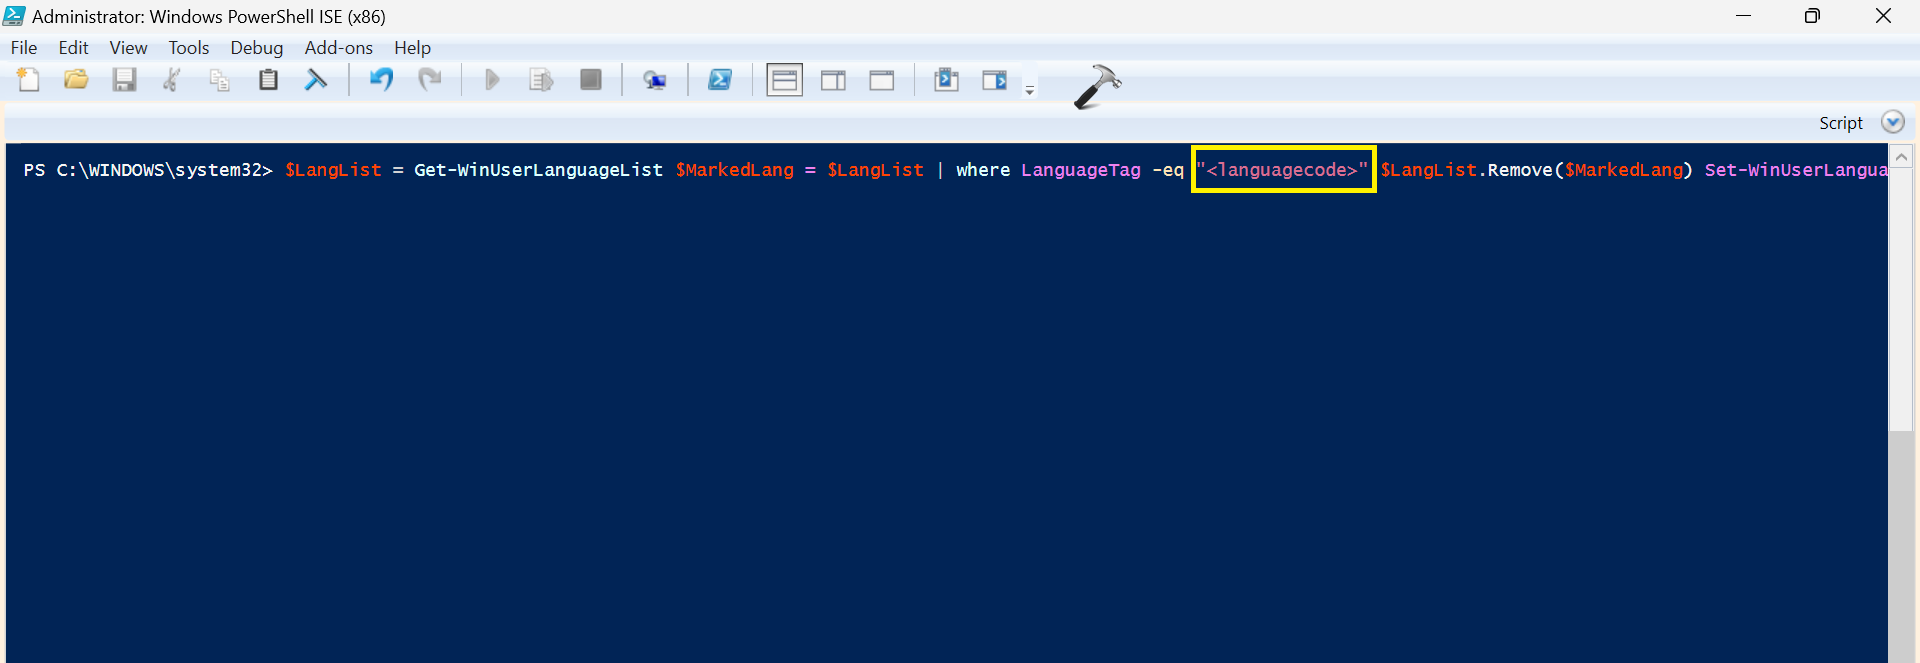
3. Now, copy and paste the below command and press Enter:
$LangList = Get-WinUserLanguageList
$MarkedLang = $LangList | where LanguageTag -eq "<languagecode>"
$LangList.Remove($MarkedLang)
Set-WinUserLanguageList $LangList -Force
Replace the <languagecode> with the language tag you want to remove.
For example, en-IN for English (India) and en-US for the United States
Method 2: Using Settings App
If the previous method doesn’t solve the issue, you can try an alternative and straightforward approach by using the Settings app. This method provides an alternative route to manage and remove languages on your Windows 11 system.
Here’s how to do it:
1. Open the Settings App and go to “Time & language“.
2. Now, click on “Language & region“.

3. Under “Preferred Language”, lower the language order to the bottom.

To do so, click “...” and select “Move down“.

4. Now, restart your PC.
5. After restarting the PC, navigate to Settings => Time & language => Language & region.
6. Find the language that you don’t want on your PC. Click “…” and select “Remove” to remove the unwanted language.

Note: The last keyboard for a language and the default input method can’t be removed. The default input method is based on the order of the language list in Settings.
That’s It!

None of this works for me 👎🏻
These mindless cookie-cutter articles are ridiculous. The first paragraph clearly states that this article aims to help people who’ve encountered difficulties removing languages in Windows 11. It then describes two methods of doing that. But the two methods shown are the only methods open to users who aren’t Windows developers. So what methods does Sofia imagine people have tried before coming to her article for help?? They “encountered difficulty” trying what exactly?? The only methods they could have tried are the two she describes. Try these helpful tips if you’ve tried everything else… like what?! smh