

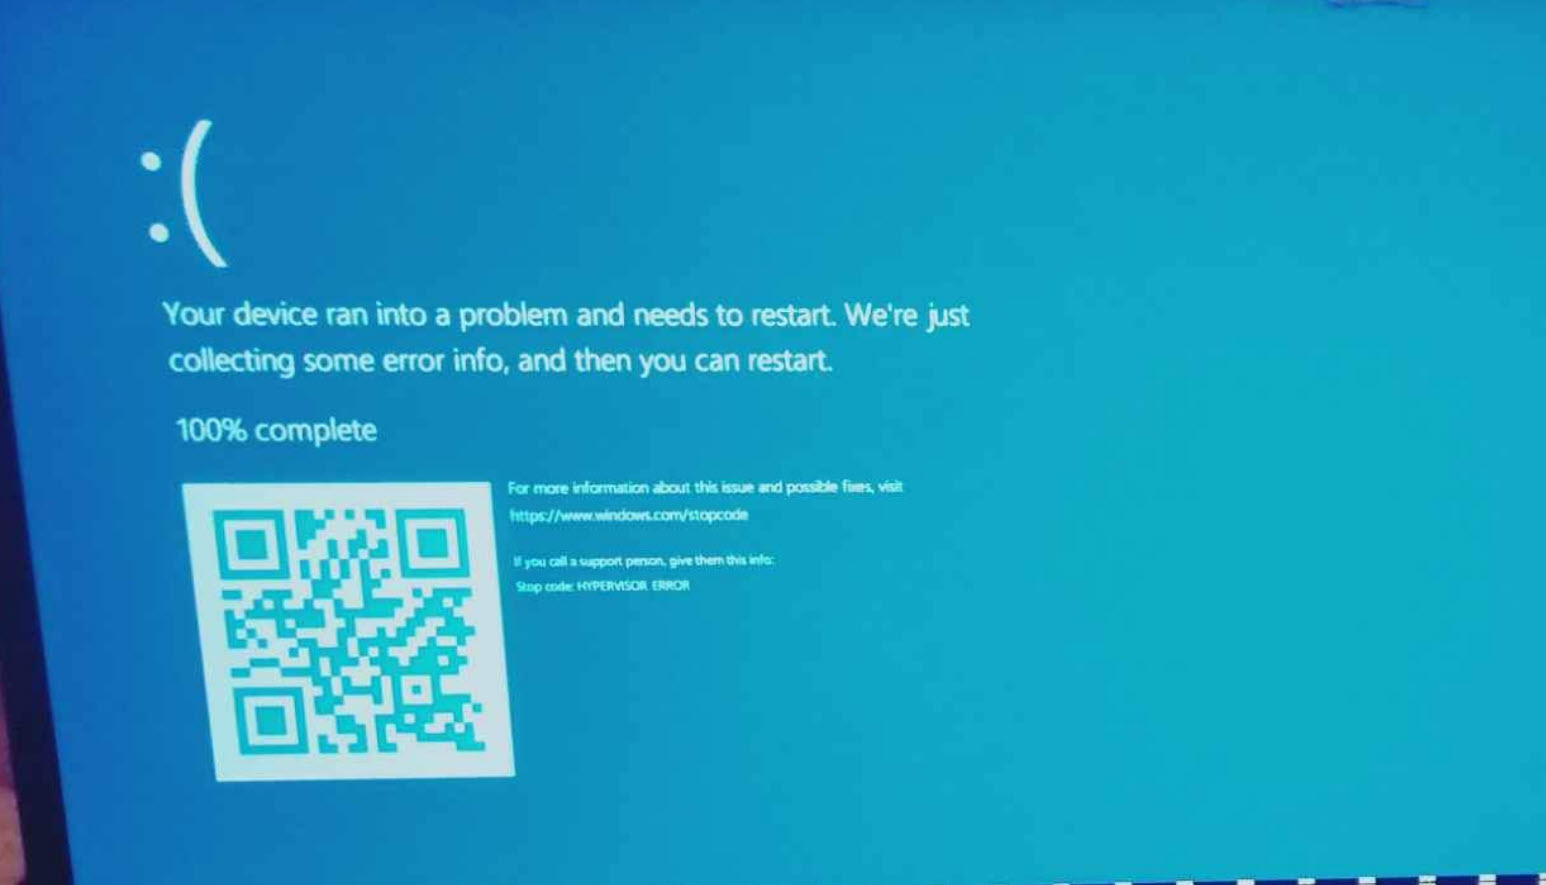
Hyper-V is a built-in feature that lets you create and run virtual machines, allowing you to install and use multiple operating systems on a single computer. However, if Hyper-V is disabled, drivers are outdated, updates failed, or some components are missing, it might trigger the “HYPERVISOR_ERROR” blue screen error. Let’s see how to fix this error on Windows 11.
Page Contents
Fix: HYPERVISOR_ERROR Blue screen on Windows 11/10
Method 1: Update Windows
Regularly updating Windows helps prevent errors and ensures your computer runs smoothly. Microsoft often releases updates that fix known issues like the Hypervisor error in Windows 11. So, simply downloading and installing any updates will probably fix the error.
1. Open Windows Settings with Windows + I.
2. In the left-hand pane, go to “Windows Update” and click on “Check for update”.
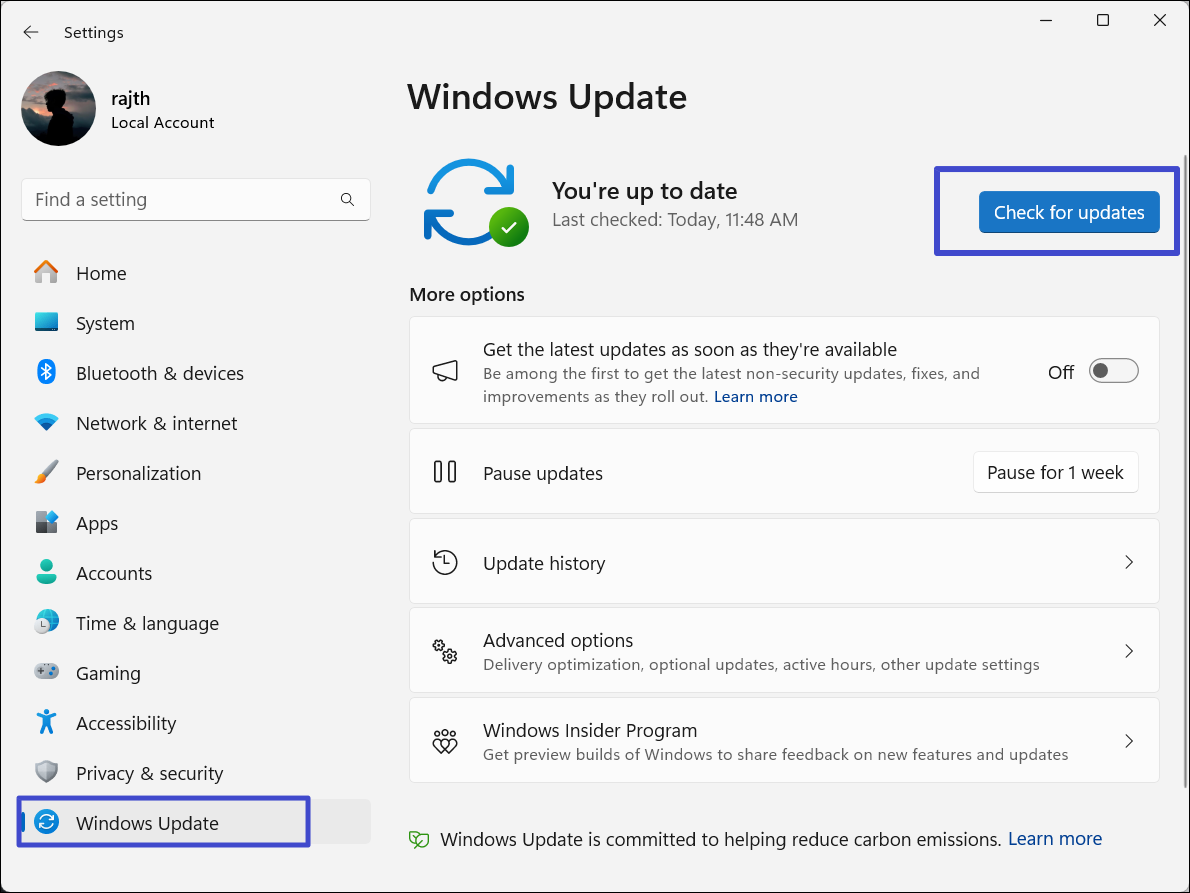
3. If any updates are available, download and install them. Then, restart your PC.
Method 2: Enable Hyper-V Feature
1. Search for “Windows Features” in the Windows Search and select “Turn Windows features on or off“.

2. Find and check the “Hyper-V” option and click “OK“.

3. Once Windows installs the necessary files, restart your PC.
Method 3: Update Virtualization Drivers
1. Right-click the Start menu and select “Device Manager“.

2. In the Device Manager window, scroll down and click on “System devices” to expand it.

3. Under the System devices category, find and right-click the “Microsoft Hyper-V Virtualization Infrastructure Driver“. Then, select “Update driver“.

4. Then, select “Search automatically for drivers“.

Method 4: Run DISM Scan
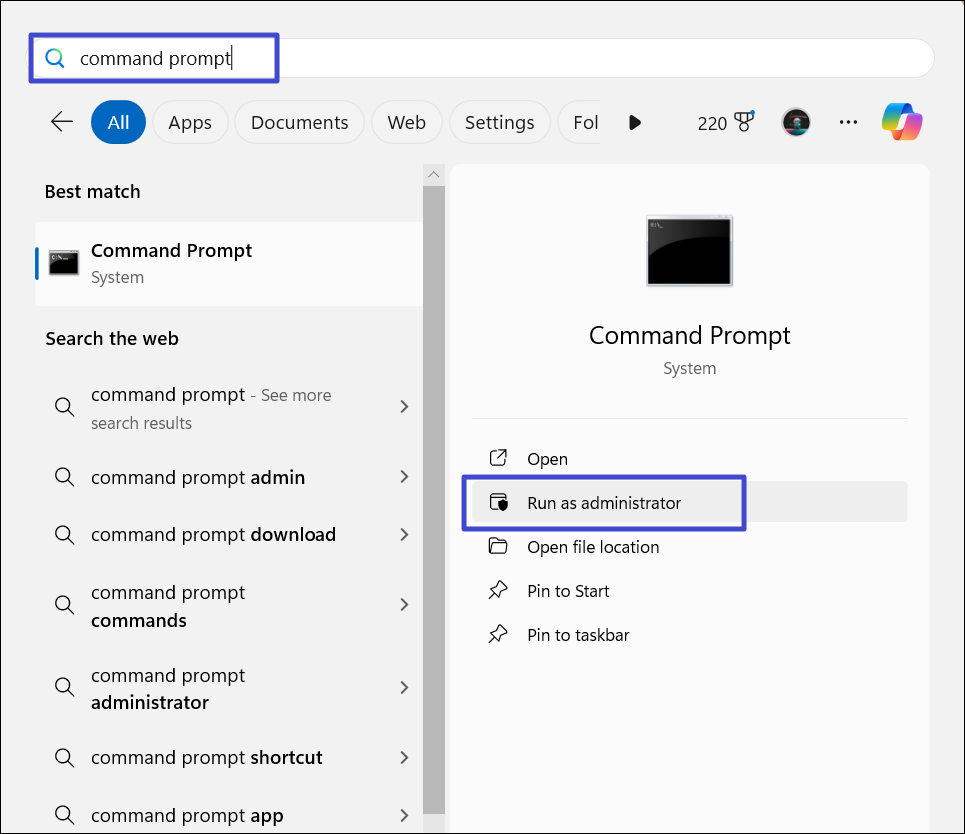
1. Press the Windows key, type “Command Prompt“, and select “Run as administrator“.
2. Type the following commands in the Command Prompt window, and press Enter after each:
DISM.exe /Online /Cleanup-image /Checkhealth
DISM.exe /Online /Cleanup-image /Scanhealth
DISM.exe /Online /Cleanup-image /Restorehealth
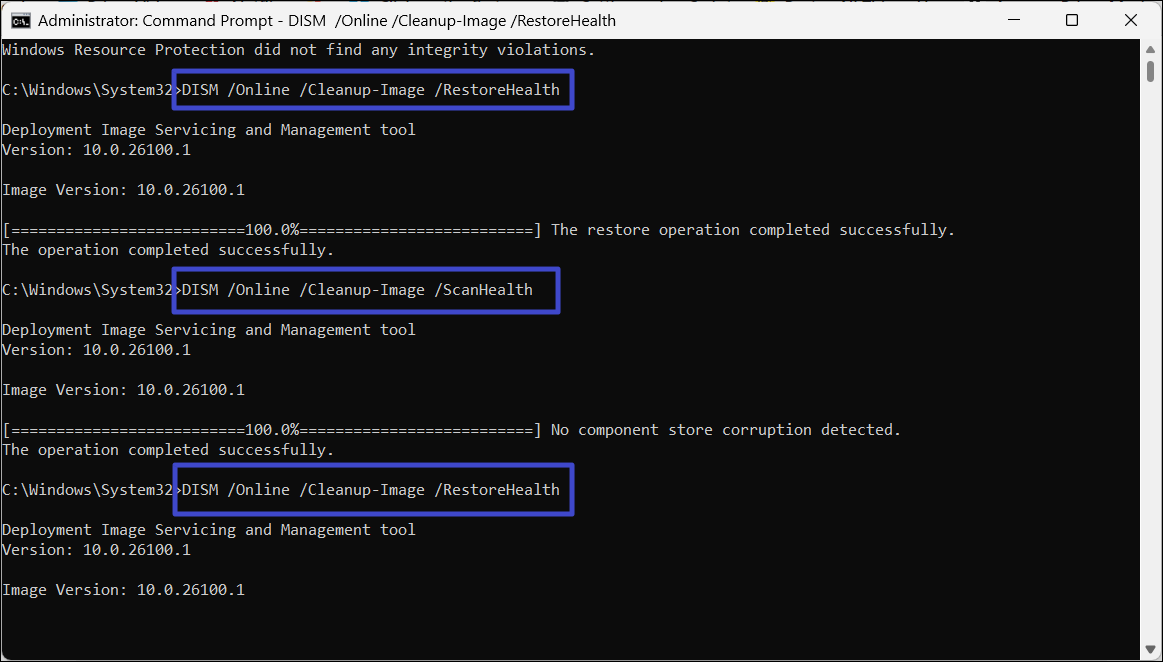
3. After the scan is complete, reboot your system.
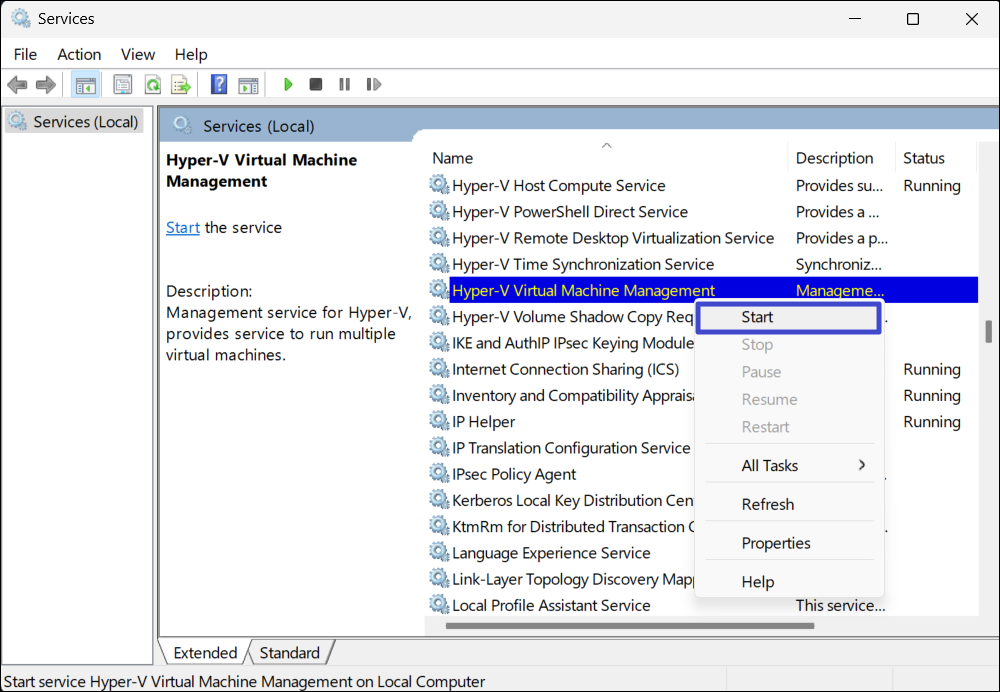
Method 5: Restart the Hyper-V Virtual Machine Management Service
1. Press the Windows key, type “Services“, and select the best result.

2. In the Services window, find the “Hyper-V Remote Desktop Virtualization Service” or “Hyper-V Virtual Machine Management” service.
3. Right-click the service and select “Stop” to kill the service.

4. Wait a few seconds, then, right-click the service again and select “Start“.
5. Restart your PC and see if the HYPERVISOR_ERROR Blue screen error is resolved.
Method 6: Run Windows Memory Diagnostics
1. Search “Windows Memory Diagnostic” using Windows Search and select the tool from the result.
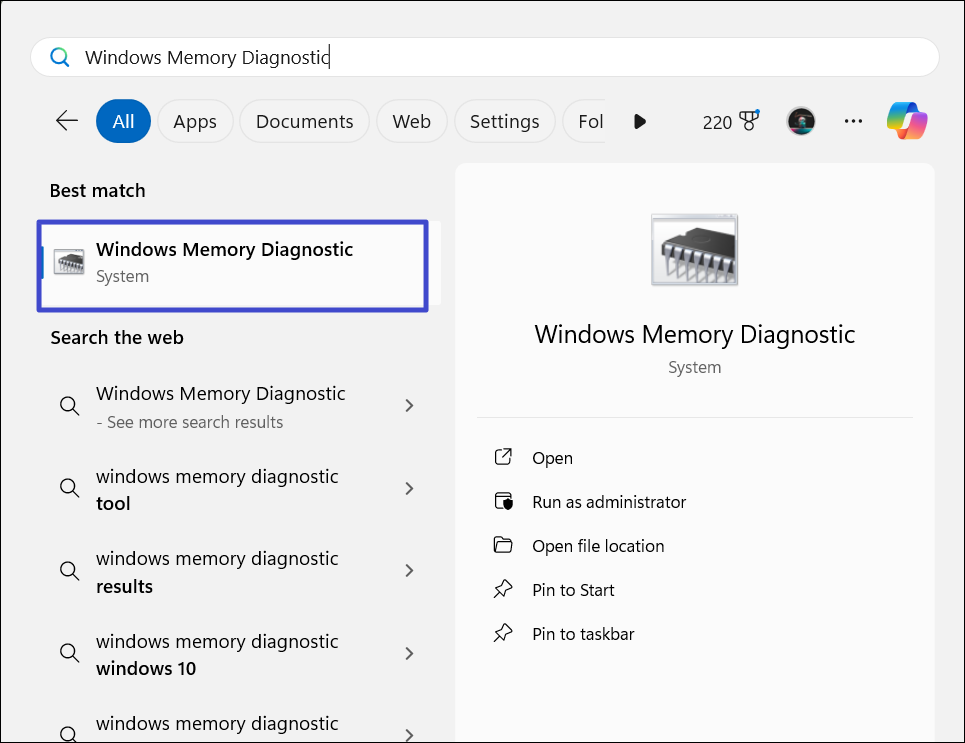
2. Once the tool opens, click “Restart now and check for problems (recommended)“.

3. After that, Windows will reboot and check your memory modules for any issues.
Method 7: Perform System Restore
1. Press Windows + R, type “rstrui.exe” in the box, and hit Enter.

2. In the System Restore tool, select the “Choose a different restore point” option, and click “Next“.

3. Choose the most recent restore point and click “Next“.

4. Finally, click “Finish” to restart your PC.

That’s it.


Leave a Reply