The PrtSc (Print Screen) function in Windows 11 is a handy tool that allows you to capture a screenshot of your computer’s display. However, there may be instances when the PrtSc key stops working, making it difficult to take screenshots. This can be frustrating, especially if you rely on this function for your work or personal use. Fortunately, there are several troubleshooting steps you can take to fix the issue. From restarting your computer to updating your drivers, and checking for third-party software conflicts, there are multiple ways to resolve the PrtSc not working problem in Windows 11. In this article, we will explore some of the most effective methods to help you get the PrtSc function working again.
Page Contents
Fix: PrtSc or Print Screen not working in Windows 11
FIX 1: Run the keyboard troubleshooter
- Open Settings by clicking Windows + I keys together.
- Then in the Settings Window, click on System then click on Troubleshoot.
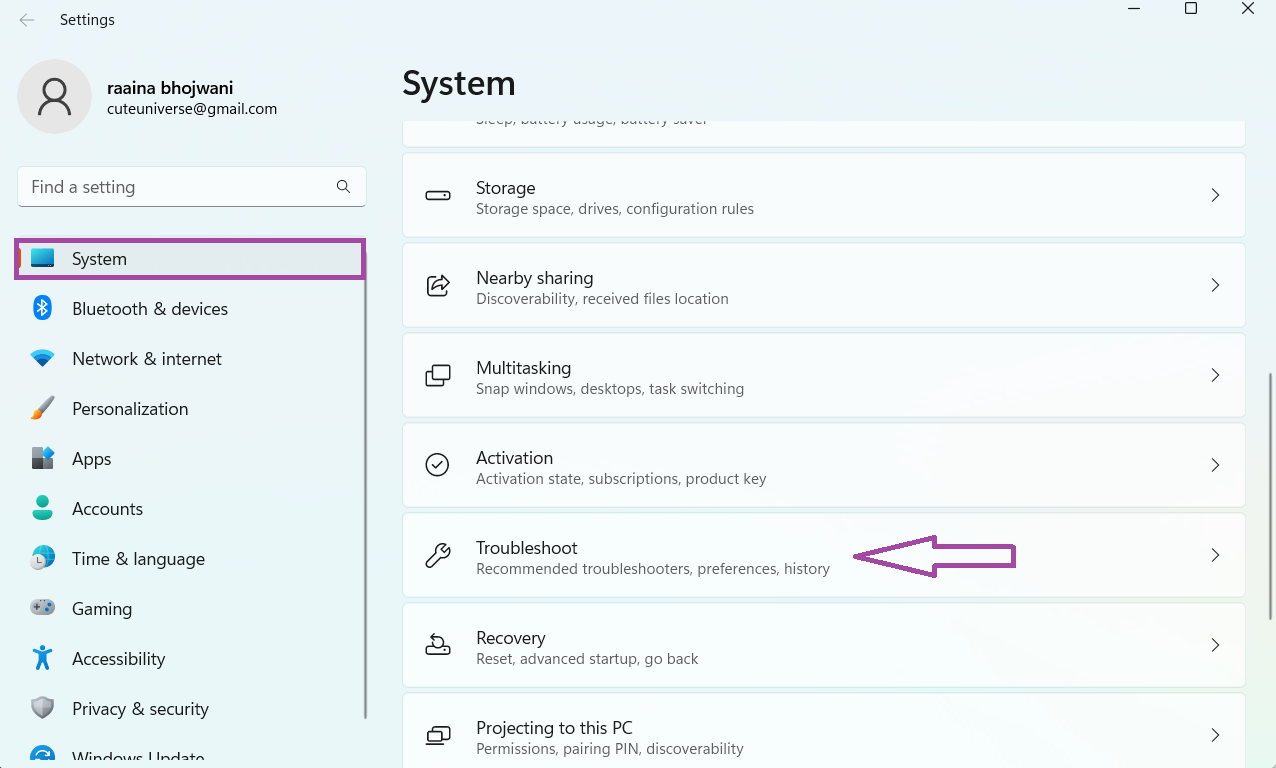
- Then click on the Other troubleshooters option.
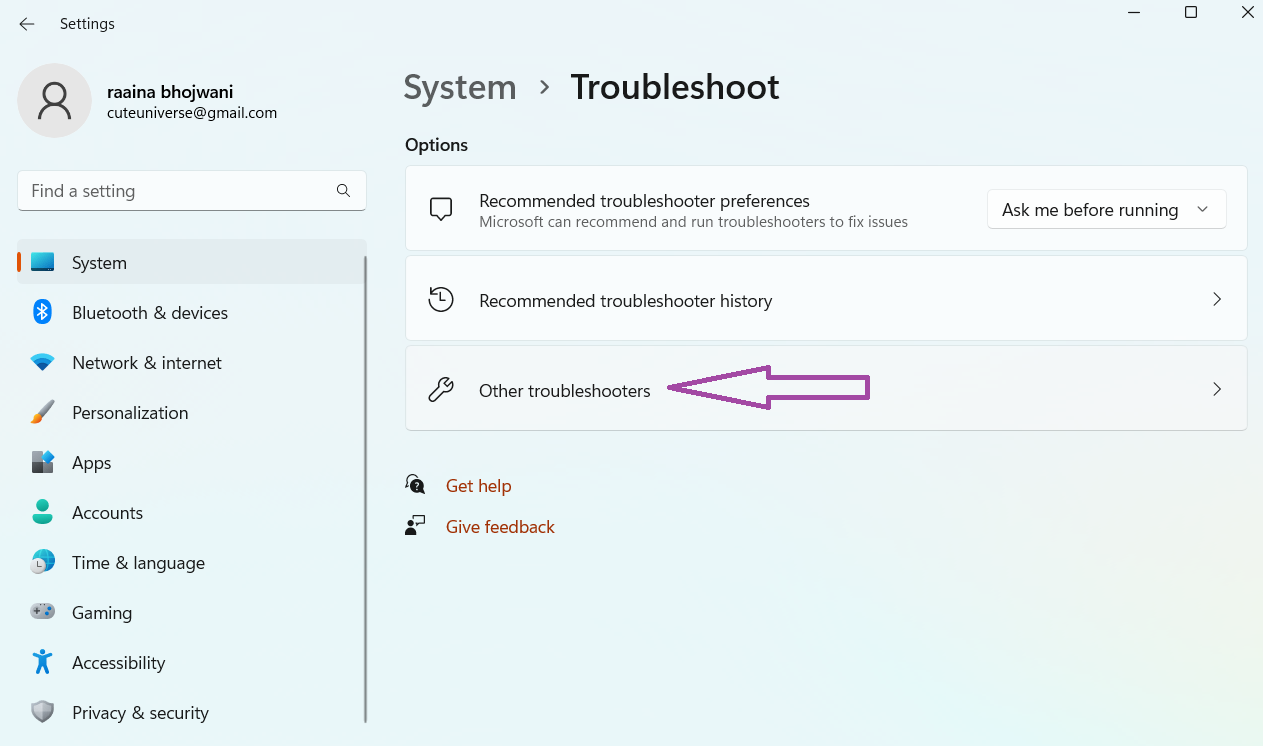
- Next, click on the Run button in the Keyboard section.
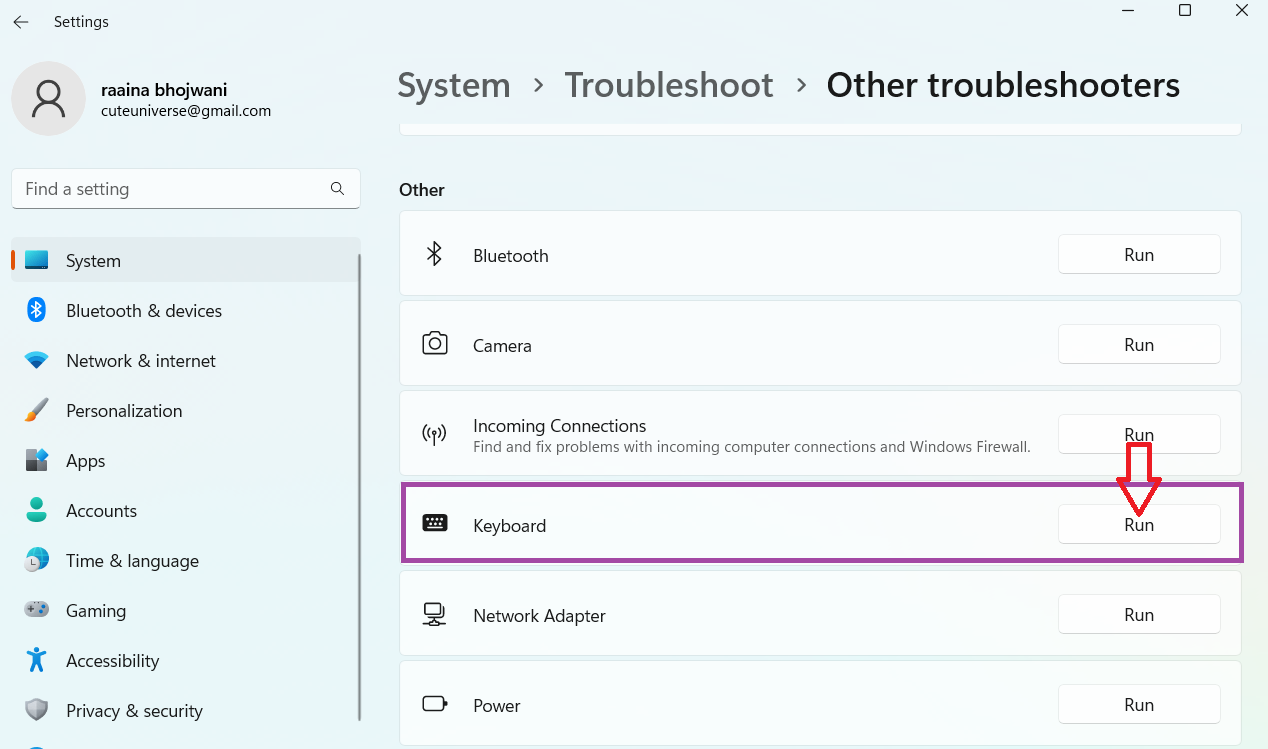
Now the troubleshooting will start and then follow the instructions on-screen if any issue has been detected.
Fix 2: If PrtSc or Print Screen not working in Windows then 11 Restart your computer
If the PrtSc (Print Screen) function is not working in Windows 11, one of the easiest solutions to try is to simply restart your computer. This may seem like a basic troubleshooting step, but it can often resolve minor software or system glitches that could be causing the issue. Restarting your computer can clear out any temporary files or settings that might be interfering with the PrtSc function. After the restart, try pressing the PrtSc key again to see if it’s working properly. If the issue persists, there are other fixes you can take to fix the problem.
Fix 3: Update your keyboard drivers and other drivers.
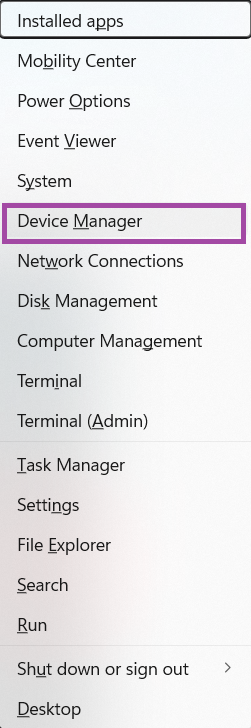
- Open Windows Quick Menu by pressing the Windows + X keys and then click on Device Manager.
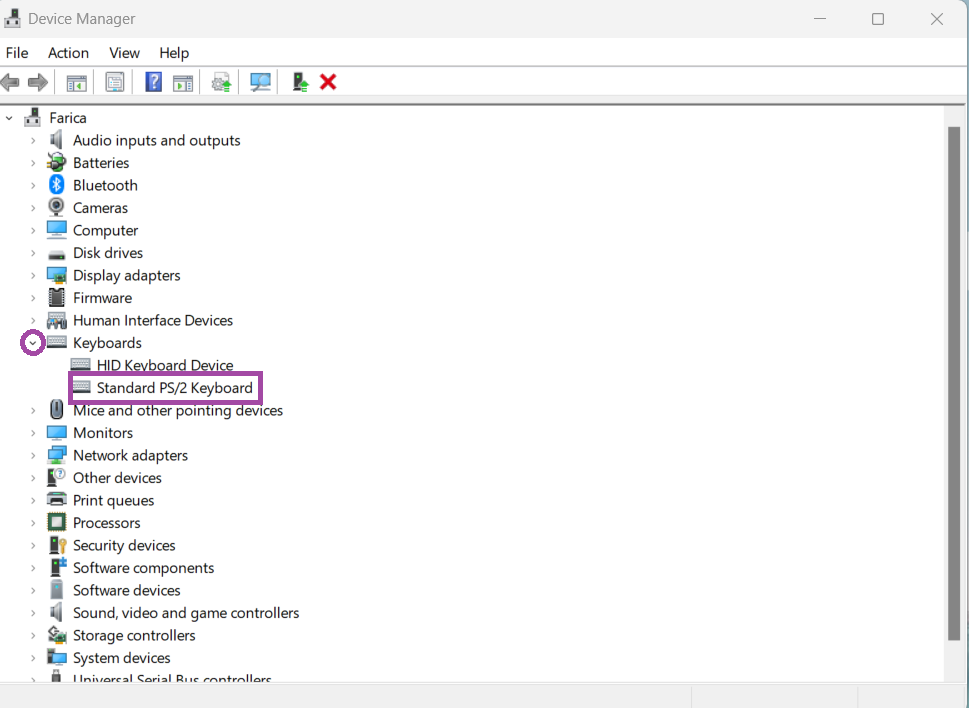
- Then, click on the small Keyboards arrow to expand it and next right-click on Standard PS/2 Keyboard.
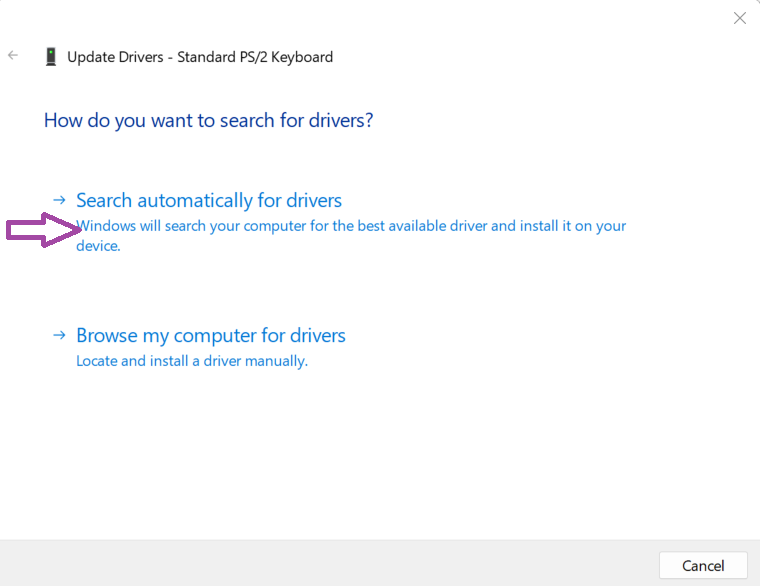
- Next, click on Update driver > then click on Search automatically for drivers and follow on-screen instructions.
Fix 4: Update your operating system
- Open Settings by pressing the Windows + I keys.
- Then click on Windows update.
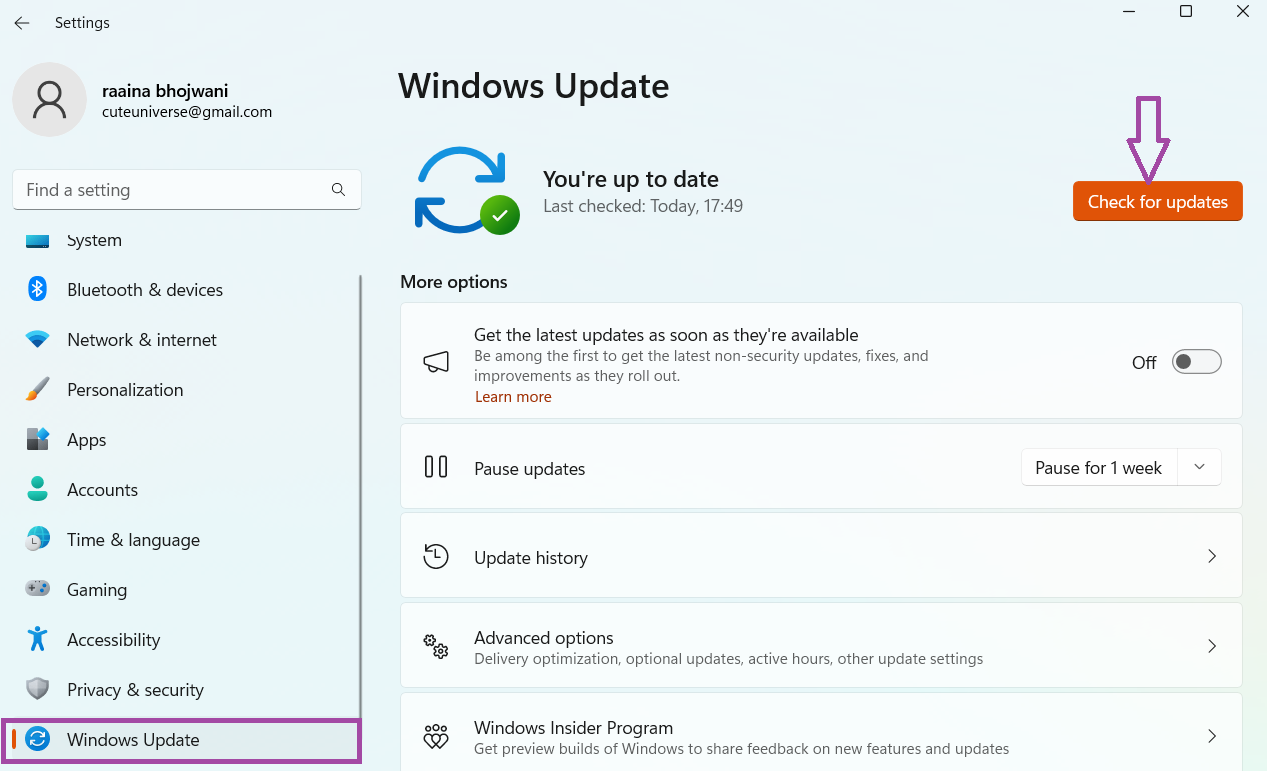
- Next, click on Check for Updates.
Fix 5: Try different Keyboard shortcut keys if PrtSc or Print Screen not working in Windows 11.
- Press Win+ PrtSc to take a shot and save it to a file.
- Press Alt+ PrtSc to take a shot of an active window.
- Press fn+ PrtSc to take the screenshot.
- Press Win+ Shift+ S to launch the Snipping Tool for screenshots.
Fix 6: Check that the print screen key is enabled
- Open the Control panel by searching on the search bar of Windows.
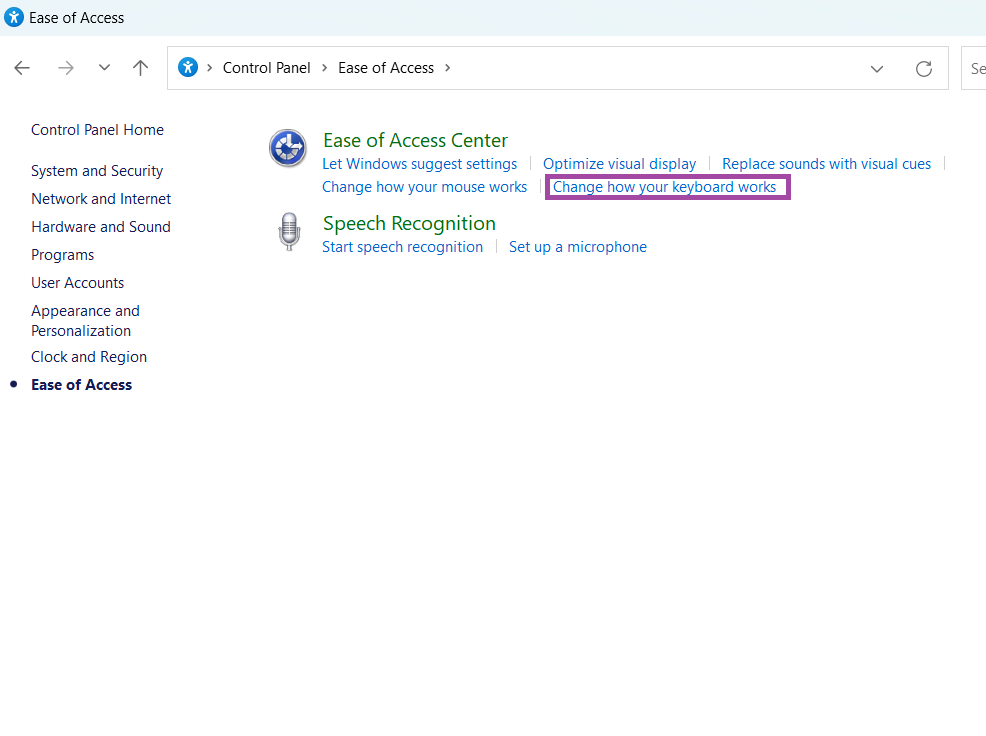
- Then, click on the Ease of Access option.

- Then, click on Change how your keyboard works.
After that, click on Keyboard settings.
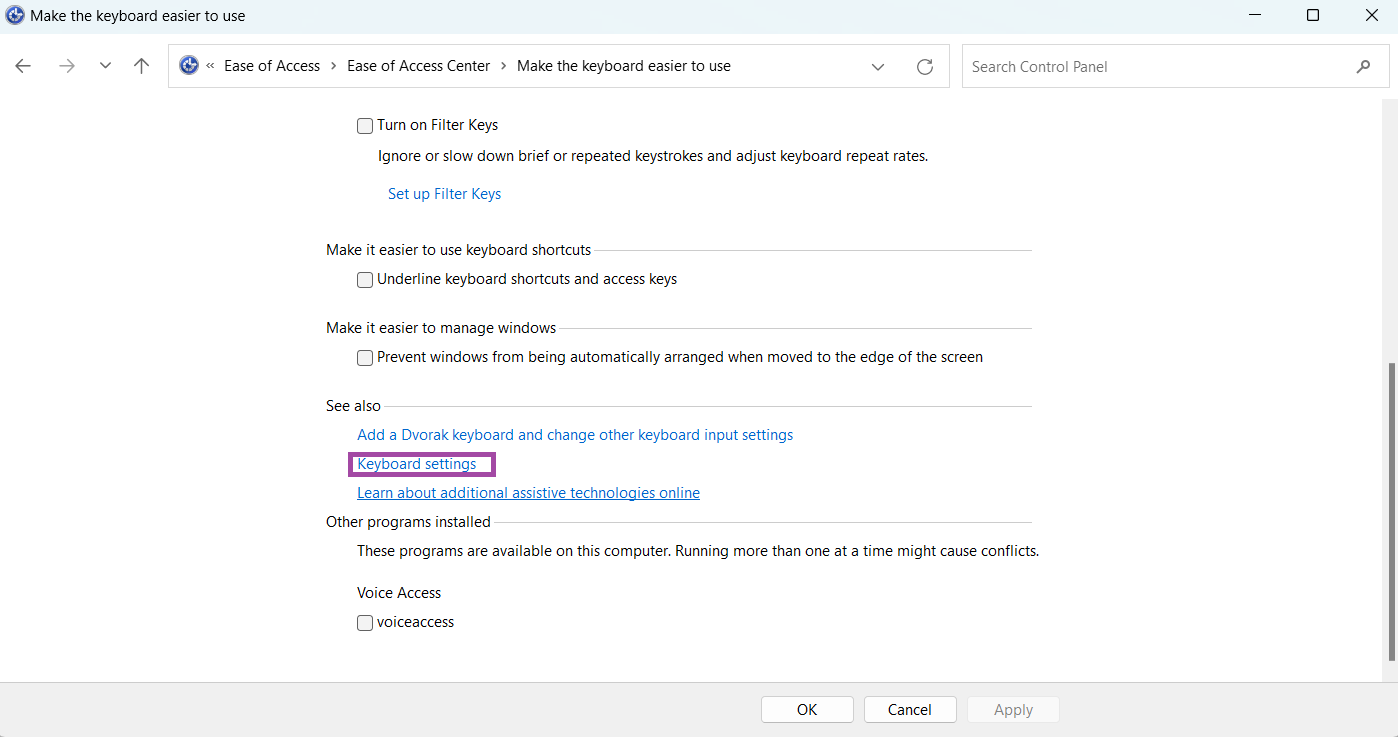 Then check whether the Print Screen key is not disabled.
Fix 7: Check third-party screenshot software
If the PrtSc (Print Screen) key is not working on your Windows 11 computer, it’s worth checking if any third-party screenshot software is causing the issue. Sometimes, such software can interfere with the default screenshot function of Windows, making it unresponsive. To check this, try disabling any third-party screenshot software you have installed and see if the PrtSc key starts working again. You can do this by opening the Task Manager and ending any processes related to the software or by uninstalling it from the Control Panel. If you find that a particular software was causing the issue, you may need to consider an alternative or contact the software developer for assistance.
Hope this helps!