Sleep mode or standby mode or suspend mode, is a power-sparing state that a computer can enter when not in use. The computer’s state is maintained in RAM (random access memory). When the computer enters sleep mode, power is cut to any unneeded systems, while RAM receives just enough power to enable it to maintain data. In this article, we will fix Windows 11 sleep mode not working.
Most computers and computing devices enters sleep mode after a certain period of inactivity. A computer usually wakes from sleep mode through touching a key, clicking the mouse or pressing the power button. Due to some reasons or issues, computer cannot enters sleep mode.
Page Contents
Fix: Windows 11 sleep mode not working
Following are the methods through which you can make PC or system to enter sleep mode:
Method 1: Make sure sleep mode is Enable
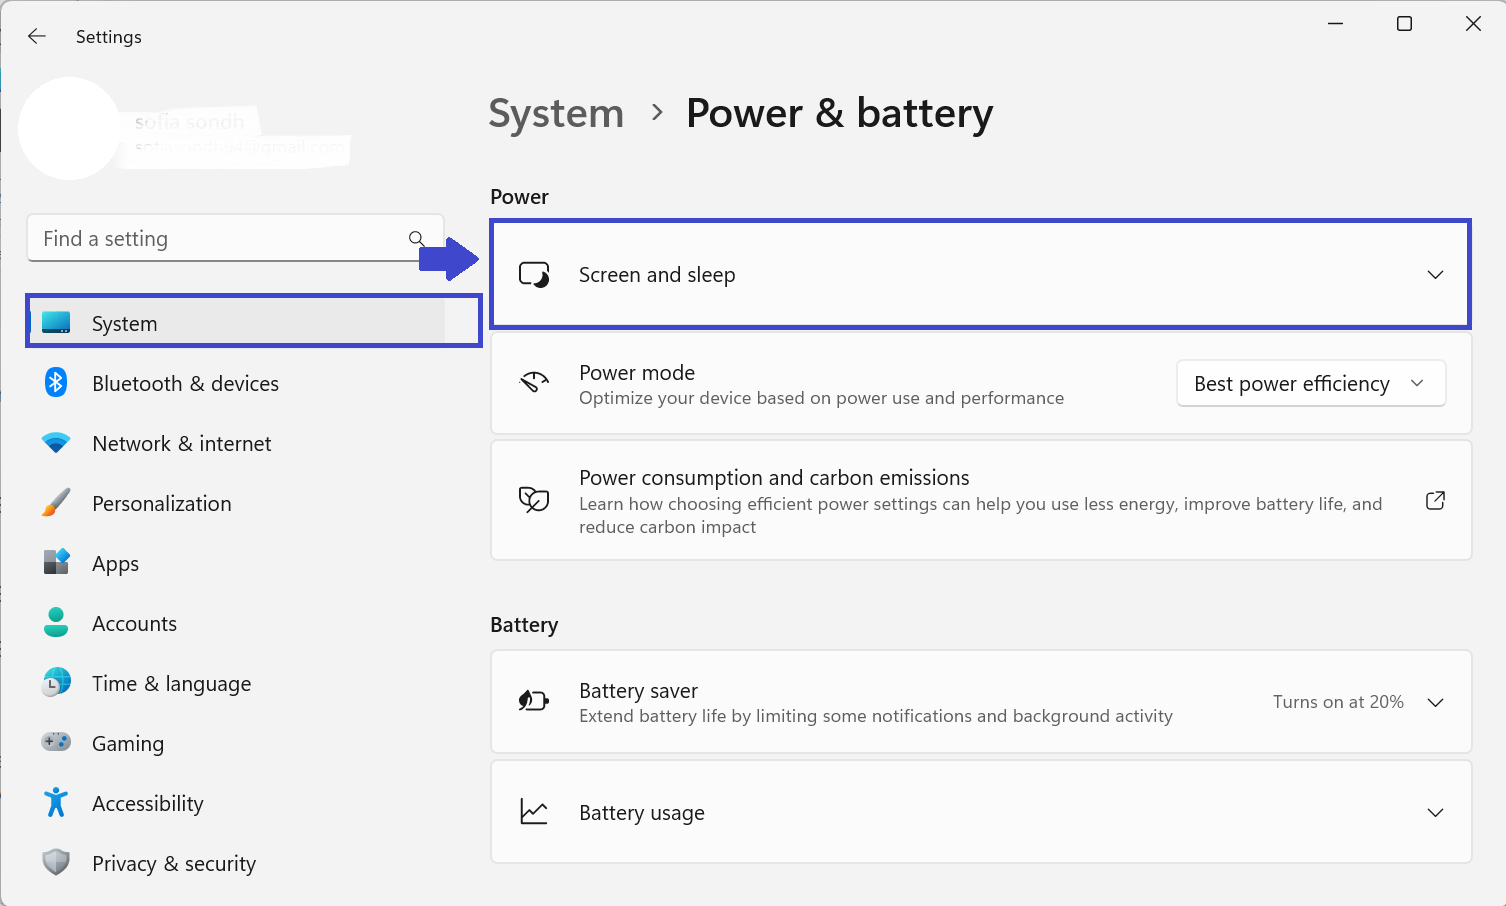
STEP 1: Go to Settings and select System. You can also press Windows key + I to open settings (shortcut key to open settings). Choose Power & battery option.

STEP 2: In the right pane, select Screen and sleep option (see the below image)
STEP 3: A drop down list will appear from which you can set a timer accordingly.
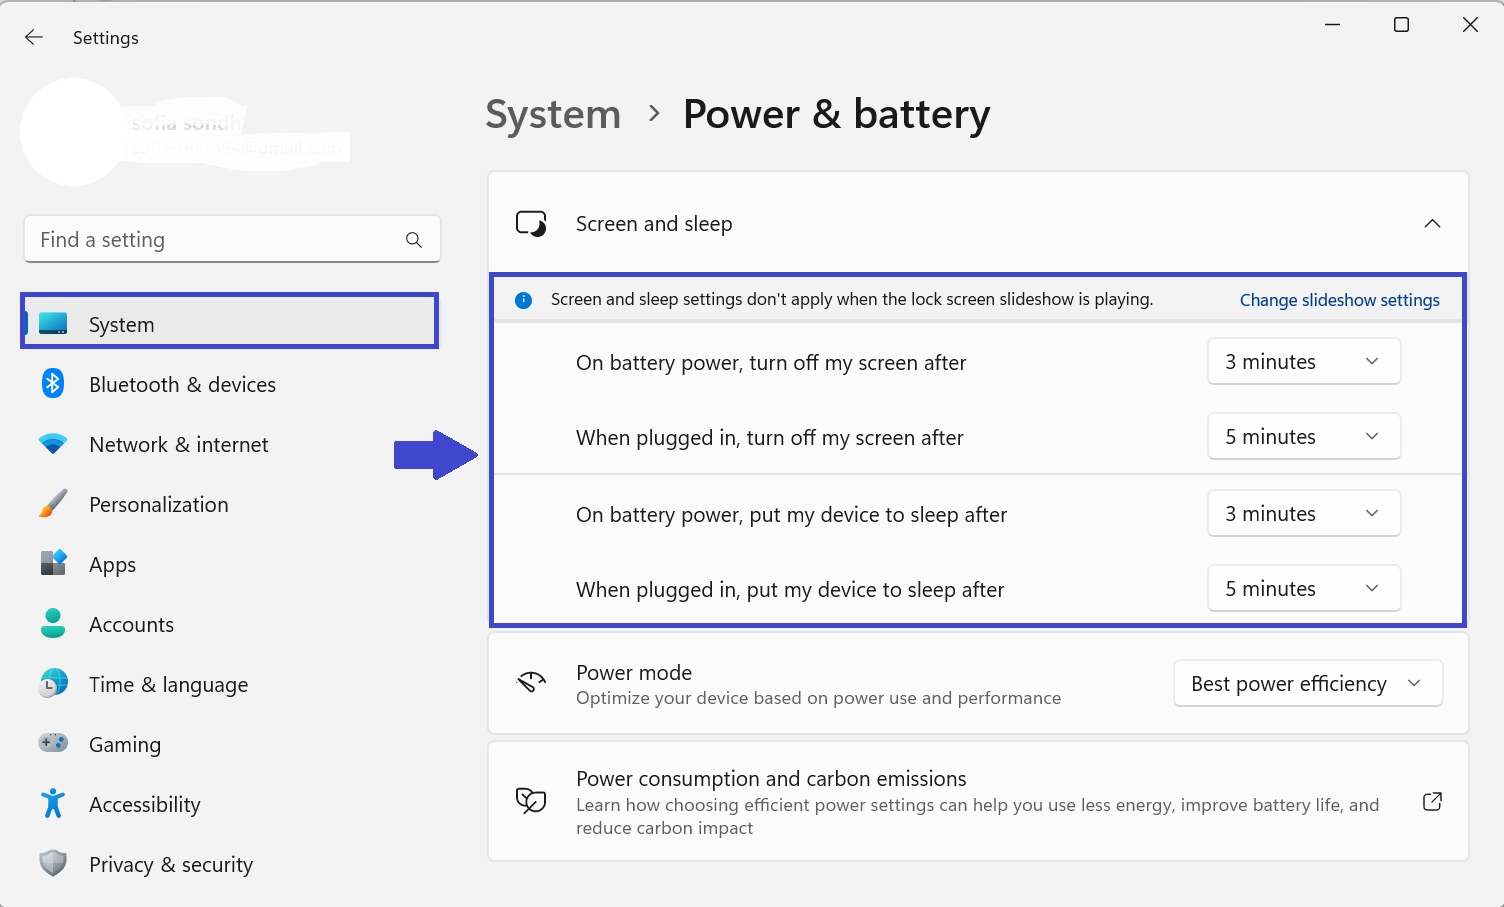
When screen slideshow is playing, then the screen and sleep won’t work. For that you need to change the slideshow settings and then you can make changes.
Method 2: Turn off Hybrid Mode
The Hybrid mode brings hibernation and sleep mode together which helps you to save computer energy. If you are facing issues to put your PC into sleep mode, then it’s worth turning off hybrid mode to resolve your issue.
To Enable or Disable Hybrid mode, follow the steps:
STEP 1: Open Control Panel and select Hardware and Sound. (see the below image).
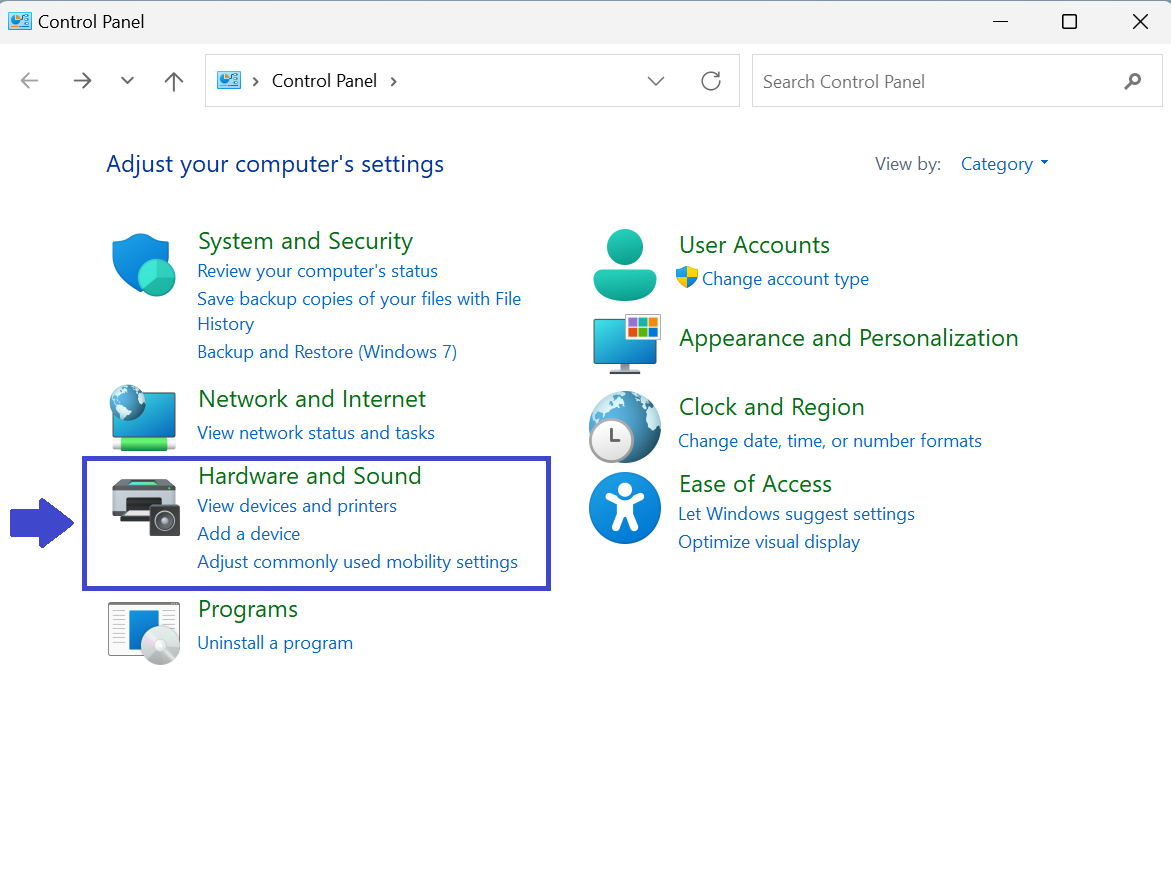
STEP 2: In Hardware and Sound, Select Power Options.

STEP 3: When you will select Power Options, you need to click on “Change plan settings”
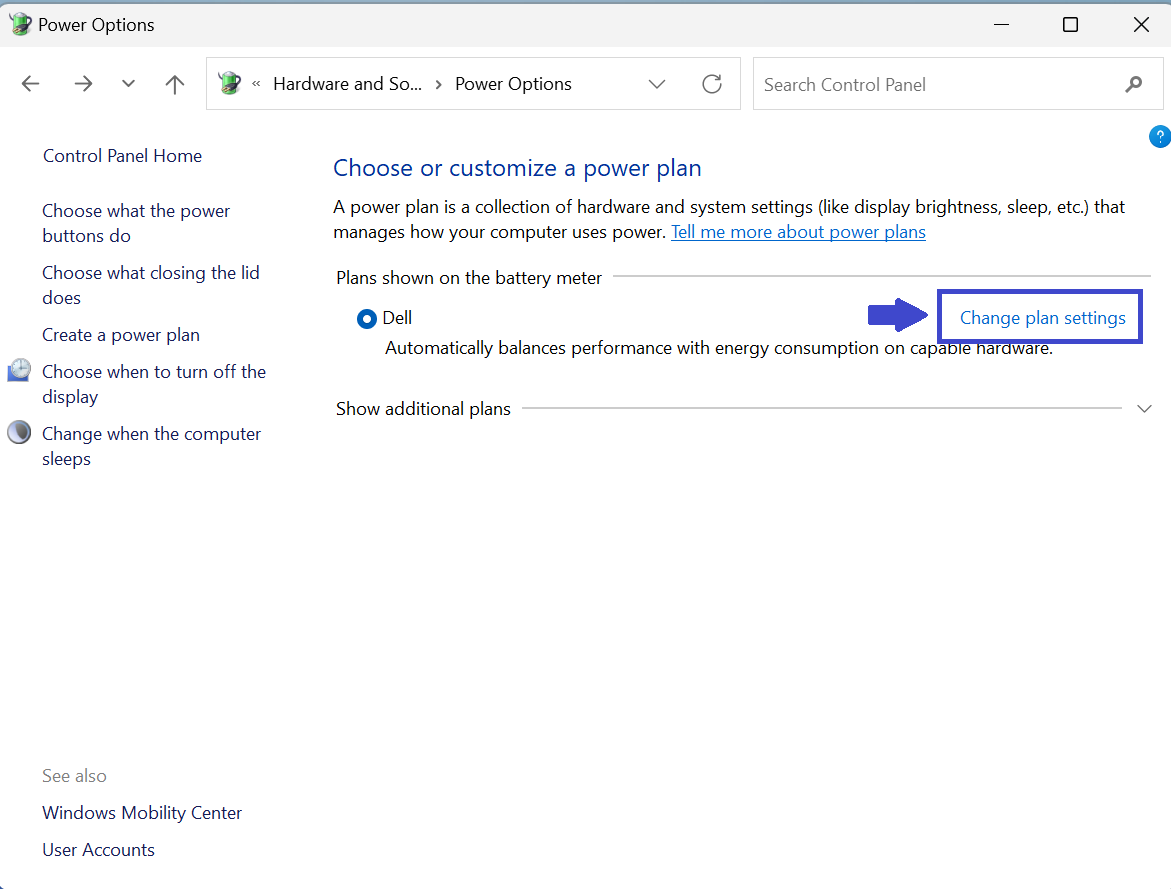
STEP 4: Now, select “Change advanced power settings”.
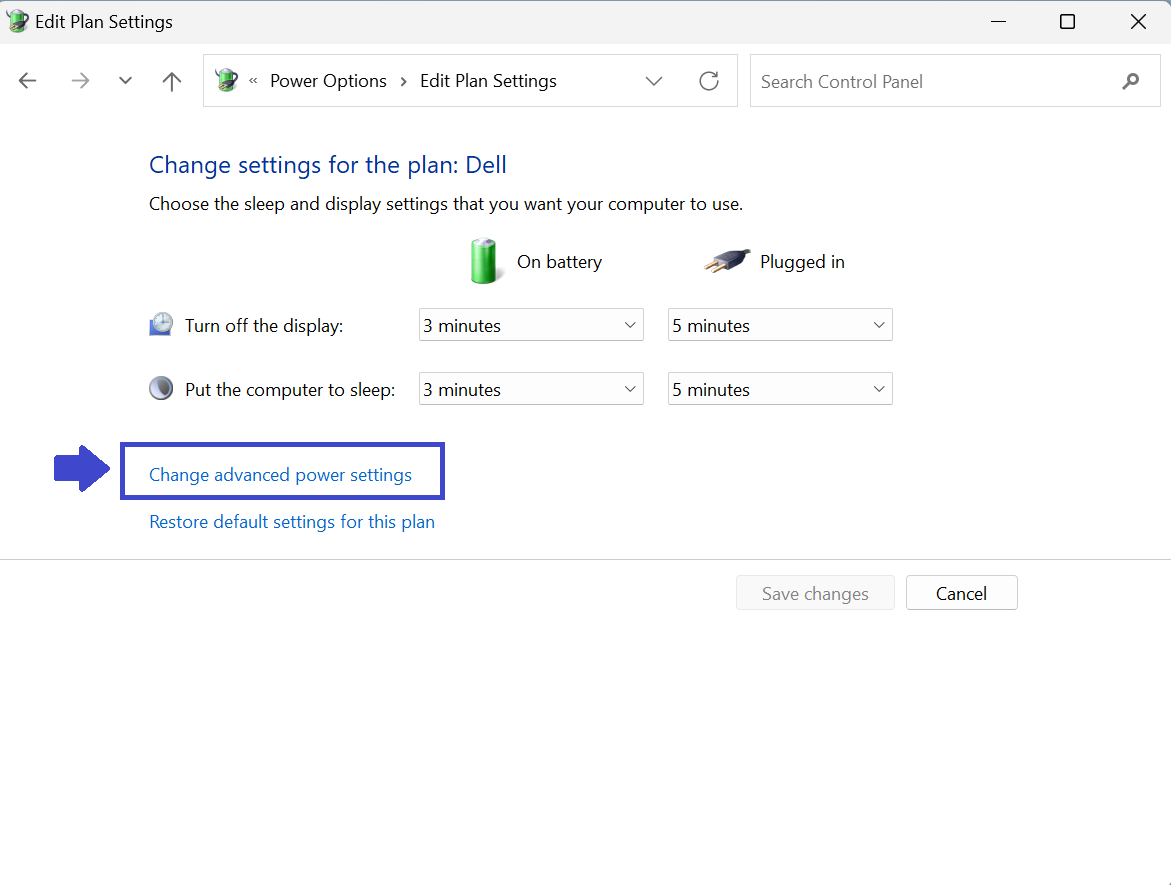
STEP 5: Prompt box will appear. Here follow the navigation:
Sleep => Allow hybrid sleep and set
On battery: Off and Plugged in: Off

STEP 6: After doing the settings, click on Apply followed by OK.
Method 3: Disable screen saver to fix Windows 11 sleep mode not working
Windows 11 includes various screen savers.
STEP 1: Go to Settings and select Personalization. You can press Win + I to directly open the Settings app (Shortcut key) and then select Personalization.
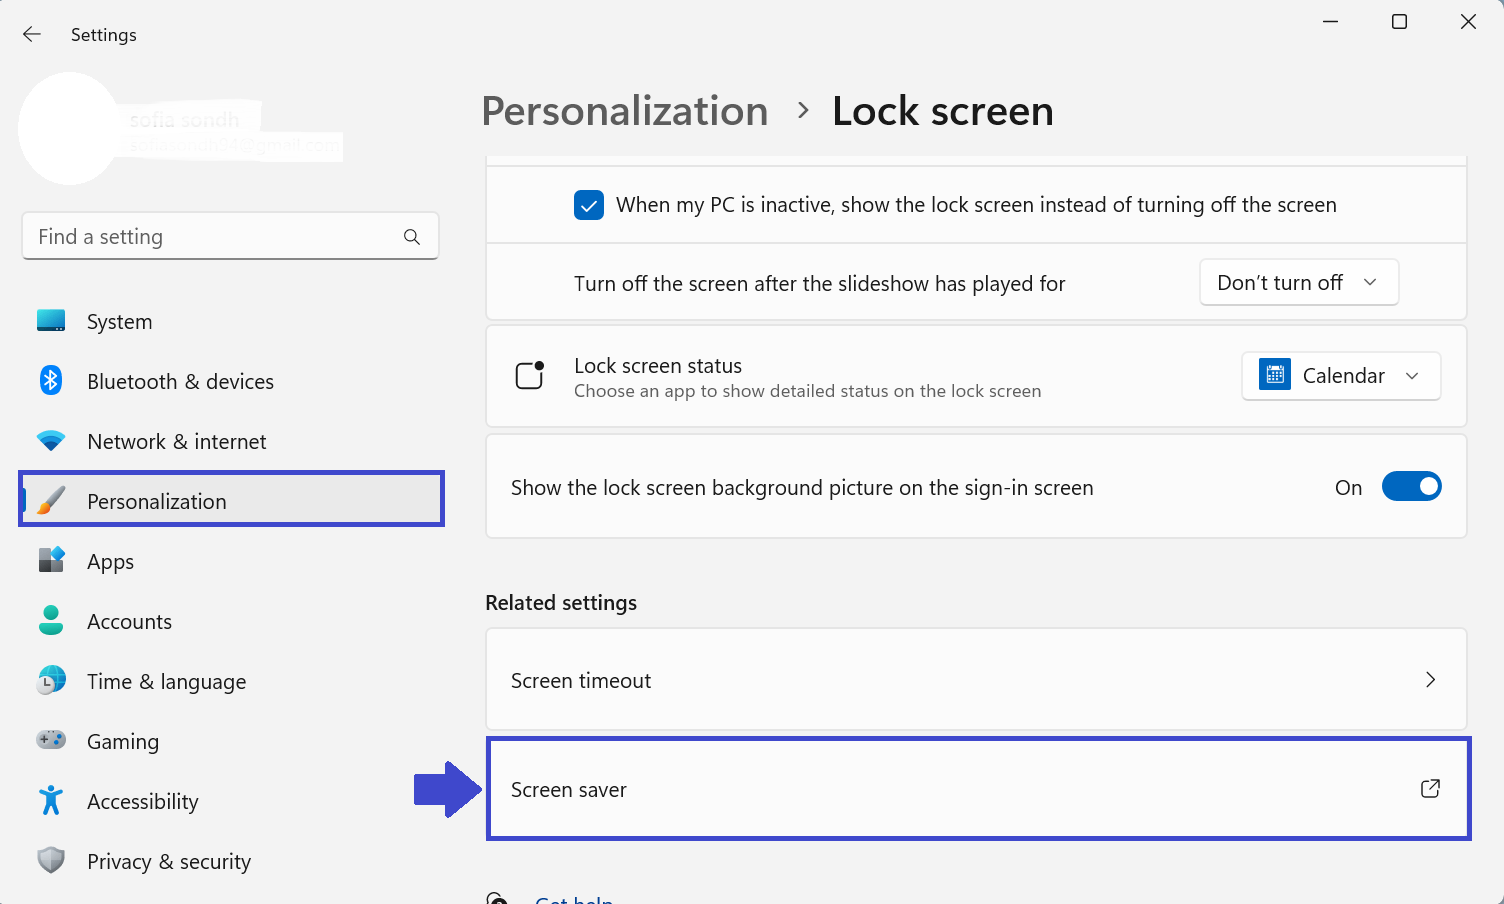
STEP 2: In Personalization, select the Lock screen option (see the below image).

STEP 2: After selecting the Lock screen, click on Screen saver.
STEP 3: Now, prompt box will appear. There in the screen saver drop down list, select (none) option.

STEP 4: Click Apply followed by OK.
Method 4: Check for viruses and malware
If you PC is still facing issues going to sleep mode, then your computer might have virus or malware. These threats can also cause various issues on your PC.
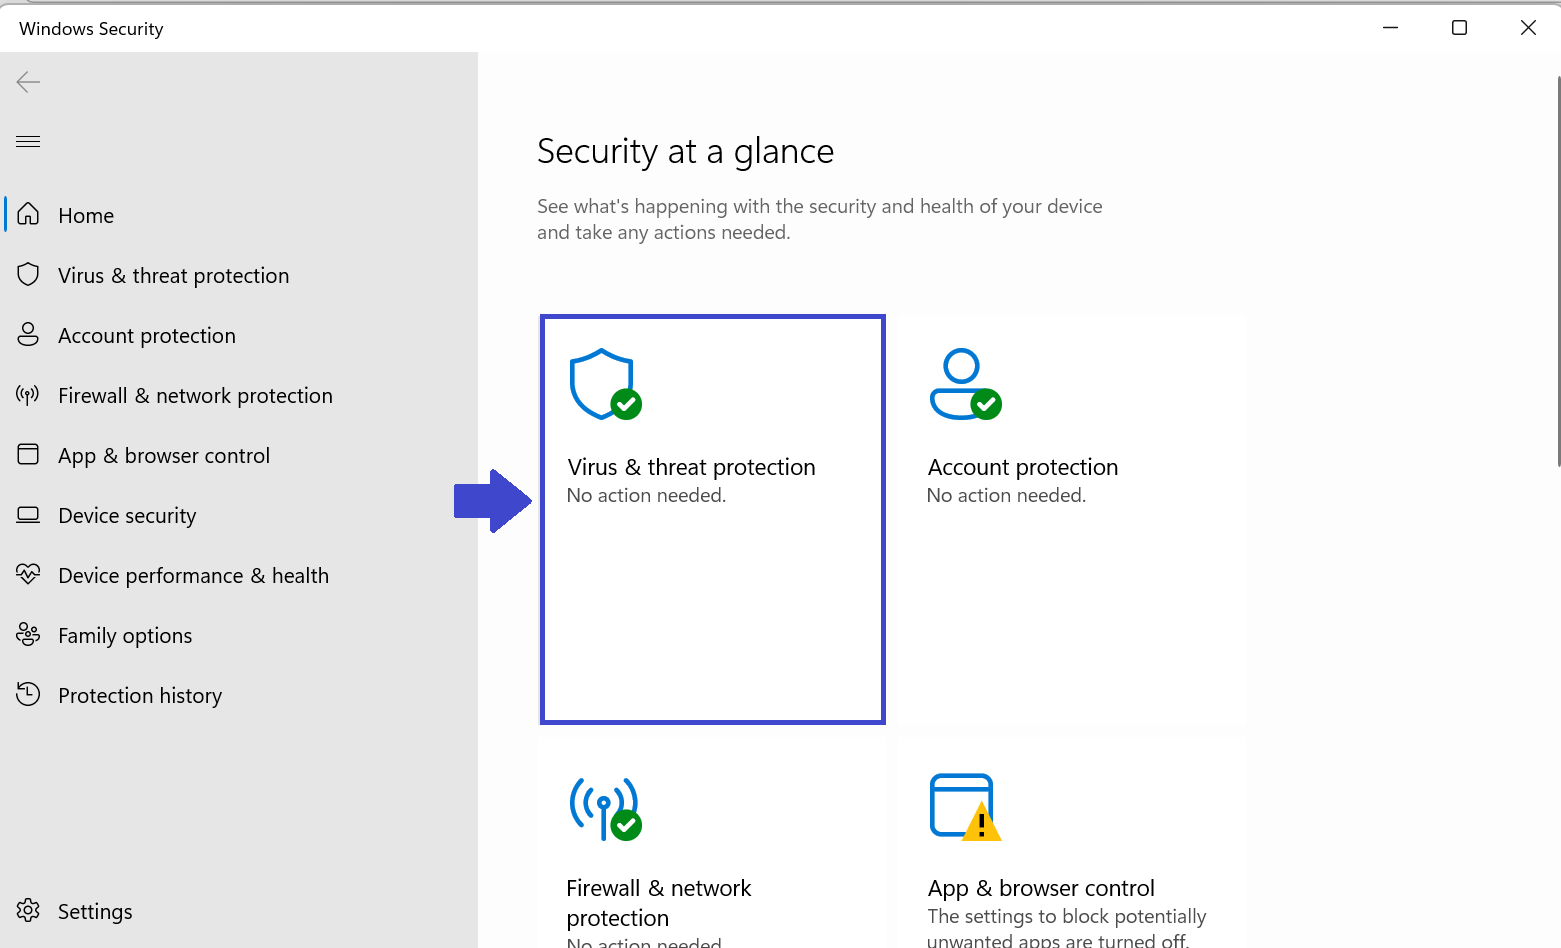
STEP 1: Open Windows Security and select Virus & threat protection option.
STEP 2: Click on Scan options (See the below image).
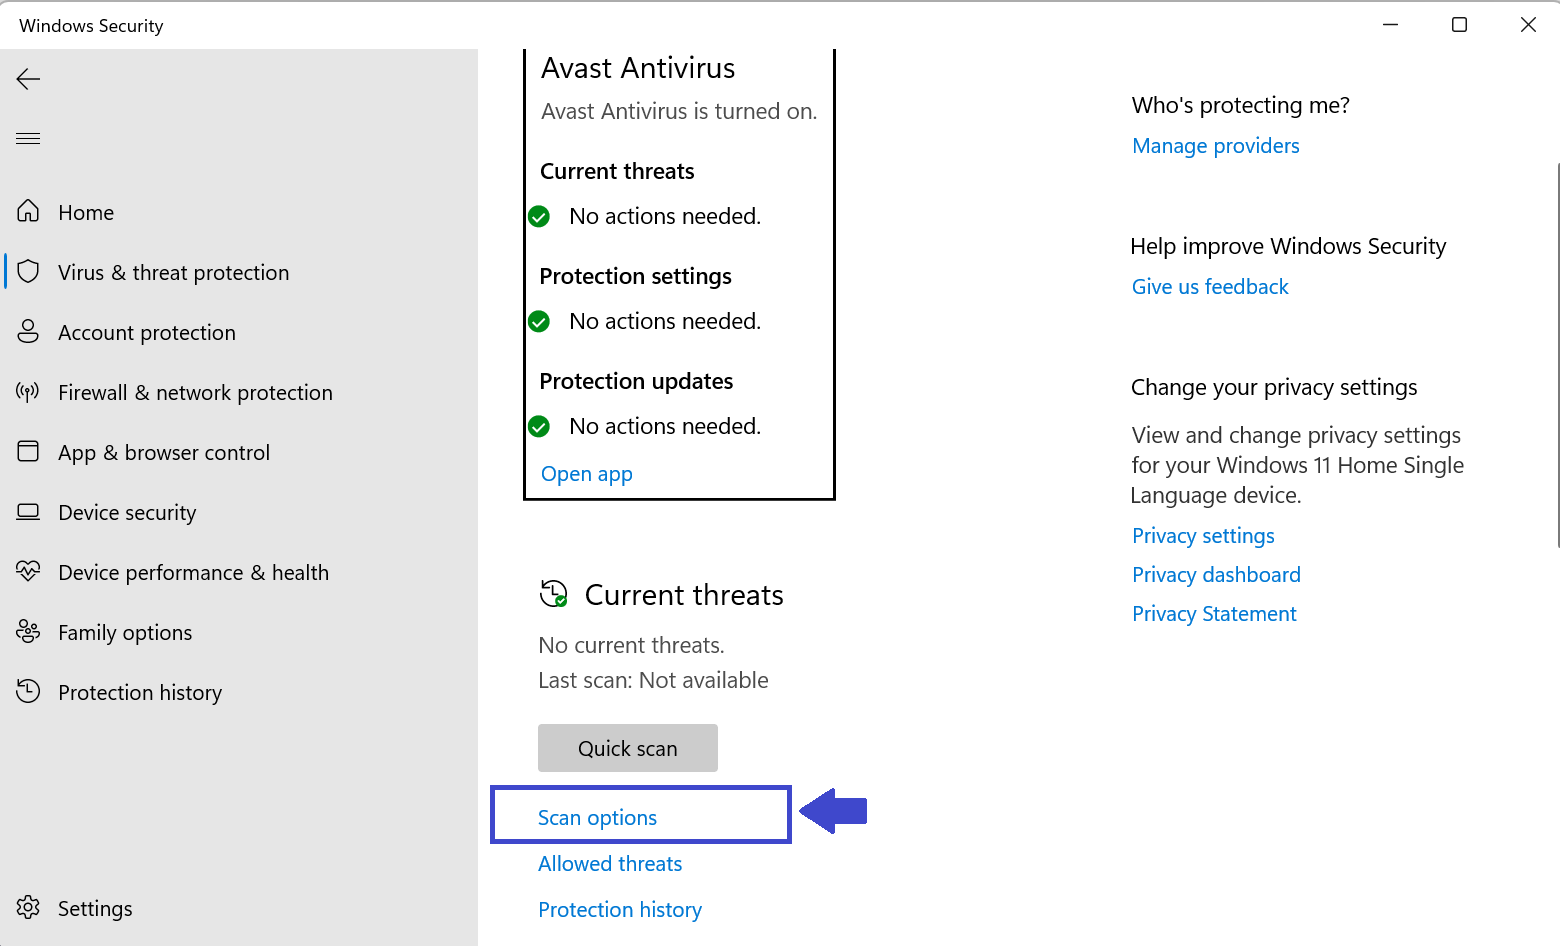
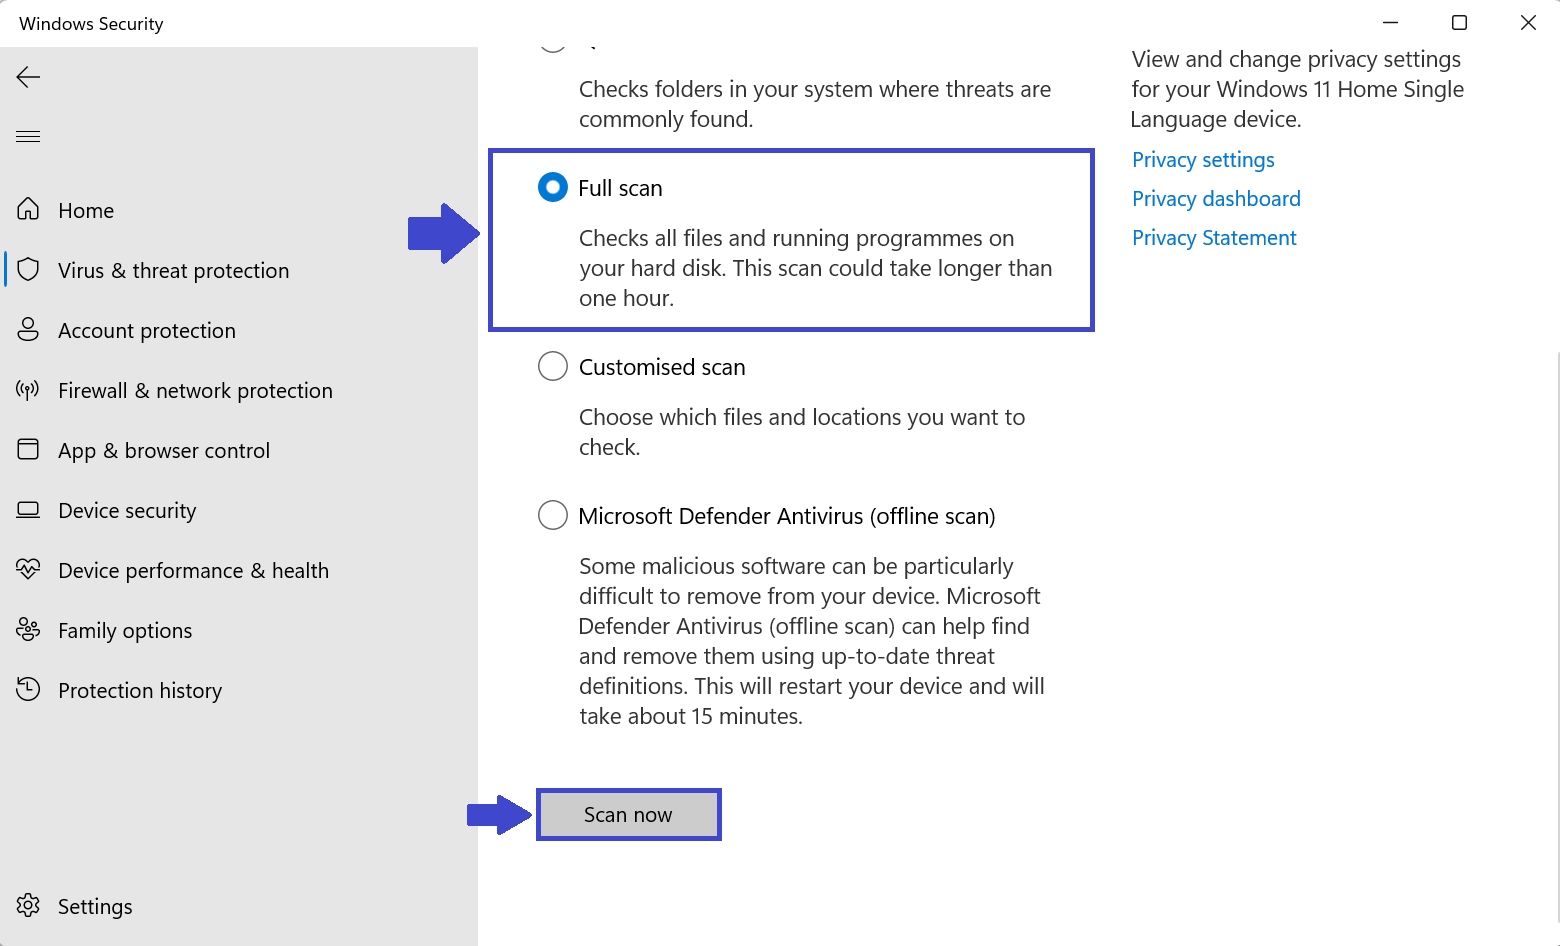
STEP 3: Select full scan option where it will check all files and running programmes on your hard disk.
STEP 4: Now click on “Scan now”. This is an in-built anti-virus in Windows 11.
It might take 30 mins to 1 hour of time to scan.
STEP 5: If there is any corrupted or malicious file, computer will scan and try to resolve it.
That’s It!