
Error code 0x80d02002 usually occurs when you are trying to download a new feature update. Restarting your PC and checking for updates cannot fix this problem. If you encounter this problem here are some windows update troubleshooting methods applied to fix Windows Update error code 0x80d02002 in Windows 11/10.
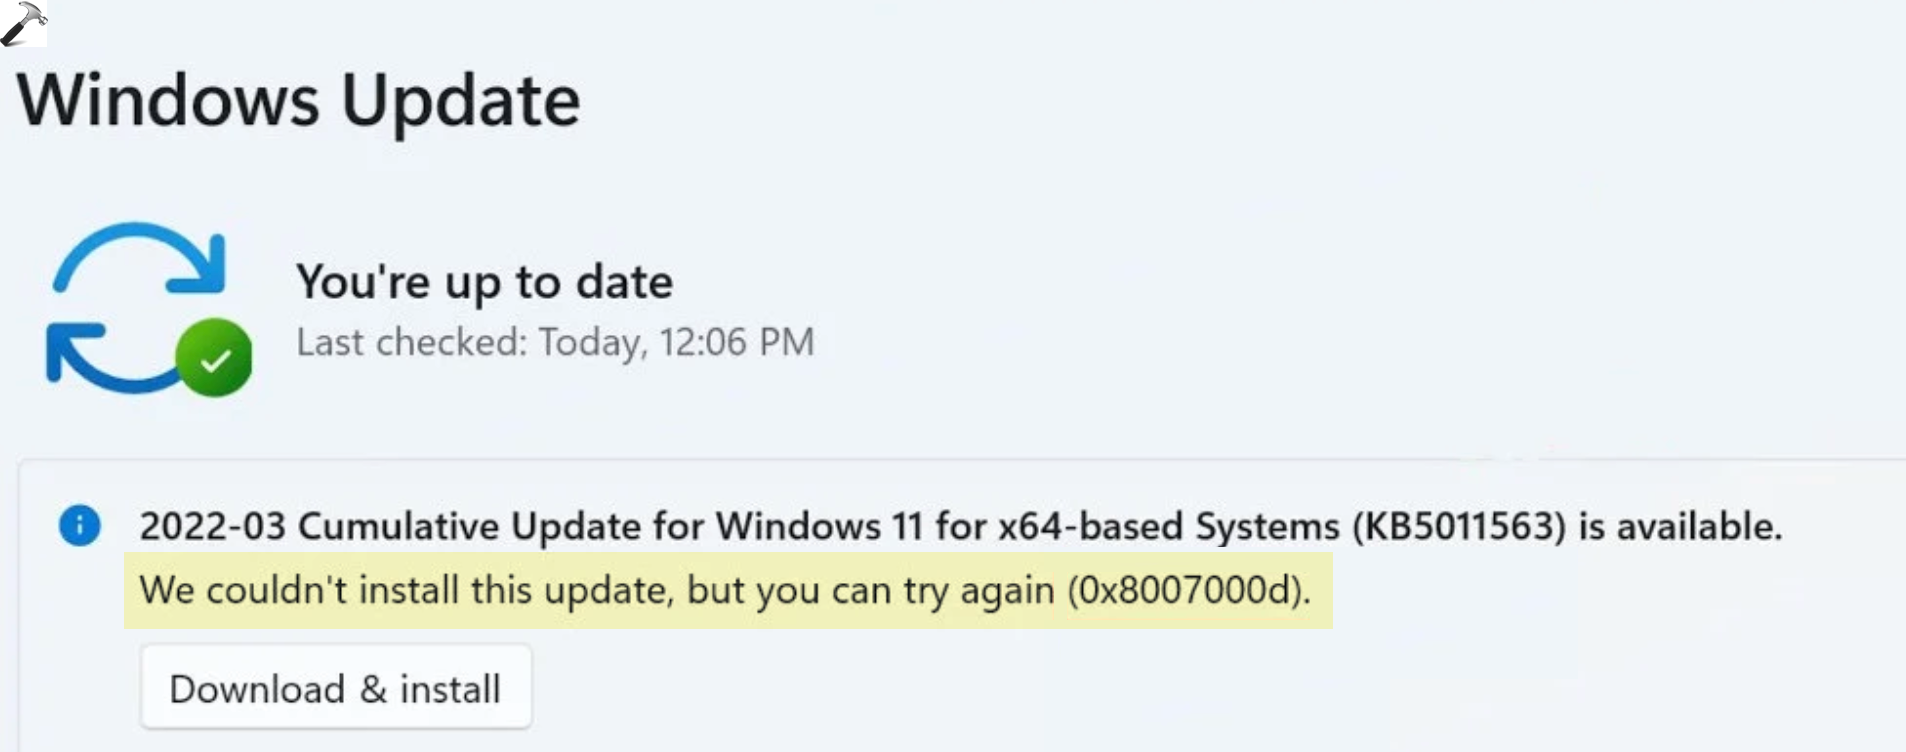
Whenever new updates are available Windows 11/10 is set to install them automatically. Or you can manually Install them from Settings -> Update & Security -> Windows updates -> Check for Updates. But sometimes users report being unable to install Windows Updates, or Windows Update Installation Fails with Error 0x80d02002, etc.
Page Contents
Fix: Windows Update Error Code 0x80d02002 in Windows 11/10
Below we have some of the solutions which will help you to Fix Windows Update Error Code 0x80d02002 in Windows 11/10:
Method 1: Run the Windows Update Troubleshooter
1. Open the Settings App and go to “System”.
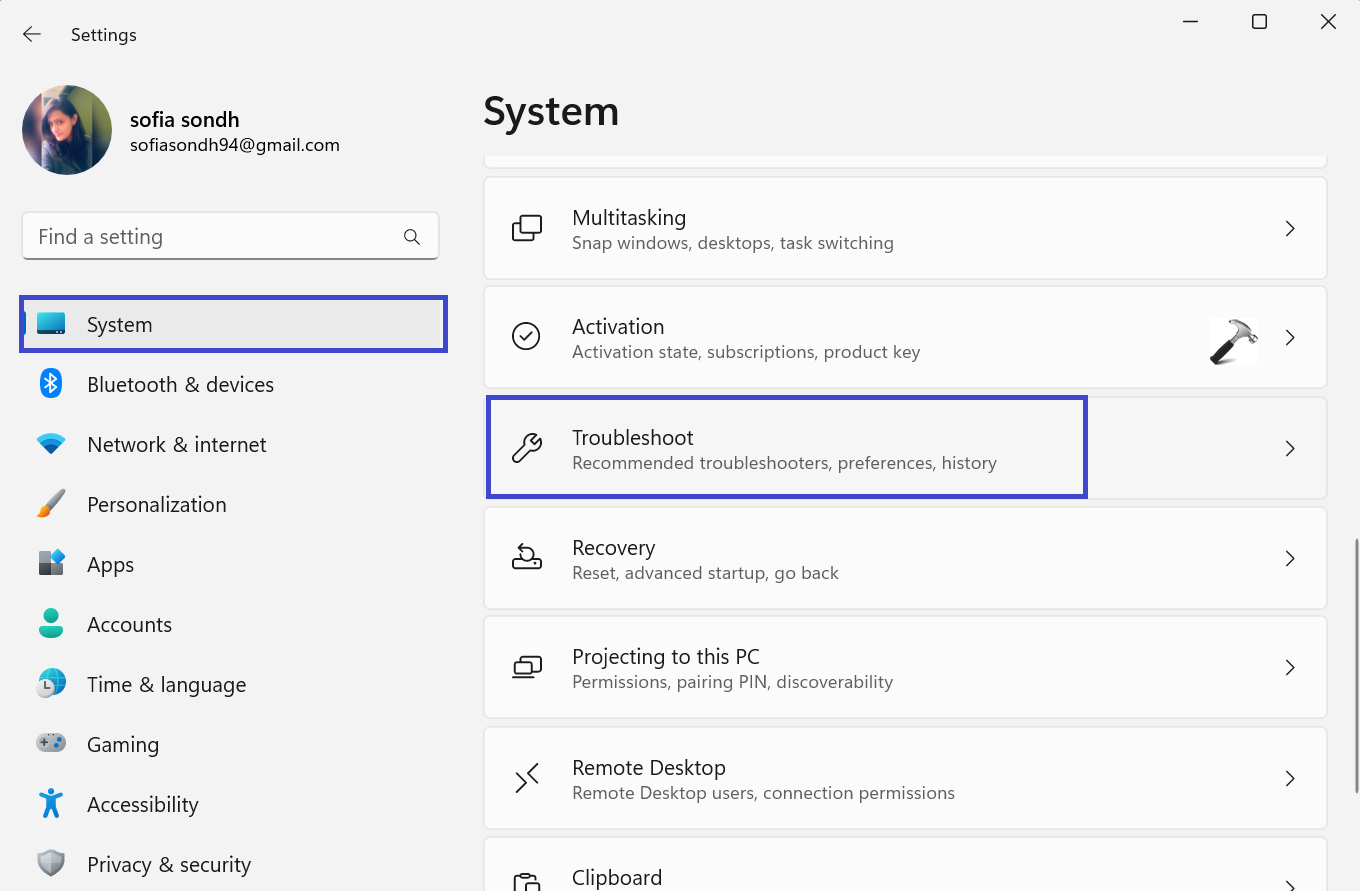
2. In the right panel, click on “Troubleshoot”.
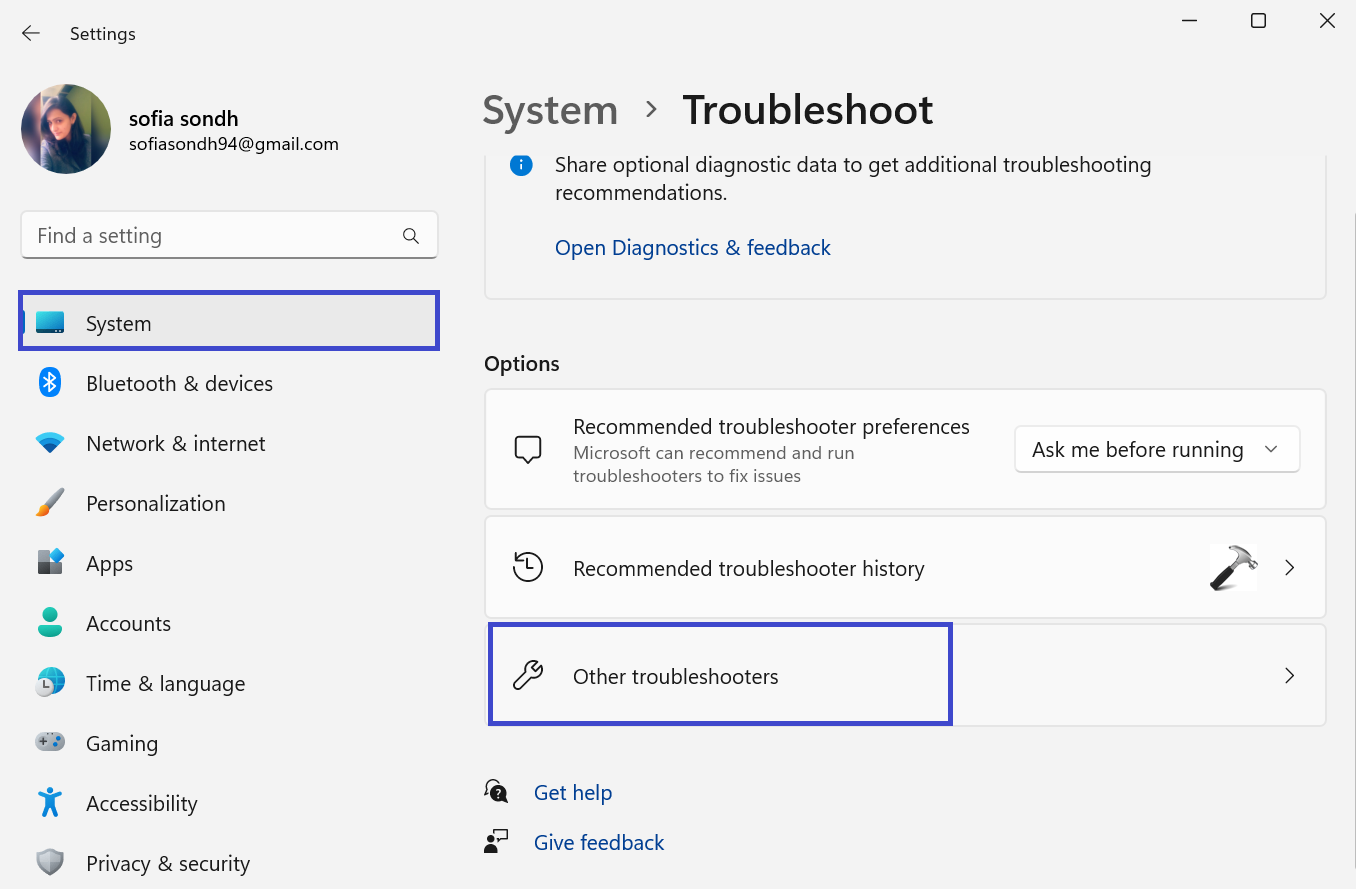
3. Now, click on “Other troubleshooters”.
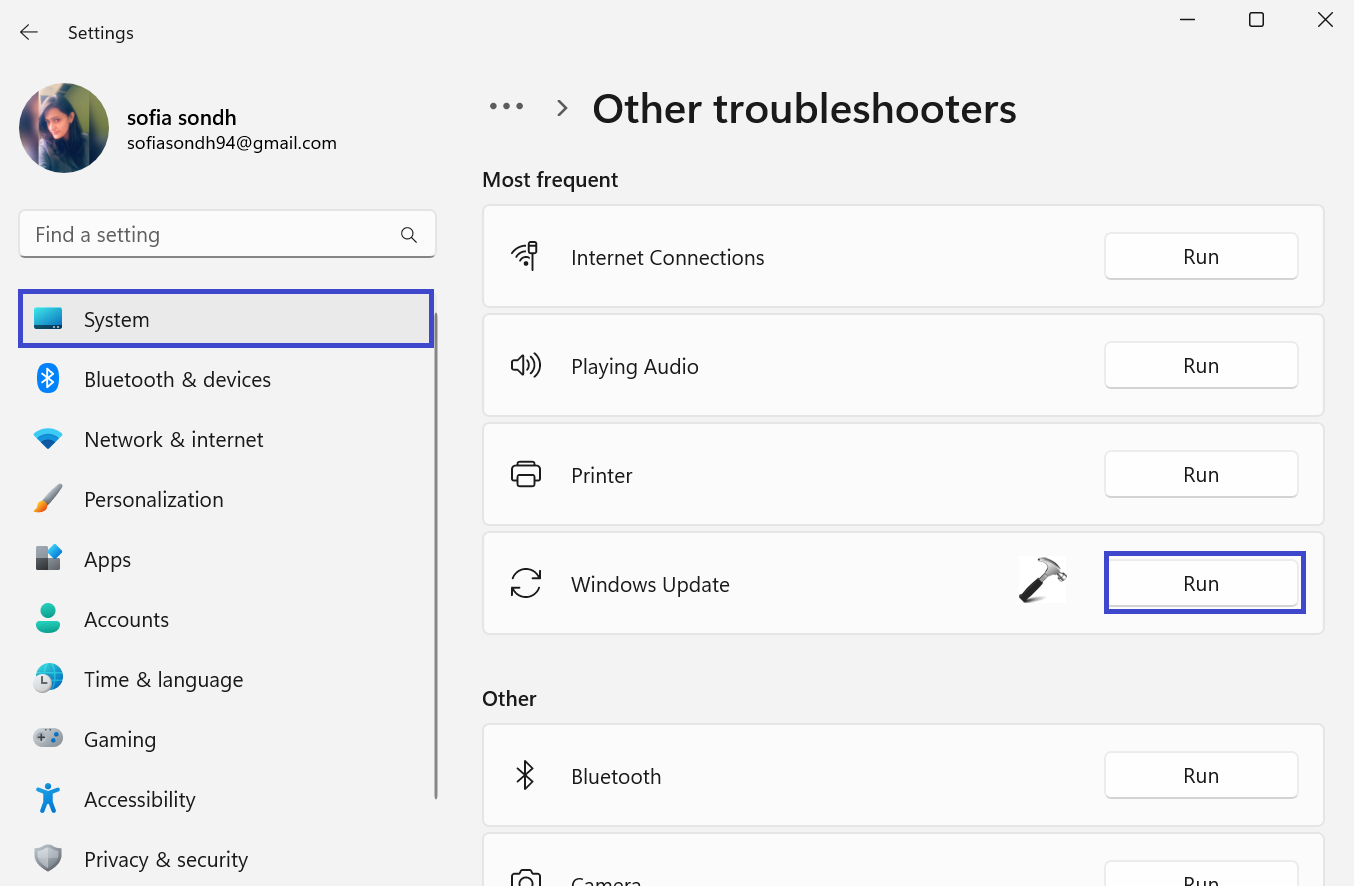
4. In the right panel, click on “Run” next to Windows.
Method 2: Restore and Repair System Files
Corrupted or missing system files can prevent you from installing the latest Windows updates. Follow the steps to restore and repair system files:
1. Open Command Prompt and select “Run as administrator”.
2. Copy and paste the below command:
DISM.exe /Online /Cleanup-image /Restorehealth
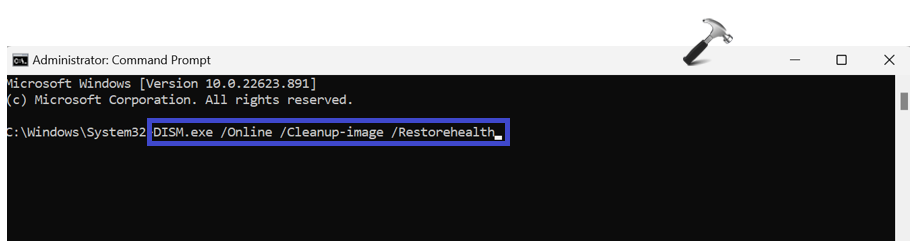
3. Wait until the process is completed.
4. Now, copy and paste the below command:
sfc /scannow
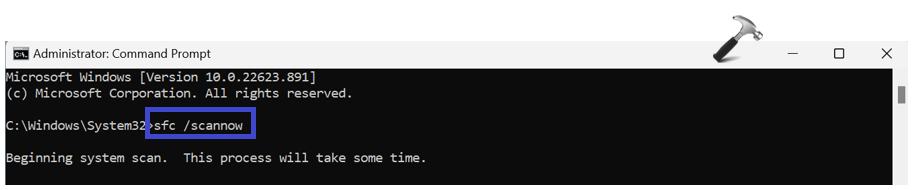
5. Wait until the process is complete.
Method 3: Disable Antivirus and Firewall
Third party antivirus and Firewall may block your update files. To solve this problem, you should disable your antivirus and firewall. To disable, follow the below steps:
1. Open Control Panel and click on “Program”.
2. Now, right-click on the Antivirus and select “Uninstall”.
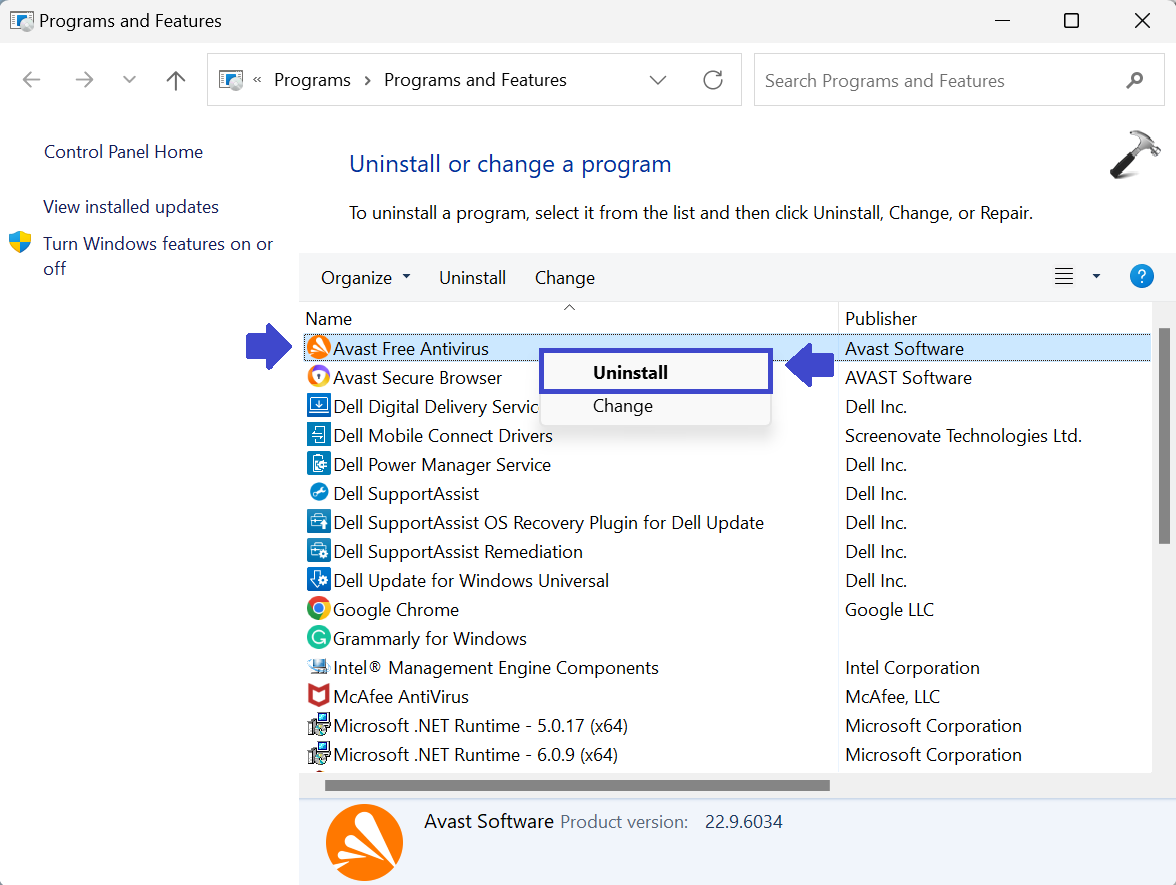
3. Close the Window and restart your PC.
To make sure no other apps or programs are interfering with Windows Update, you can clean boot your computer. After that, check for updates again.
Method 4: Rename the CBS Folder
1. Search for “%systemroot%\Logs\CBS” in Windows Start Search box.
2. Locate and rename the CBS.log to CBS.old

3. If you cannot rename the log file, then press the Windows key + R. Type Services.msc and click OK.
4. Double-click on “Windows Modules Installer”.
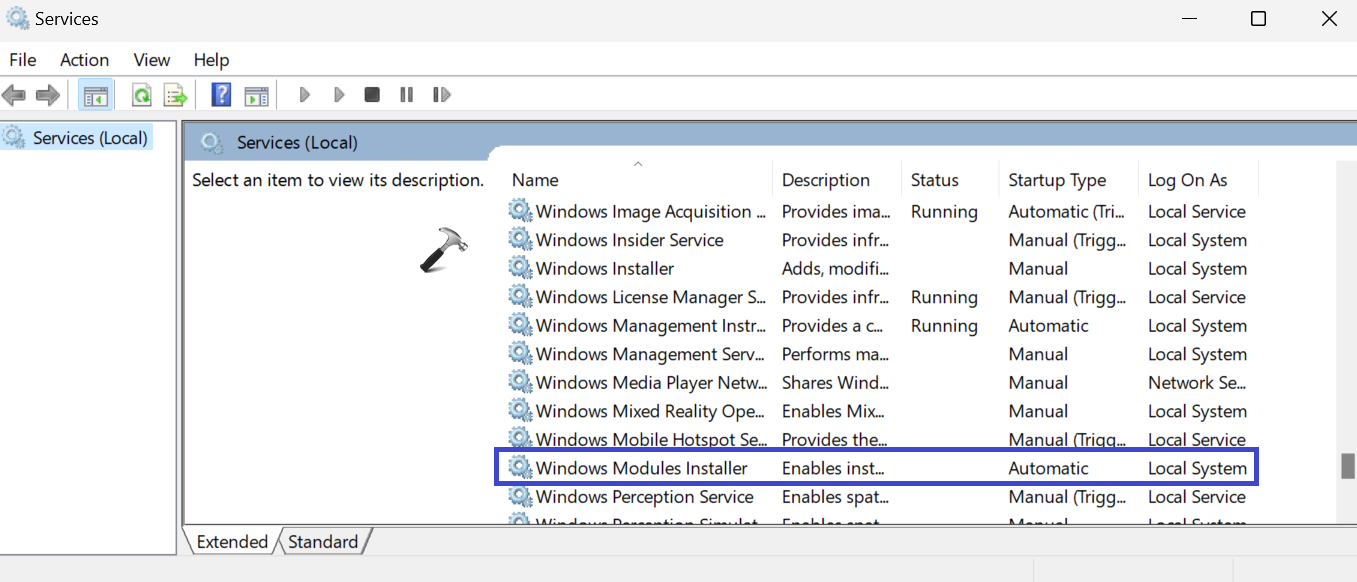
5. Under the startup type, select manual.
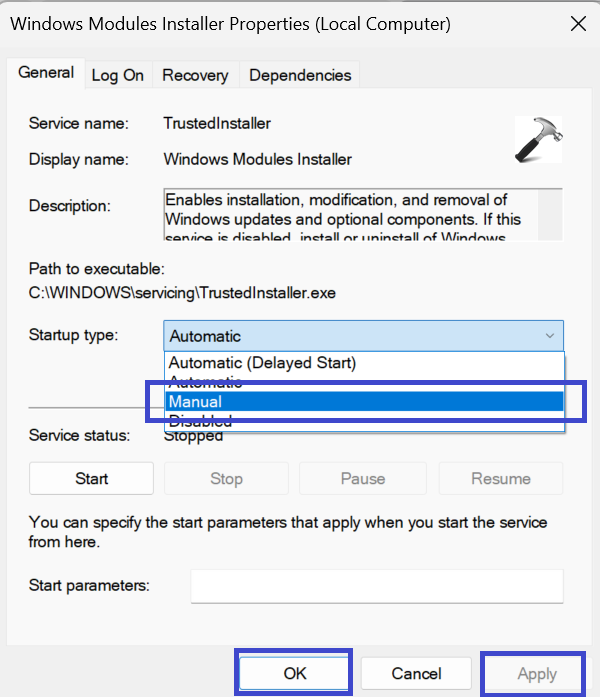
6. Now, restart your PC to apply the settings.
7. Again, rename the CBS.log to CBS.old
8. Restart your PC again. After that, again go to the Services.msc and make it “Automatic”.
Method 5: Use the Update Assistant
If you’re trying to install a feature update, you can also use the Windows Update Assistant to get the job done. You can download the tool from Microsoft’s official webpage. Launch the executable file, install the Update Assistant, and follow the on-screen instructions to update Windows.
Method 6: Restart the Update Services
1. Open Command Prompt and select “Run as administrator”.
2. Copy and paste the below commands one by one:
net stop wuauserv

net stop cryptSvc

net stop bits

net stop msiserver

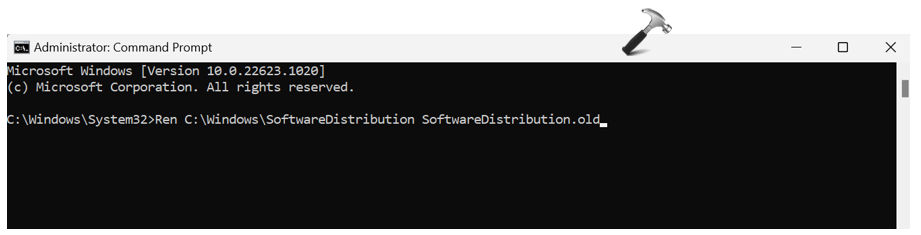
Ren C:\Windows\SoftwareDistribution SoftwareDistribution.old
Ren C:\Windows\System32\catroot2 Catroot2.old

net start wuauserv

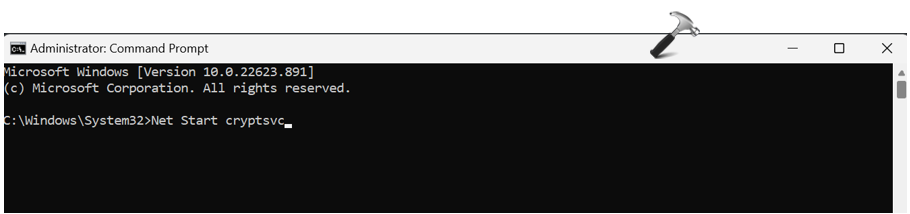
net start cryptSvc
net start bits

net start msiserver

3. Close the Command Prompt and restart the PC. Check for the updates again.
That’s It!


![[Latest Windows 11 Update] What’s new in KB5089549?](https://www.kapilarya.com/assets/Windows11-Update-768x651.png)