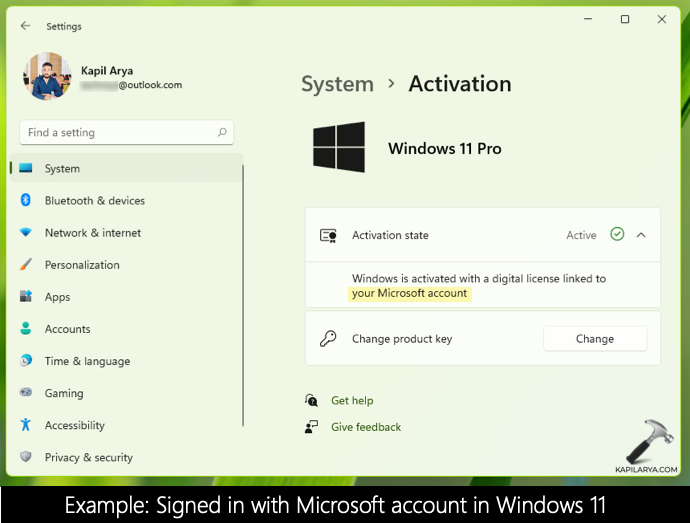
When you install or set up Windows 11 for the first time, you are asked to sign in with a Microsoft account. Once you sign in with Microsoft account, your first account is created with the email ID you entered. To enjoy all the features of Windows 11, it is always recommended that you sign in with a Microsoft account. However, if you ever need to use a local account on your Windows 11, this article may help you. In this guide, we will see how to switch to local account in Windows 11, from your Microsoft account.
See, switching between the accounts is quite easy with Windows 11. Within few clicks, you should be able to switch between Microsoft account and local account. When you are signed in with a local account, note that your personalized settings will not be synced across your devices. If you ever want to access information associated with your Microsoft account, you will need to sign in again. Any apps that needs your Microsoft account access, will prompt you to sign in, if you’re on local account. Widgets will not work, when you’re on local account.
If you still want to switch to a local account, here’s how you can.
Page Contents
How to switch to local account in Windows 11
Manual steps
1. Press  + X keys and select Settings to open the app.
2. In the Settings app, go to Accounts > Your info.
3. In Your info section, under Account settings, click on Sign in with a local account instead link.

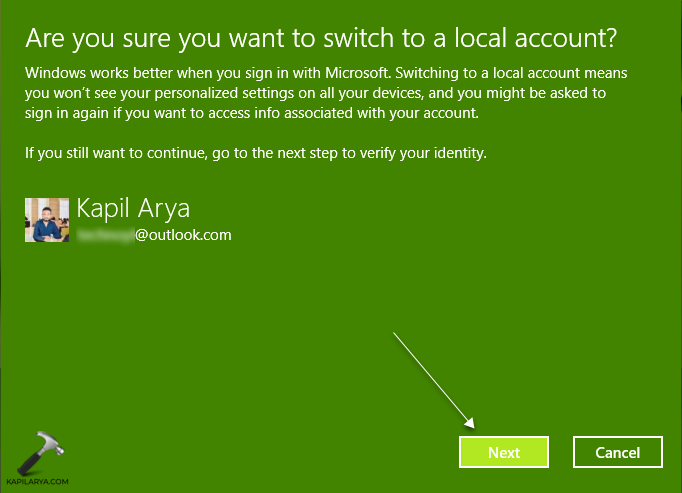
4. Now Windows will confirm you, that if you really want to switch to a local account. Click Next in that screen.
5. After this, you will be asked for currently signed in Microsoft account password. If you’ve set up a PIN or any other sign-in option earlier, you can also that here.

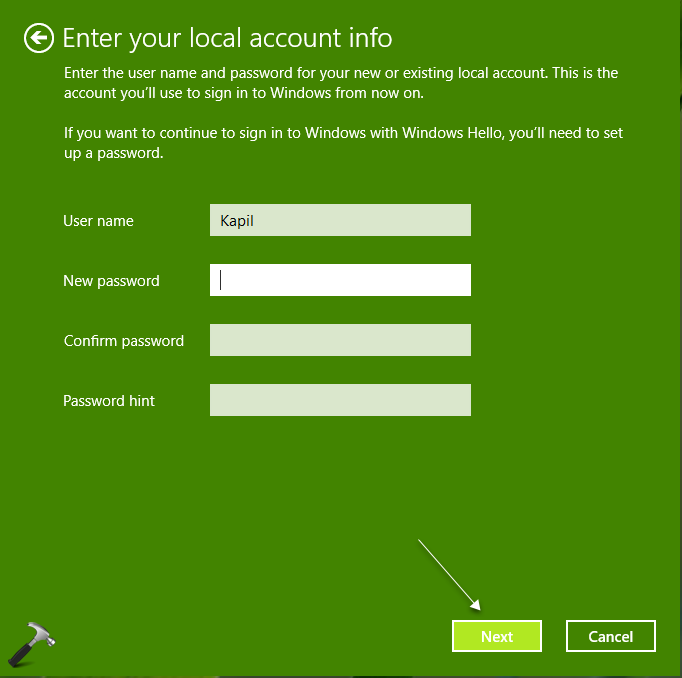
6. Moving on, now you need to enter the information for your local account. It is recommended that you should add a password here. Once you’re done adding your info, click Next.
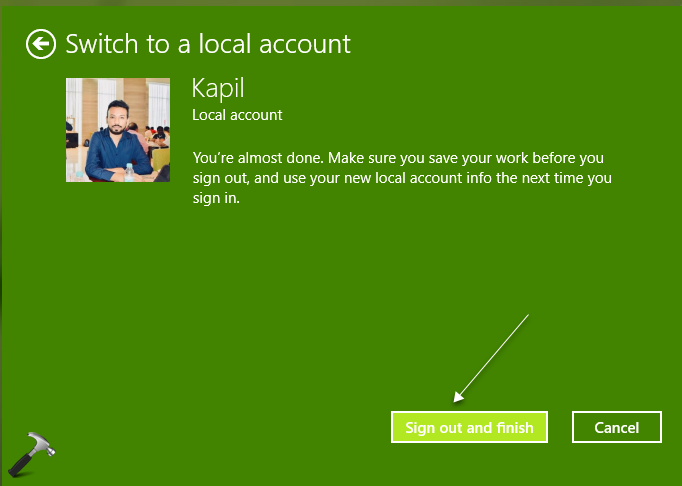
7. Finally, click on Sign out and finish. You’ll be now signed out and then you can login to your local account based upon information you provided in step 6.
After sign in back, you’ll be on your local account.

Video guide
That’s it!
Read next: How to move taskbar to top in Windows 11.