
We know that Windows Updates are downloaded in the background and they are patched out while shutting down Windows. By default, Windows have the scheme to tell you about the restarting of computer for important updates. So this may be irritating to you that if you install update by yourself, the computer automatically goes to reboot. This one is in-built policy of Windows 8.1 and it is clearly evident from the discussion of this thread that some of you may want to revert it.

One strong reason behind to disable the forced automatic restart is that you may not want to loose current work due to shut down, so to fix this, Windows can be configured in following two ways:
Page Contents
Prevent Forced Reboot After Installing Windows Updates In Windows 8.1/8/7
WAY 1 – Using Group Policy
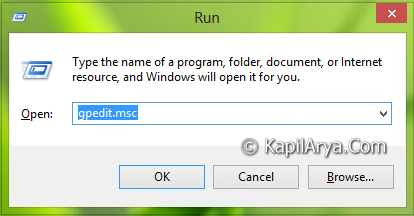
1. Press  + R and put gpedit.msc in Run dialog box to open Local Group Policy Editor. Click OK.
2. Navigate here:
Computer Configuration -> Administrative Templates -> Windows Components -> Windows Update
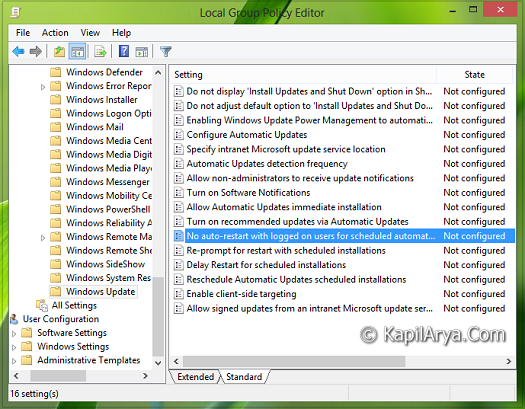
3. In the right pane of this location, look for setting No auto-restart with logged on users for scheduled automatic updates installation and double click on it to modify:

4. In the above window, click on Enabled to have no reboot after installing Windows Updates. If you like to reset it in future, select Disabled or Not Configured. That’s it!
If you’re using Windows 8.1 Home Edition, you would have to configure this using registry modification procedure described below as Windows 8.1 Home Edition doesn’t include Local Group Policy Editor.
WAY 2 – Using Registry Editor
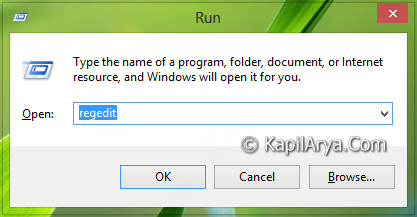
1. Press + R and put regedit in Run dialog box to open Registry Editor (if you’re not familiar with Registry Editor, then click here). Click OK.
2. Navigate here:
HKEY_LOCAL_MACHINE\SOFTWARE\Policies\Microsoft\Windows
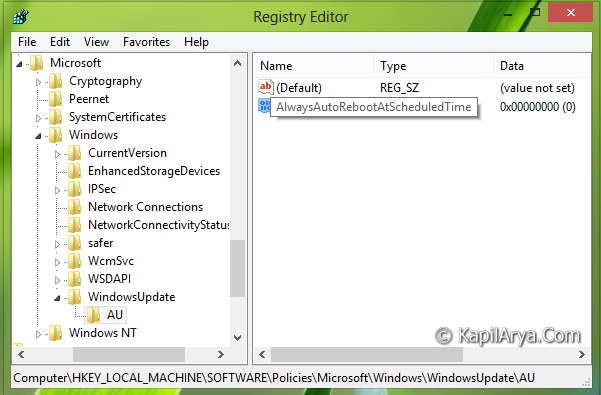
3. In the left pane of this location, create a new key to Windows (HKEY_LOCAL_MACHINE\SOFTWARE\Policies\Microsoft\Windows) using Right click -> New -> Key. Name this new key as WindowsUpdate. Again create a new key to this WindowsUpdate key and name it as AU. If you got the AU key already listed there, no need create anything. Now refer to right pane of the AU key, and create a new DWORD there using Right click -> New -> DWORD Value. Name the DWORD as AlwaysAutoRebootAtScheduledTime. Double click the DWORD to modify its Value data:

4. In the above box, put the Value data as 0. This is obvious that when you create the new DWORD, by default the Value data is 0 already. If you wish to want to have forced reboot after installing Windows Updates that is default property, you can put this Value data as 1 again.
Hope you find the tip useful!


![[Latest Windows 11 Update] What’s new in KB5089549?](https://www.kapilarya.com/assets/Windows11-Update-768x651.png)
The policy mentioned is only for Windows XP Professional, will it work on Windows 8? Nice article by the way:)
^^ Yup, it works for Windows 8 as well. To verify it, you can simply change the policy and you’ll observe the corresponding changes in the registry. Also after configuring GPO settings, you won’t see forced reboot which itself is a verification :)
Does this also work for Windows 10?
^^ Yup!
Unfortunately neither the group policy or the registry edit makes any different in Windows 10. Double and triple checked. Sometimes the first scheduled reboot is ignored which looked promising but it then rebooted without permission the following day. :-(
^^ Odd! Can you tell me which build you’re using?
^^ If you’re on Windows 10, try this guide instead: https://www.kapilarya.com/stop-windows-10-automatic-restart-after-update