On Windows 11 PC, users can enable Controlled folder access. When this feature is enabled, it provides your files with extra security against ransomware attacks. Windows adds Pictures, Documents, Videos, etc. to Controlled folder access from Users directory by default. In order to add or remove protected folders from Controlled folder access in Windows 11, you need to log in as an Administrator.
In this post, learn how to perform this task hassle-free. Now, let’s have a look at some different methods below!
Page Contents
Add/Remove Protected Folders to Controlled Folder Access in Windows 11
Method 1: Add/Remove Protected Folders to Controlled Folder Access Through Settings
1. In the first place, open the Run dialog box by pressing the Windows + R tabs simultaneously.
2. Now, type windowsdefender: in the box and press Enter. This will open Windows Security on your system.

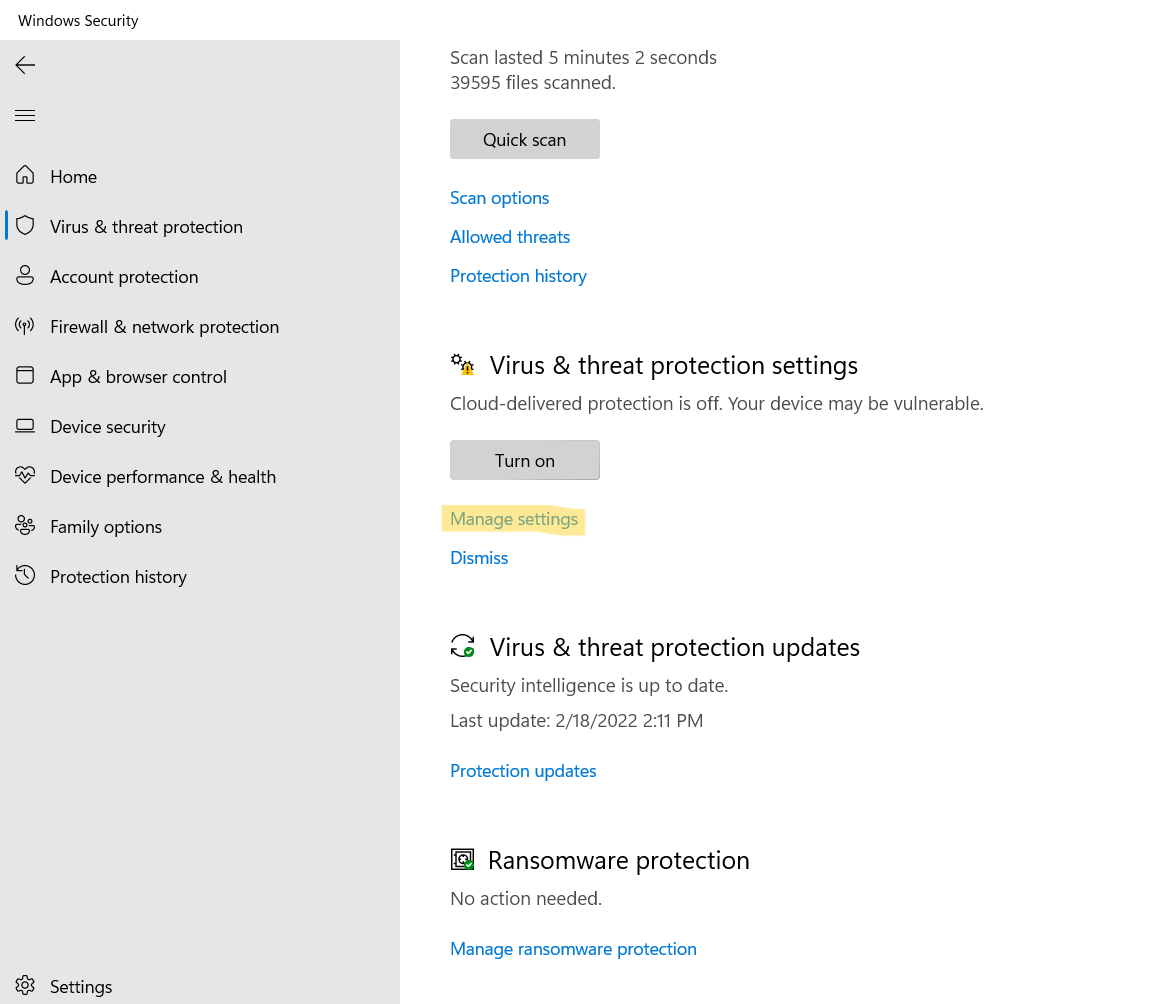
3. After that, choose Virus & threat protection.

4. Under Virus & threat protecting settings, click on Manage settings.
5. Next, select Manage Controlled folder access present under Controlled folder access.

6. Once there, turn the toggle On present next to Controlled folder access. When prompted through UAC, click on Yes.
7. Once you have enabled the Controlled folder access, select Protected folders for viewing the folder list. Click on Yes if a prompt shows up.

8. To add a protected folder, click on the Add a protected folder option.

9. Next, browse the folder that you like to add. Once selected, click on Select folder.
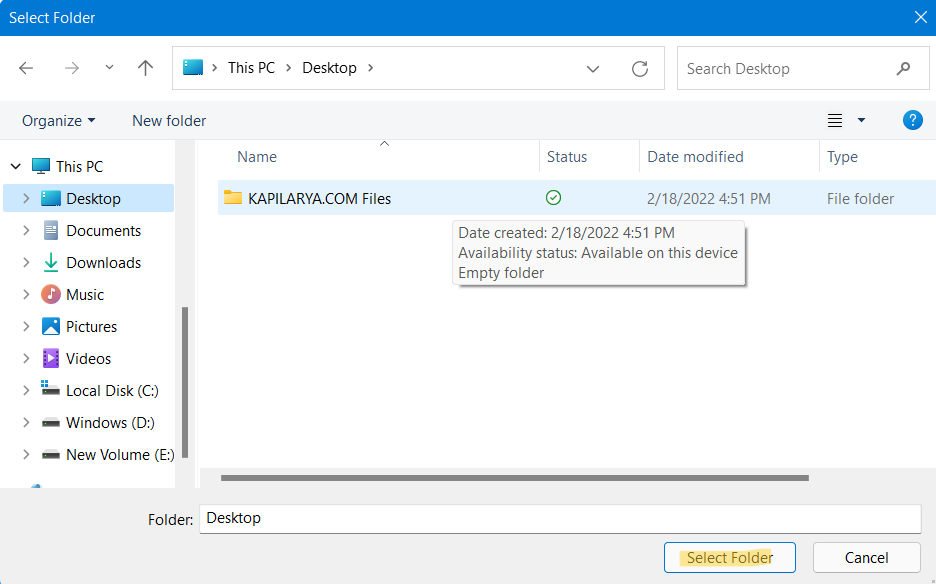
10. Now, you will be able to see the selected folder under the Protected folders list.
11. If you want to remove a protected folder, then click on the folder to select it. After that, choose Remove to remove it from the list.

12. Once finished, close Windows Security.
Method 2: Add/Remove Protected Folders to Controlled Folder Access Through Registry Editor
1. Open Run by pressing the Windows + R tabs simultaneously.
2. Type cmd in the Run dialog box and press Ctrl+Shift+Enter tabs together for opening Command Prompt as admin.
3. Now, execute the following commands one by one:
set key="HKEY_LOCAL_MACHINE\SOFTWARE\Policies\Microsoft\Windows Defender\Windows Defender Exploit Guard\Controlled Folder Access\ProtectedFolders"
reg add %key%

4. Exit Command Prompt.
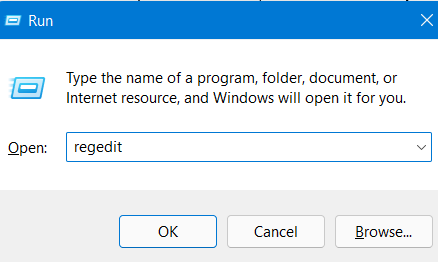
5. Open Registry Editor by typing regedit in the Run dialog box. When prompted, click on Yes.
6. Now, copy-paste the following command:
HKEY_LOCAL_MACHINE\SOFTWARE\Policies\Microsoft\Windows Defender\Windows Defender Exploit Guard\Controlled Folder Access
7. Right-click on Controlled Folder Access and choose New. After that, select DWORD(32-bit) Value.

8. Now, rename the newly created DWORD value to ExploitGuard_ControlledFolderAccess_ProtectedFolders. Once renamed, double-click on it for opening it.

9. After that, enter the value data as 1 and press OK.
10. Copy-paste the following path and then, hit Enter:
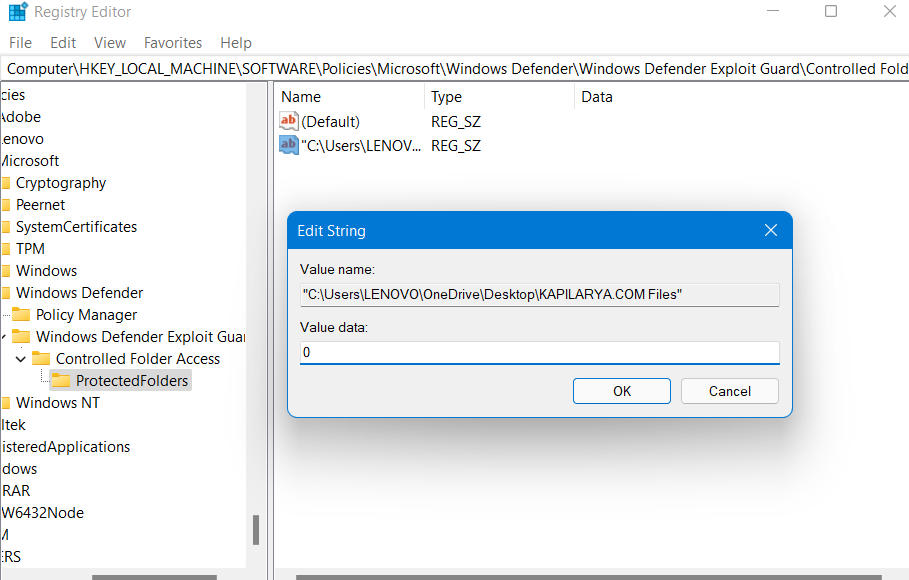
HKEY_LOCAL_MACHINE\SOFTWARE\Policies\Microsoft\Windows Defender\Windows Defender Exploit Guard\Controlled Folder Access\ProtectedFolders
11. Now, while selecting ProtectedFolders registry key, right-click on the empty space and choose New and then, on String Value.
12. Rename the string value to the path of the folder you like to add to Controlled folder access.
13. Once renamed, double-click on it and enter to the value data as 0. Lastly, press OK.
14. To remove a folder from Controlled folder access, right-click on the string value folder path. Choose Delete from the context menu.

15. Click on Yes and then, exit Registry Editor.
Method 3: Add/Remove Protected Folders to Controlled Folder Access Through PowerShell
1. Open Run by pressing the Windows + R Now, type powershell in the Run dialog box and press Ctrl+Shift+Enter tabs together.

2. To add a folder to the Controlled folder access, copy-paste the following command:
PowerShell Add-MpPreference -ControlledFolderAccessProtectedFolders "C:\Users\LENOVO\OneDrive\Desktop\KAPILARYA.COM Files"
Note: Replace “C:\Users\LENOVO\OneDrive\Desktop\KAPILARYA.COM Files” with the path of the folder that you like to add to Controlled folder access.

3. Press Enter to execute the command.
4. To remove a folder to the Controlled folder access, copy-paste the following command:
PowerShell Remove-MpPreference -ControlledFolderAccessProtectedFolders "C:\Users\LENOVO\OneDrive\Desktop\KAPILARYA.COM Files"
Note: Replace “C:\Users\LENOVO\OneDrive\Desktop\KAPILARYA.COM Files” with the path of the folder that you like to add to Controlled folder access.

5. Once done, exit PowerShell.
So, these are some of the different methods to add or remove folders to Controlled folder access.
Related: Configure Tamper Protection In Windows Security For Windows.