This article will show you how to clear Windows Security Protection History in Windows 11 in 8 easy steps. Windows devices have a part in the Windows Security app which shows all recent malware functions and other detailed and easy-to-understand information which helps you to identify threats and remove them. You can also view the actions and recommendations Microsoft Defender antivirus has taken on your behalf. It also includes controlled folder access blocks, along with other blocks made through the organizational configuration of Attack Surface Reduction Rules.
If you want some extra space to keep your defender running smoothly and a bunch of scan logs has been piled up, you can simply clear Windows Security Protection History manually. Even though the data stays there for just 15 days, there are times when you will need to clear the History Manually.
Here’s how the Windows protection history page looks like.
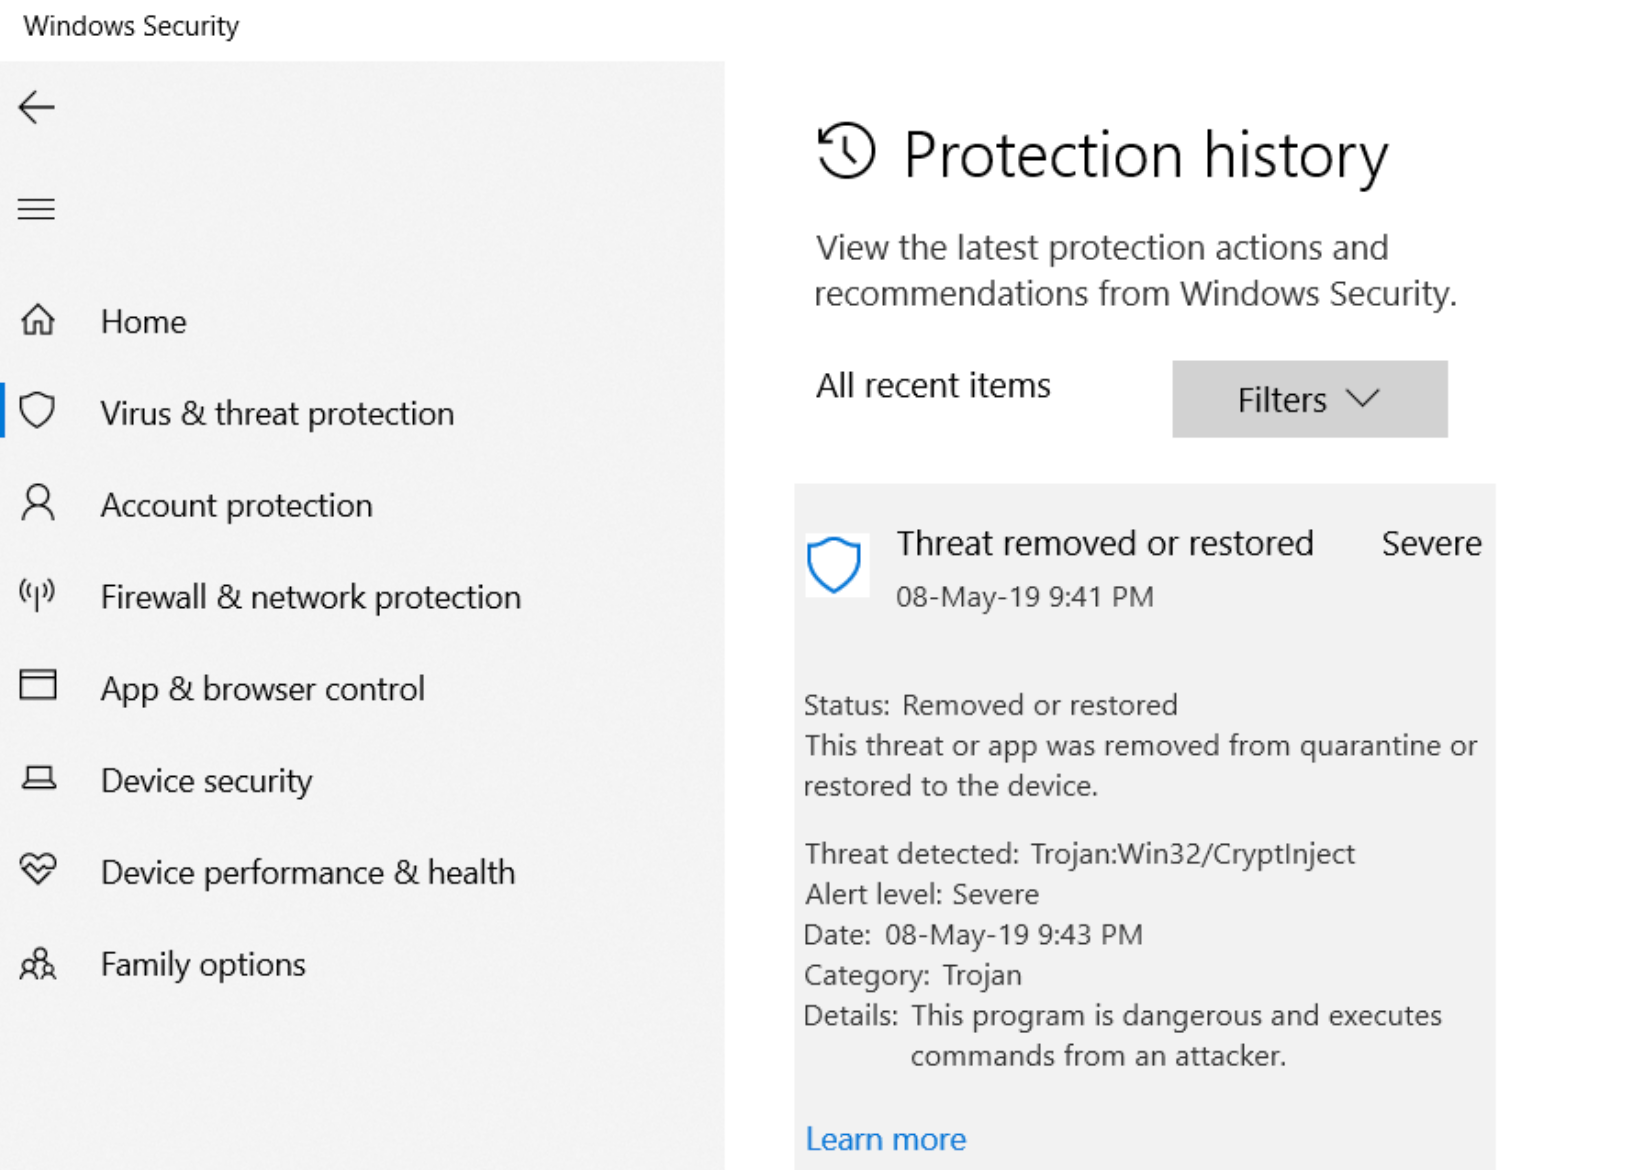
Remember, you must sign in as an Administrator to clear your Windows protection history.
How to clear Windows Security Protection History in Windows 11
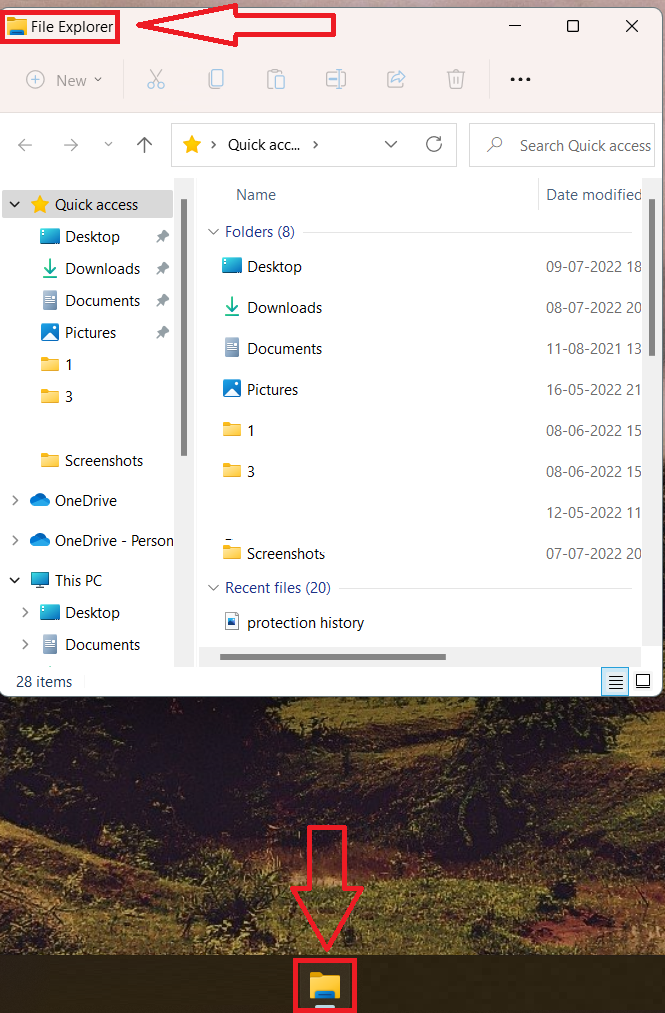
1. Open File Explorer by clicking on its icon or you can also use the Windows + E shortcut.
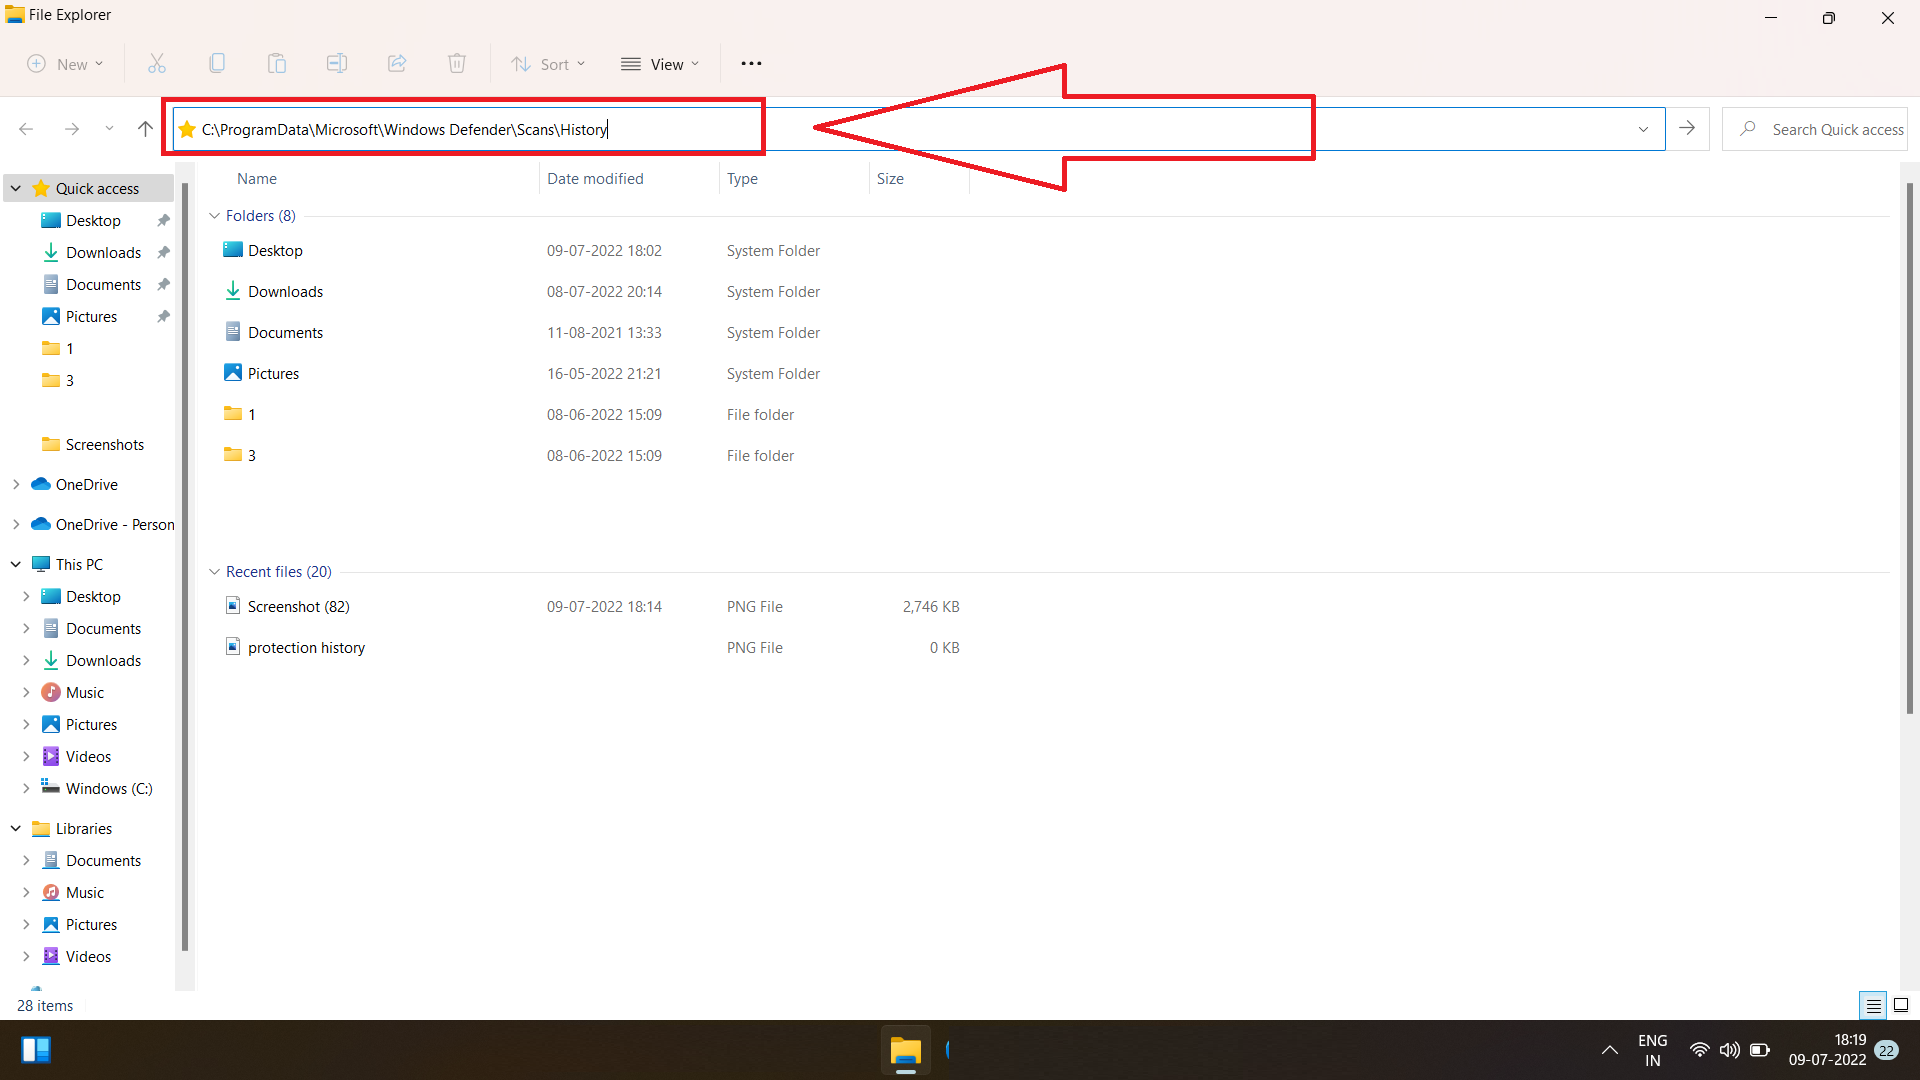
2. Copy and paste the below-mentioned folder path location on the address field of File Explorer and press Enter.
C:\ProgramData\Microsoft\Windows Defender\Scans\History
3. Then, right-click on the Service folder and click on the Delete button.
4. After that, close the File Explorer.
5. Now, open Windows Security and then click on Virus & threat protection.
6. Then click on Manage Settings.
7. After that, toggle the button Off and then On back to utilize Real-time protection Service and Cloud-delivered protection service for your device to work smoother and better.
8. For complete deletion, Restart your device.
After restarting the device, the service folder will be re-created. But unlike the previous one, this one will be empty, without any history.
That’s it, you’re all done!
Related: How to install Windows Defender Browser Protection.