Starting with Windows 10 Version 1709, Microsoft introduced execution alias. Here both ‘execution’ and ‘alias’ word has their own importance. The ‘execution’ refers to a relative path to an executable. While ‘alias’ means short name of an app. So when alias is invoked, the executable file runs and this completes execution alias.
Then Microsoft enhanced the execution alias to application developers by including an AppExecutionAlias XML element to the application’s manifest. AppX installer uses the manifest information for dropping the alias into the %LOCALAPPDATA%\Microsoft\WindowsApps folder. We all know, this is the folder where UWP apps are present. The action also conveniently adds the user PATH environment variable. So ultimately, this result of this is that you can start a UWP application just like a command-line application. This is described as App Execution Aliases feature in Windows 10.
To understand in simple words, how this feature works, let us take an example. Suppose you’ve an app Microsoft Edge with executable path MicrosoftEdge.exe. Usually when you run MicrosoftEdge.exe command in the Command Prompt, Windows will not recognize this as a valid command. When App Execution Aliases feature is enabled, you can running MicrosoftEdge.exe command will open Microsoft Edge app. Overall this helps you to quickly start an app with executable, just like Registry Editor (regedit.exe).
Here is how you can configure App Execution Aliases feature on your system. You need to have build 17074 or later to perform below steps.
Configure App Execution Aliases in Windows 10
1. Right click Start Button or press  + X keys and select Settings.
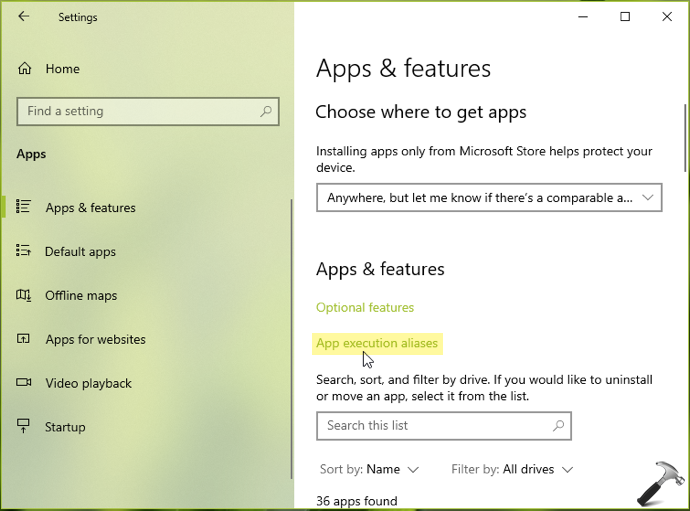
2. In the Settings app, navigate to Apps > Apps & features.
3. In the Apps & features section, in the right pane, click on App execution aliases link.
4. Finally, under App execution aliases, you can turn On or Off the option for an app, to allow or prevent app execution aliases, respectively.

That’s it!