Whenever Microsoft Defender detects a suspicious file on your system, then it immediately moves that file to Quarantine folder. By isolating that file, Microsoft Defender prevents the spread of the virus, if it is contained in that file. If there is a false positive about the suspicious file we can easily move it out of the Quarantine folder. However, the file moved to Quarantine folder may remain there forever. So if you want to configure automatic removal of files in Quarantine folder, then this article is for you.
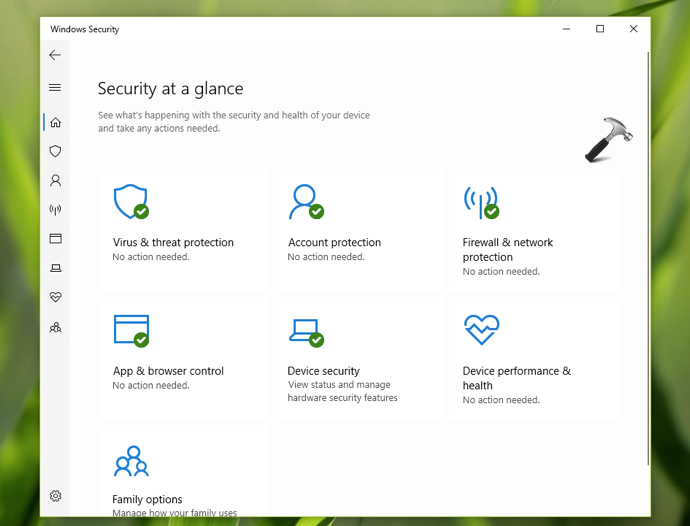
Follow the below methods and configure the automatic removal of items from Quarantine folder after the specified days.
Page Contents
Configure Removal Of Items From Quarantine Folder For Microsoft Defender
Method 1 – Via Group Policy
1. Open GPO Editor by running gpedit.msc in Windows client edition and by using gpmc.msc command in Windows Server.
2. Next, open the GPO Editor window, navigate here:
Computer Configuration > Administrative Templates > Windows Components > Microsoft Defender Antivirus > Quarantine
Note: You should have Policies folder after Computer Configuration, if you’re on Windows Server.

3. In the right pane of Quarantine folder, look for the policy setting named Configure removal of items from Quarantine folder. Double click on the policy setting to modify its status:

4. Set the setting to Enabled. Then under Options, type in the number of days after which items will be removed from Quarantine folder. Click Apply, OK.
5. Close Group Policy Editor and run gpupdate /force to make changes effective.
Method 2 – Via Registry
1. Open Registry Editor.
2. Locate the HKEY_CURRENT_USER\Software\Microsoft\Office\Teams registry key.
3. Create/edit registry DWORD (REG_DWORD) named PurgeItemsAfterDelay.

4. Double click on that registry DWORD and select Decimal base first. Then type Value data as number of days after which items will be removed from Quarantine folder. Click OK.
5. Close Registry Editor and reboot.
That’s it!