
We all know that Cortana is the personal assistant available in Windows operating systems. You can use Cortana for your day-to-day tasks on your Windows 11 operating system. Cortana in Windows has a chat-based UI that gives you the ability to interact using typed or spoken natural language queries. It can be easily accommodated with other apps you are working on. For example, you can dock Cortana next to a Teams window so you can accomplish quick tasks while staying engaged with your meeting. In this article, learn how to enable or disable Cortana in Windows 11.
With Cortana you can do following things:
- Calendar and schedule assistance
- Find out about people in your organization
- Make lists and set reminders and alarms
- Open apps
- Get definitions and quick answers
- Get weather and news updates
Page Contents
Enable or disable Cortana in Windows 11
Cortana is enabled by default in Windows 11 operating system. If you do not find it enabled on your system, you can try either of the methods mentioned below to enable it. While you get it already enabled, in case you want to disable it for some reason, you can also refer below methods.
Method 1: Using registry
1. Press  + R and type
 regedit in Run dialog box. Click OK or press Enter key.
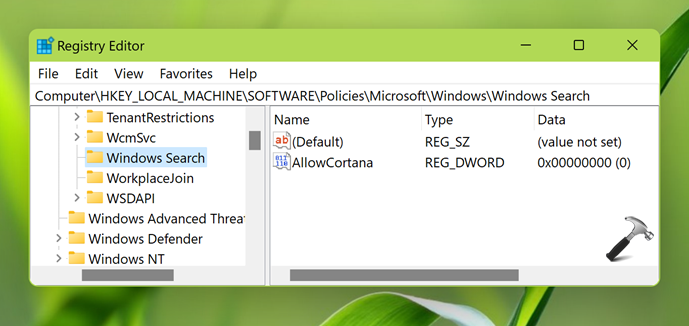
2. In left pane of Registry Editor window, navigate to following registry key:
HKEY_LOCAL_MACHINE\SOFTWARE\Policies\Microsoft\Windows\Windows Search
3. In the right pane of Windows Search registry key, create a registry DWORD (REG_DWORD) named AllowCortana and set its value data to 0 to disable Cortana. Or you can also set its value data to 1, if you want to enable Cortana.
4. Close the Registry Editor and restart your system to make changes effective.
Method 2: Using Group Policy
1. Open Group Policy Editor snap-in.
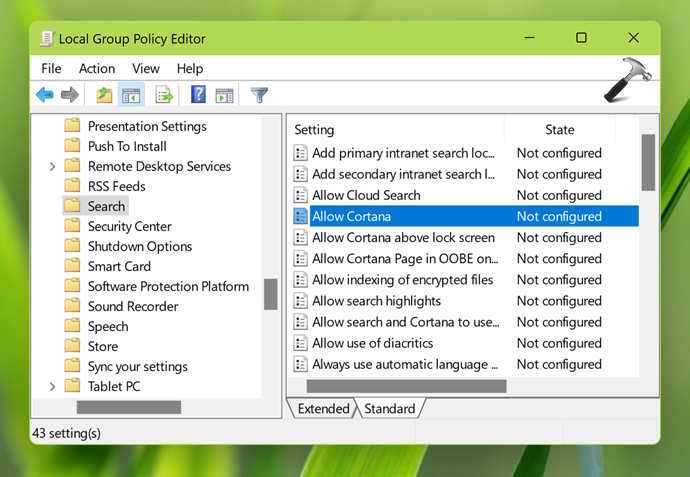
2. In the Group Policy Editor window, navigate here:
Computer Configuration > Administrative Templates > Windows Components > Search
3. In the right pane of Search folder, locate the policy setting named Allow Cortana.
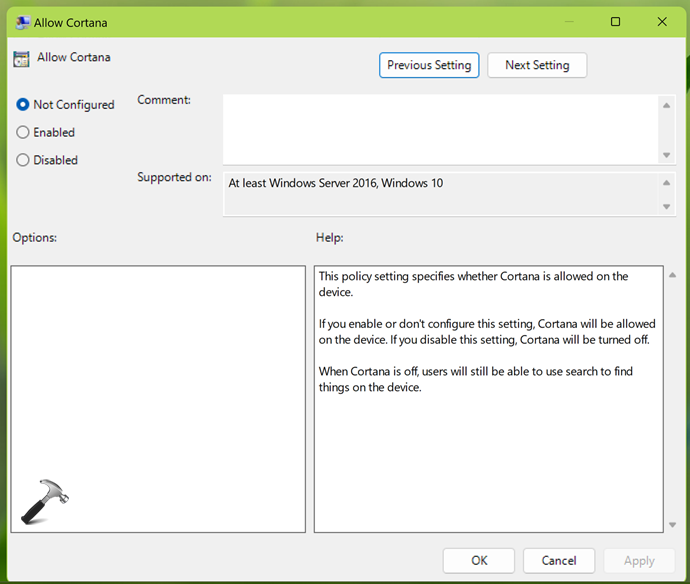
4. Double click on the policy setting to configure it. Here you can set it to Enabled in order to activate Cortana. Or you can also set it to Disabled in case if you do not want use Cortana on the system. Click Apply followed by OK.
5. Close Group Policy Editor and reboot the system or update Group Policy engine to make changes effective.
That’s it!

Both of these methods only work on windows 10.