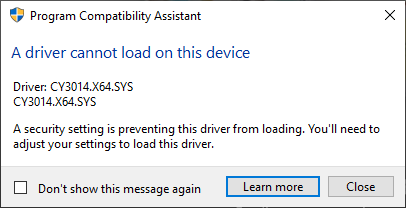
What is a driver? How does a driver let a computer work? In the most fundamental sense, a driver is a software component that lets the operating system and a device communicate with each other. If a user encounters a driver-related error at a system startup or reports the problem “A driver cannot load on this device“, it can be assumed that the problem lies with the driver. At this stage it is complex to understand the exact issue. One can try different methods or ways discussed below to fix this error. Ways for a quick fix to load the driver on Windows 11 are explained in detail in this article.
You can use the following fixes to fix the error.
Page Contents
Fix: A driver cannot load on this device on Windows 11
Fix 1 – Quick fix to load driver by Installing the driver update
Check for installed driver updates and update the drivers to the latest version.
Follow the steps below to check for required updates.
1. Use Win key + I
2. Click on the “Windows Update” option
3. Tap on “Advanced Options” and open that.

4. Expand the “Optional updates“.

5. If you see any optional updates related to the ene.sys driver, update and install them.
Fix 2 – Uninstall the updates.
If your Windows system has received any updates and the nse.sys is showing errors after you have installed the updates, you should uninstall the updates from your system to fix the error.
1. Uninstall a particular Windows Update from your system.
2. Use the Win+I key and click on “Settings”.
3. Now, go to the “Windows Update” option.
4. Look for “Update History” and click to open.

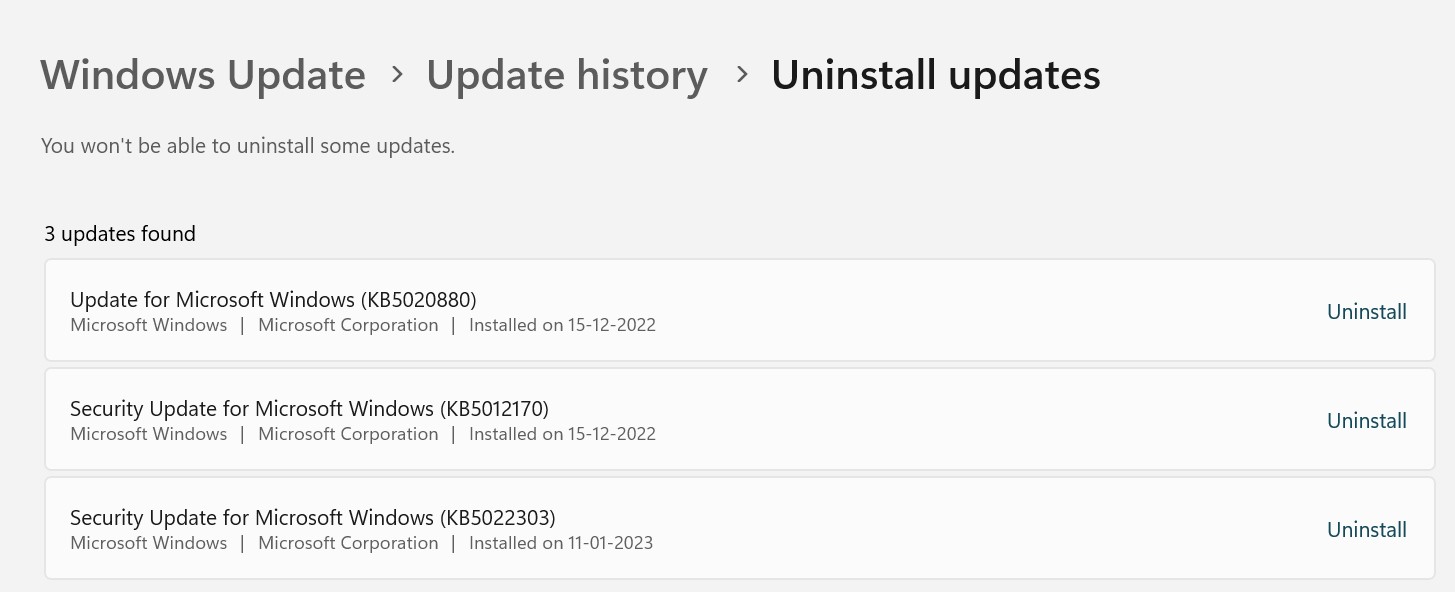
5. Scroll down to find the “Uninstall Updates” option.
6. You can find a complete list of installed updates here.
7. Check and look for an update that is causing an error.
8. Select a particular Update and uninstall it.
After you uninstall the update, you may see that your system will restart. Once your system is ready to work, you may check if the error still pops up.
Fix 3 – Run the hardware troubleshooter for a quick fix to load the driver
To find out if a hardware fault is at the root of the issue, run the hardware troubleshooter.
1. Open the Run box using Win key+R, to directly find the hardware troubleshooter.
2. Copy-paste the below-mentioned piece of text and click “OK“.
"msdt.exe -id DeviceDiagnostic"

3. On the Hardware and Devices troubleshooter, click “Next“.
Follow the on-screen instructions to troubleshoot and fix the problem.
If this is a hardware issue, the troubleshooter will analyze and fix the problem.
The above method was a quick fix to load the driver into the system. I hope this solves the issue, if not we can try our other methods too.
Fix 4 – Turn off the Memory Integrity
Disabling the memory integrity feature and testing it may fix the issue. The Memory Integrity feature is available on Windows Security.
1. Search for Windows Security.
2. When it appears on the search page, click “Windows Security” to open.
3. Open the “Device Security” Option.

4. Click “Core isolation details” to access it.
5. Find the Memory Integrity feature.
6. Just turn this feature off and close Windows Security.

Fix 5 – If the issue arises in ene.sys file, rename the ene.sys file
Rename the ene.sys file so that Windows loads the default drive instead of this one.
1. Open File Explorer using the Win key and E keys.
2. Now you have to find the ene.sys drive file.
3. Once you have found this driver, right-click “ene.sys” and tap the rename icon to rename it.
4. Rename it as “ene.sys_old“.
This won’t be useful until you have rebooted the machine.
Check if this resolves the issue.
Fix 6 – Reset or Repair MSI Dragon Center
Check if resetting or repairing MSI Dragon Center fixes the problem.
1. Open the settings on your system.
2. Tap “Apps” on the left hand side of your screen.
3. Click on the first option “Installed apps”.
4. Scroll down and try to find “Dragon Center” app. Click that three button and tap “Advanced option”.

5. Go down and tap “Repair” to repair the app.
Now, close everything and restart your windows PC. Now check if the error still persists.
If this doesn’t help, you have to reset the app.
1. Open Settings > Apps > Installed apps.
2. Open the Advanced options on the Dragon Centre app.
3. Now, click on “Reset” and tap “Reset” again to reset the Dragon Centre app.
Fix 7 – Uninstall the RGB controller app.
This ene.sys driver is associated with the RGB controller app on your system. So, uninstalling the MSI Dragon Center or MSI Center may help.
1. There are multiple ways you can uninstall this app. But, press the Win key+X keys together.
2. Then, click on “Installed apps” to find all the apps in one place.

3. On the Programs & Features screen, you can see all the apps that you have installed.
4. From there, look for the MSI Dragon Center app and tap “Uninstall” to uninstall it from your system.
Follow the on-screen steps to uninstall the RGB lighting app from your system. Aside from this, if there are any other such utilities installed, uninstall all of those as well.
Once done, you must restart your system.
Follow all the above explained steps to fix the issue and successfully load the drivers to your system. Hope this article resolves your issue and that you will be able to load the driver onto your Windows system.