
According to Microsoft, Hypervisor-protected Code Integrity (HVCI) is a virtualization based security (VBS) feature available in Windows. In the Windows Device Security settings, HVCI is usually referred to as Memory Integrity. This article will show you how to fix, if you can’t turn on Memory Integrity in Windows 11.
HVCI and VBS improve the threat model of Windows and provide stronger protections against malware trying to exploit the Windows Kernel. VBS leverages the Windows Hypervisor to create an isolated virtual environment that becomes the root of trust of the OS that assumes the kernel can be compromised. HVCI is a critical component that protects and hardens this virtual environment by running kernel mode code integrity within it and restricting kernel memory allocations that could be used to compromise the system.
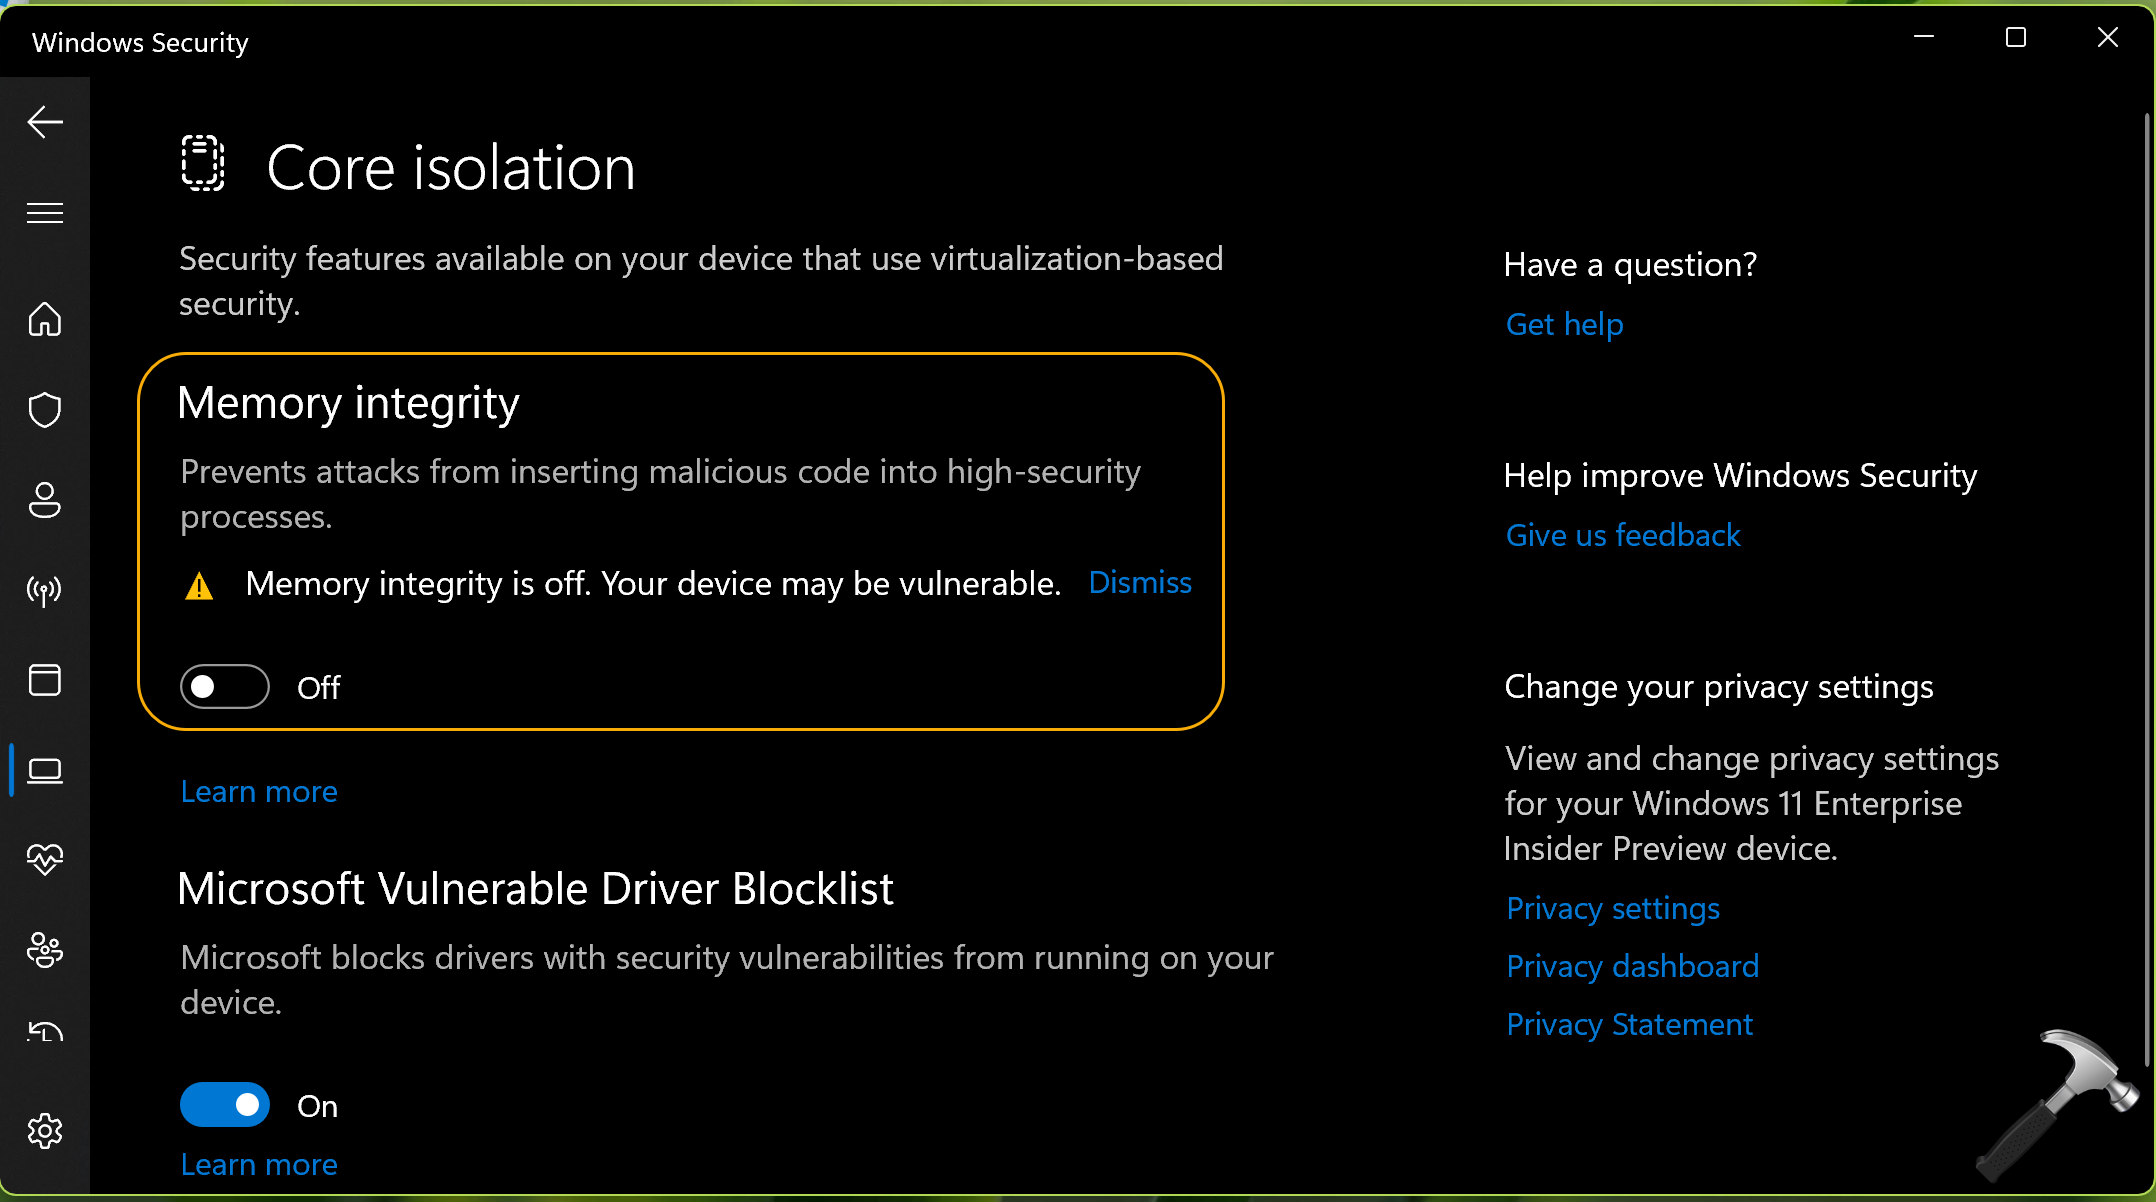
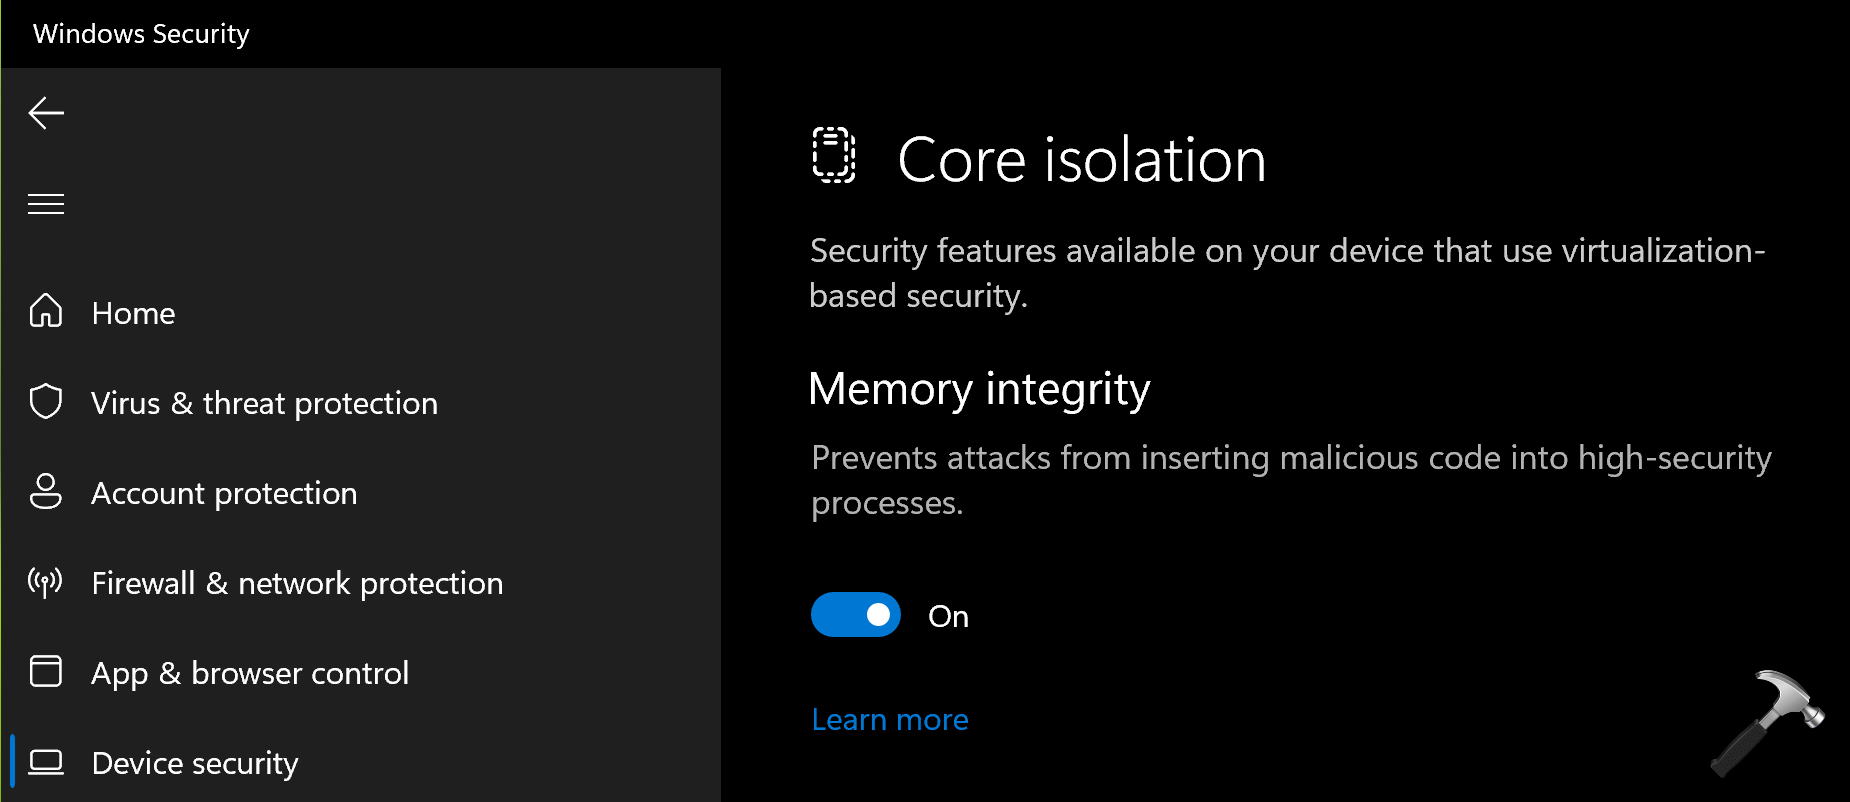
In Windows 11, you might receive notification from Windows Security that there are some actions needed. When you click on that notification you will be taken to Device Security, where you will find that under Core isolation, Memory integrity is turned off.
When you try to enable it, the system checks for the incompatible drivers. Finally, Memory integrity is enabled and you are asked to restart the system to make changes effective.
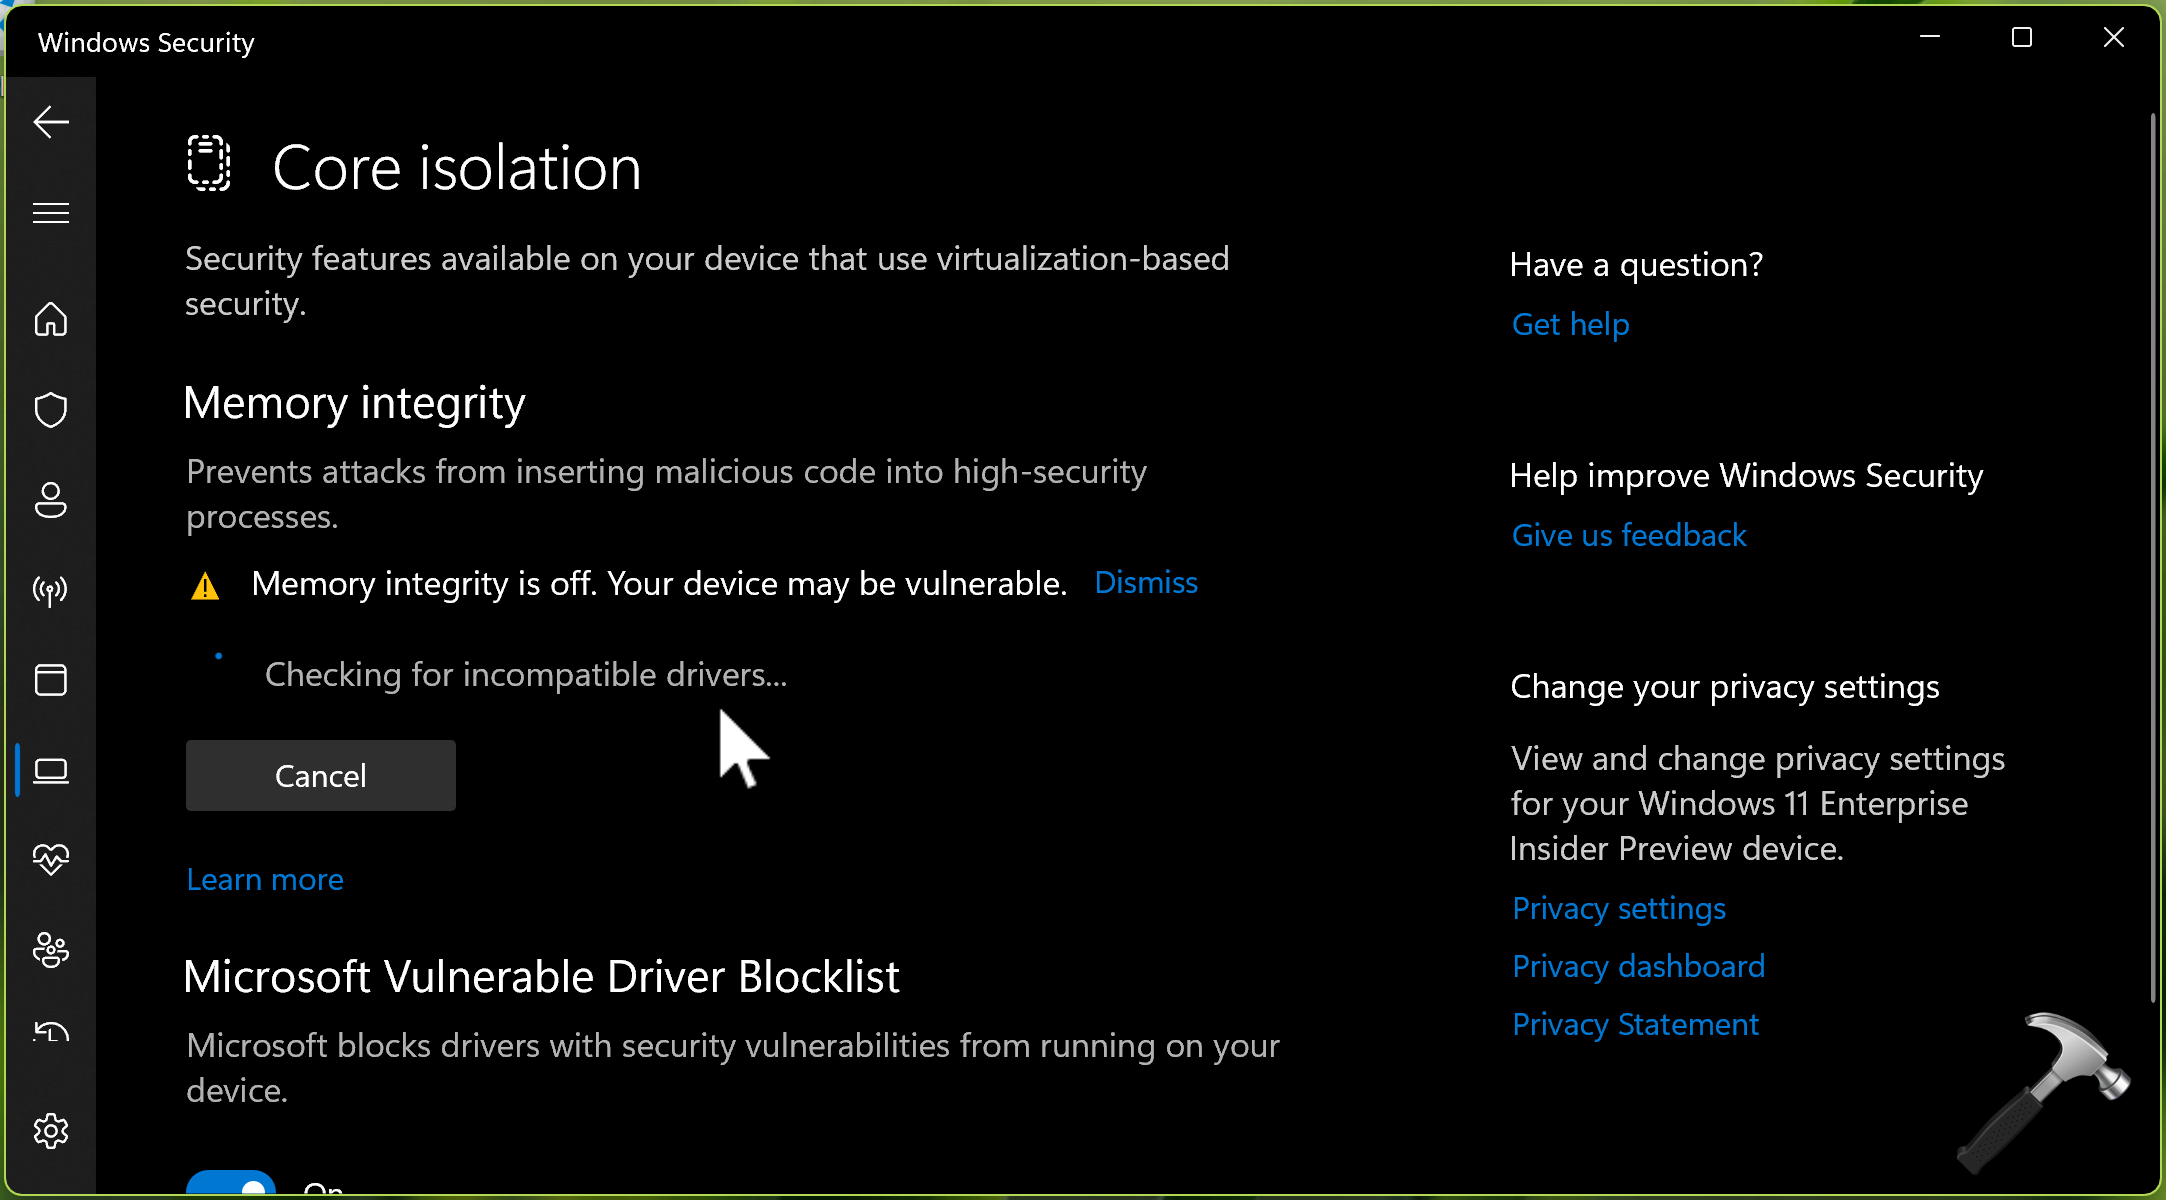
But after you restart the system, again you will find that Memory integrity is turned off and it is showing that your device is still vulnerable. In these series of events, ultimately you are not able to turn on Memory integrity on windows 11. Here is how you can fix this problem.
Page Contents
Fix: Can’t turn on Memory Integrity in Windows 11
Manual fix
1. Download Autoruns from Sysinternals website at https://docs.microsoft.com/en-us/sysinternals/downloads/autoruns.
2. When you launch the downloaded file, you will be asked to accept the licensing agreement, click Agree on that window.
3. Now when Autoruns is launched, go to Drivers tab. Let the list of drivers be populated.
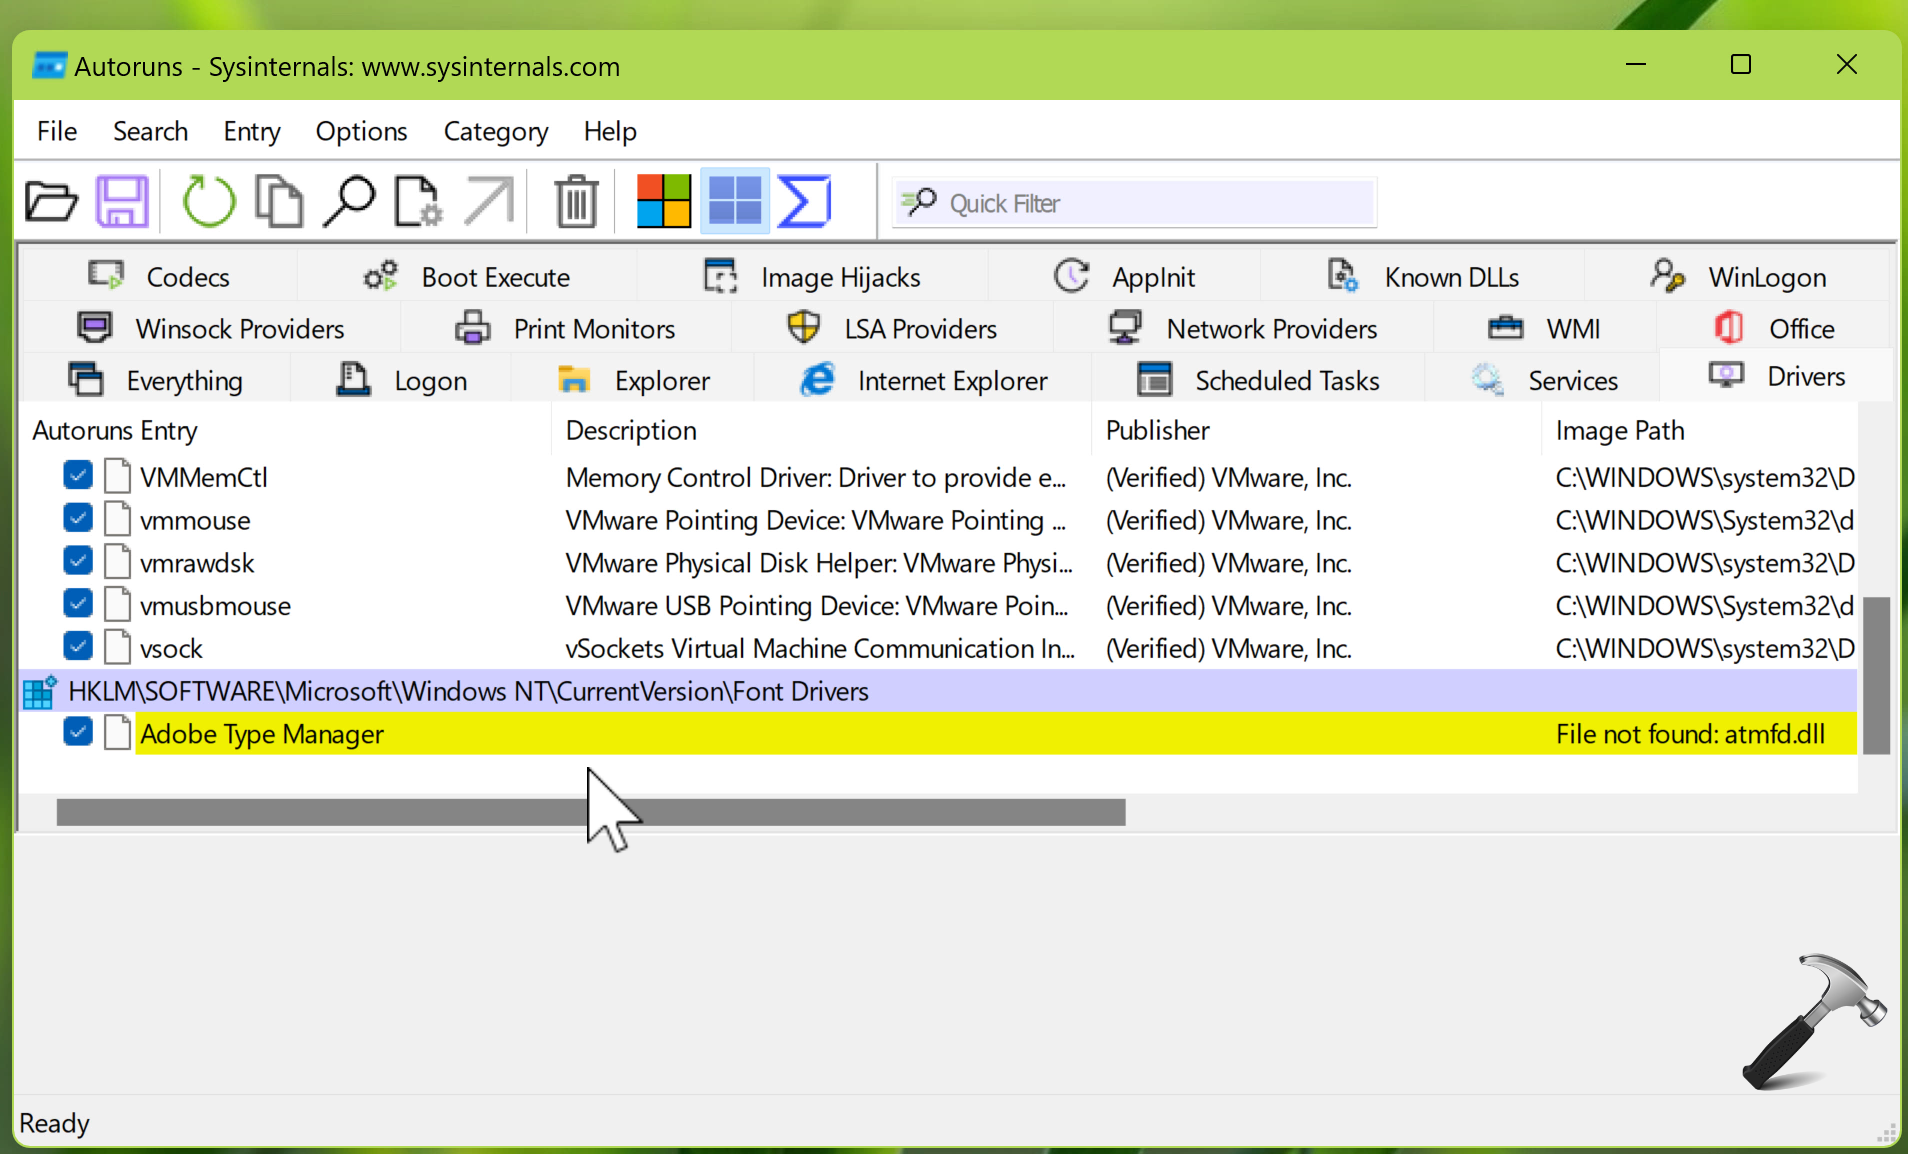
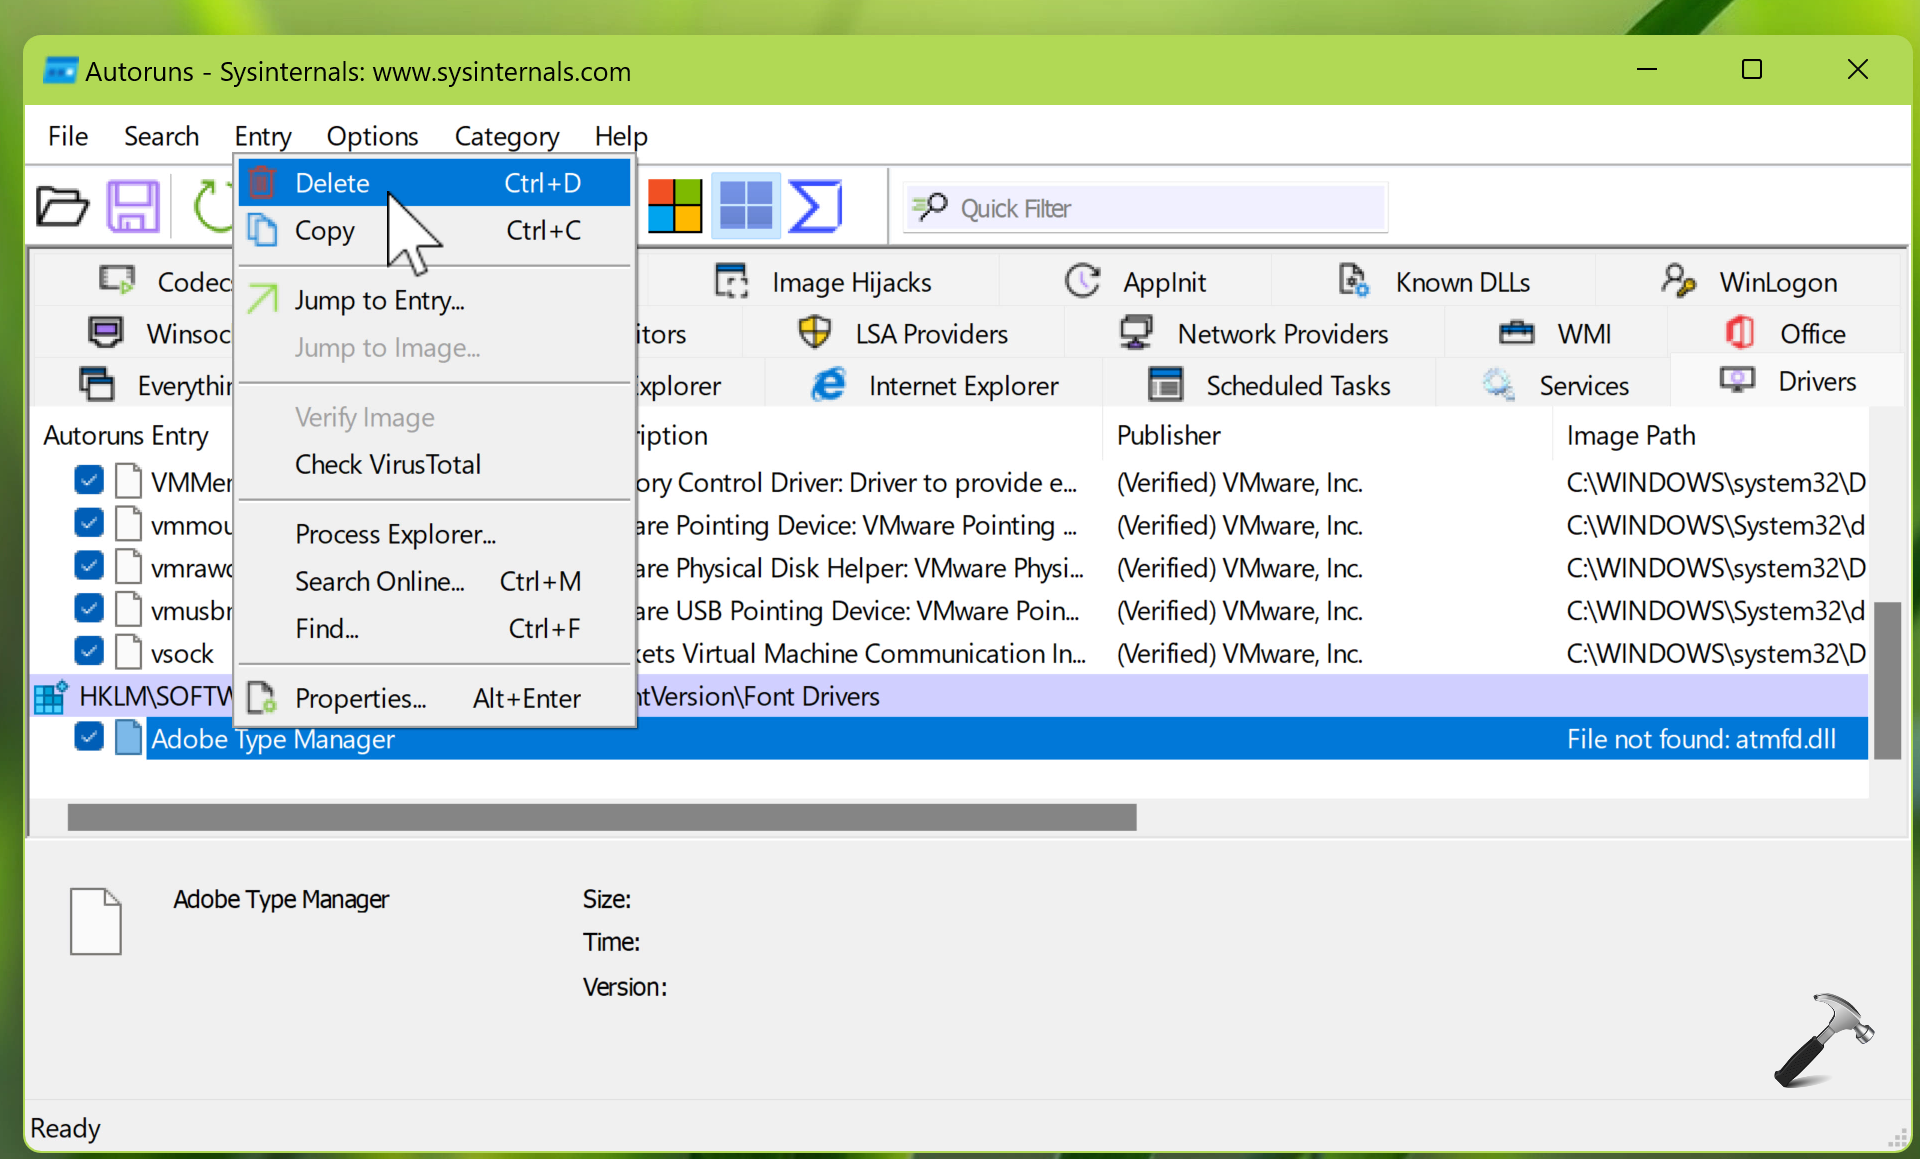
4. Locate the driver having a red or yellow entry because of having some problems. Like in the above screenshot you can see that I have one driver which is incompatible because file not found. Once you locate the incompatible driver, right click on it and select Delete. If you hesitate to delete the driver, you can instead click on the check mark next to it to disable it instead.
5. Once you disable or delete incompatible drivers, you might need to download/install the compatible drivers. You can then try to turn on Memory integrity. This time the memory integrity will remain turned on even after reboot.
Video fix
Checkout this video for live demonstration of this method:
That’s it!
Also see: Memory Integrity Greyed Out in Windows 11.


Thanks a lot Mr. Arya, that was quite helpful
^^ Glad to help!
So I ran autoruns and the incompatible driver was the exact one shown in your screenshot (adobe type manager). However I tried to disable it and was unable to. Is it safe to delete this driver as some websites I’ve seen online suggest that it can cause major issues to delete atmfd.dll.
Thanks for any advice re:this.
^^ Create a System Restore point and then delete. If issue is resolved, that’s okay. If not resolved, restore back your system.
Hi,
I have done every steps and after rebooting my laptop, the same problem shows, althought no pink or yellow marked drivers and the memory integrity still cannot be turned on.
Any idea?
Hi, Following the steps and disable or deleting red and yellow flagged files. Although DLLs aren’t remov al or able to disable. Agter rebooting laptop still unable to turn on Memory Integrity. I used Ease Drive to update drivers.