
A lot of the Windows 11 users have been observed registering complaints, wherein they are facing issues in date and time synchronization. You can easily observe this issue while facing several system-related problems while setting the correct date and time. Though, Windows 11 generally uses Network Time Protocol (NTP), for the synchronization of date and time. If not so, then these can update the date and time manually.
You can conveniently select any of these methods to resolve the date and time synchronization issue in your Windows 11 device.
Page Contents
Fix: Date and time synchronization failed on Windows 11
Method 1: Using Settings
1. Open Settings either directly or by pressing Window + I keys.
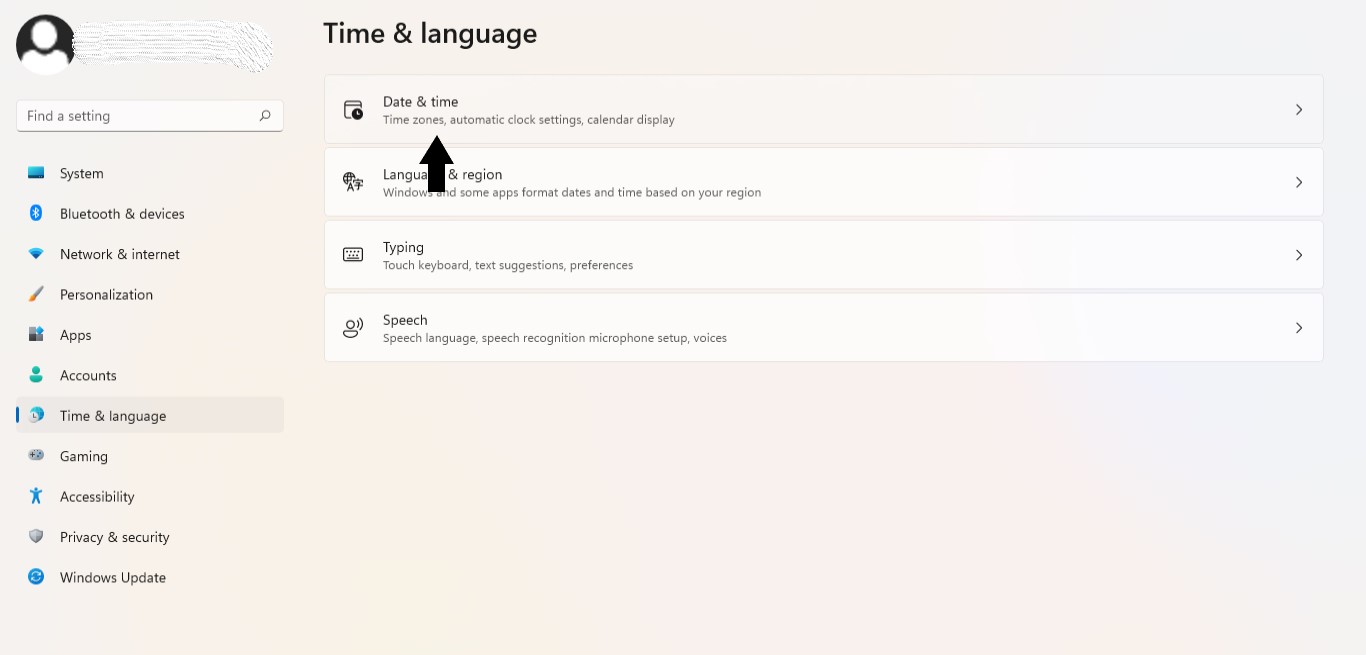
2. Select Time & language from the left side.
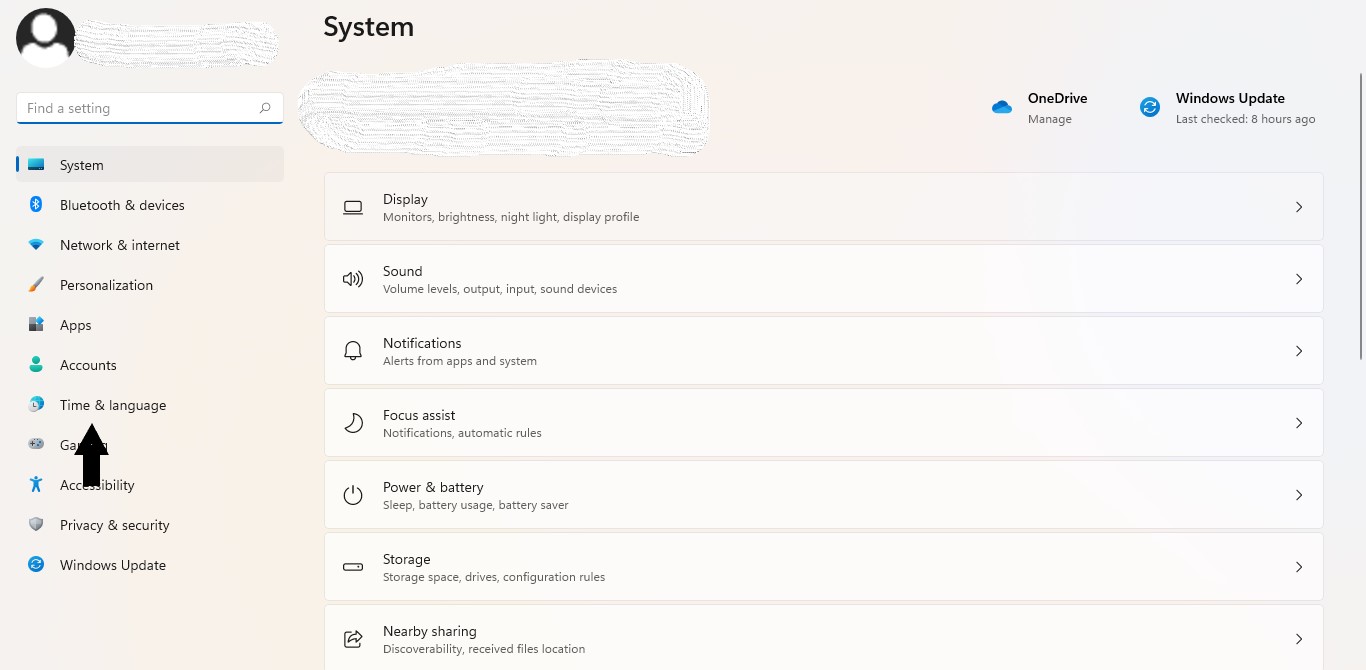
3. Click on Date & time from the right side.
4. Now, turn on both the Set Tome Automatically and Set time zone automatically (refer screenshot mentioned below).
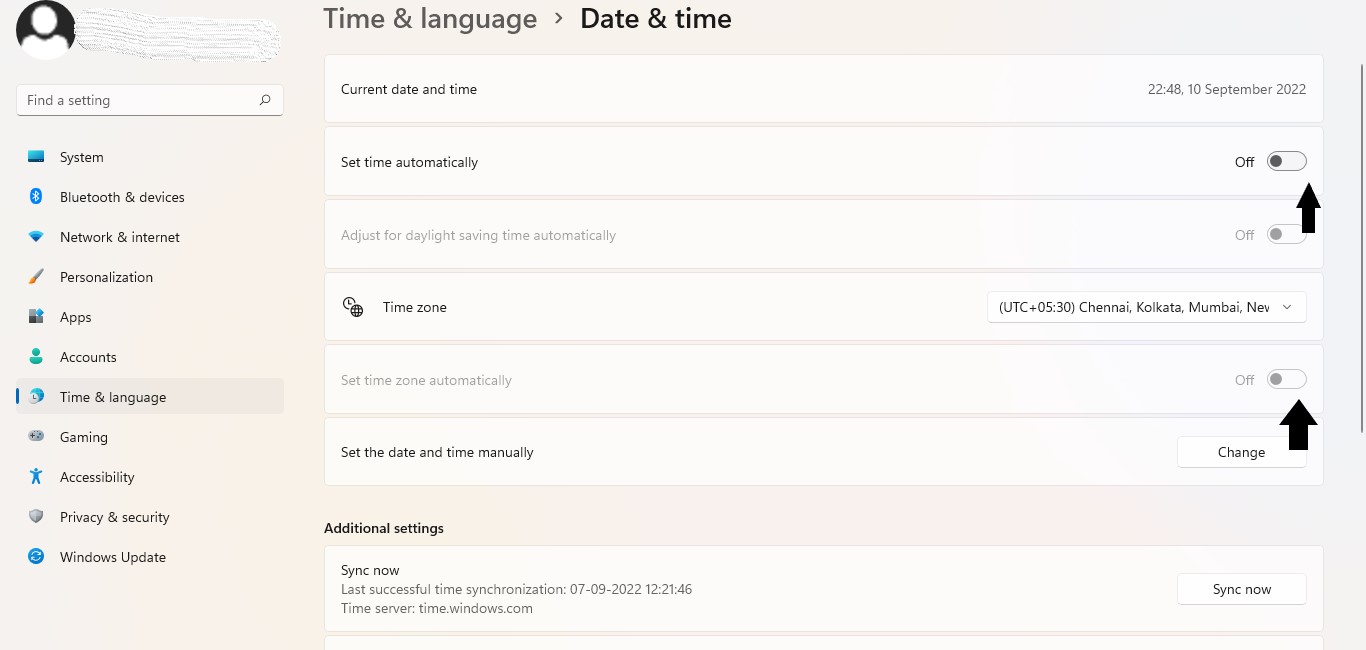
5. Now, the date and time of your device will be updated automatically.
Method 2: Using Control Panel
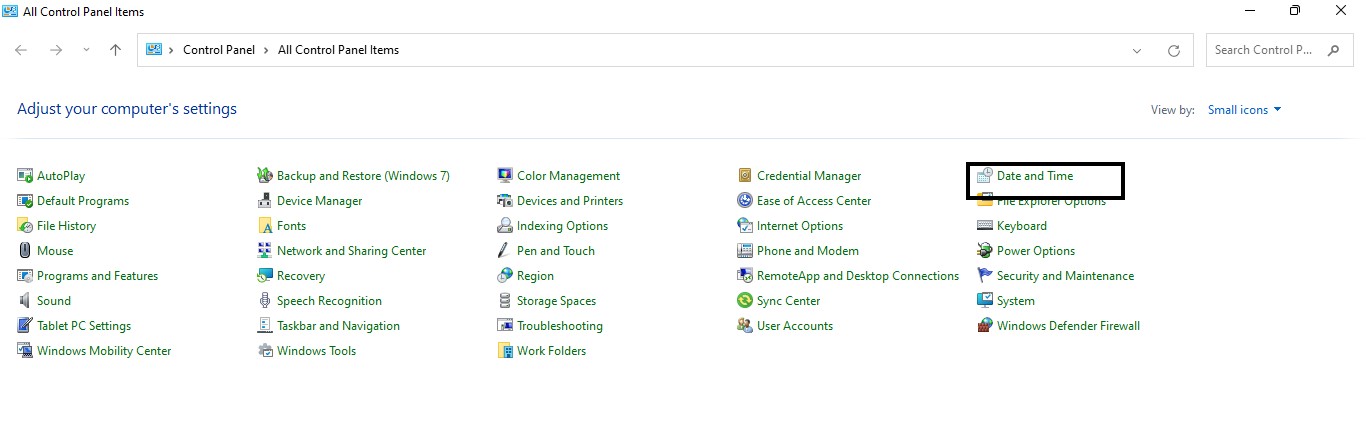
1. Open Control Panel.
2. Select Date and Time.
3. Now, select Internet Time on the top right.
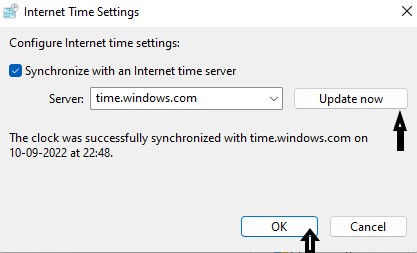
4. Press Change settings.
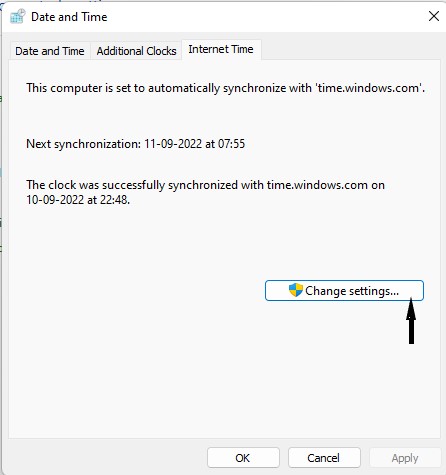
5. Lastly select Update Now, then OK to manually sync time.
Method 3: Using Window Time service
1. Open Run dialogue box directly or by pressing Windows + R keys.
2. Now, type services.msc and press Ok.

3. Select Windows Time Service on the right side.

4. Now, select Automatic under Startup type.
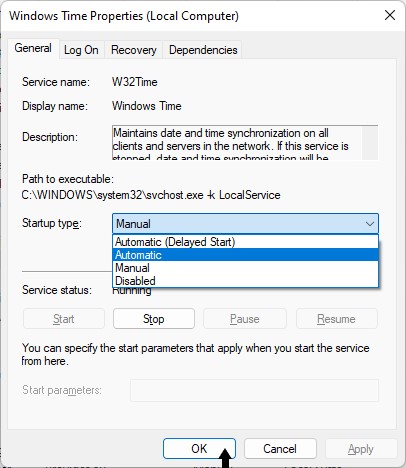
5. Press the Start button.
6. Lastly, click on Apply and OK to save your desired changes.
Method 4: By changing registry values
1. Open Run dialogue box directly or by pressing Windows + R keys.
2. Now, type regedit and press Ok.

3. Go to
Computer\HKEY_LOCAL_MACHINE\SYSTEM\CurrentControlSet\Services\W32Time\Config
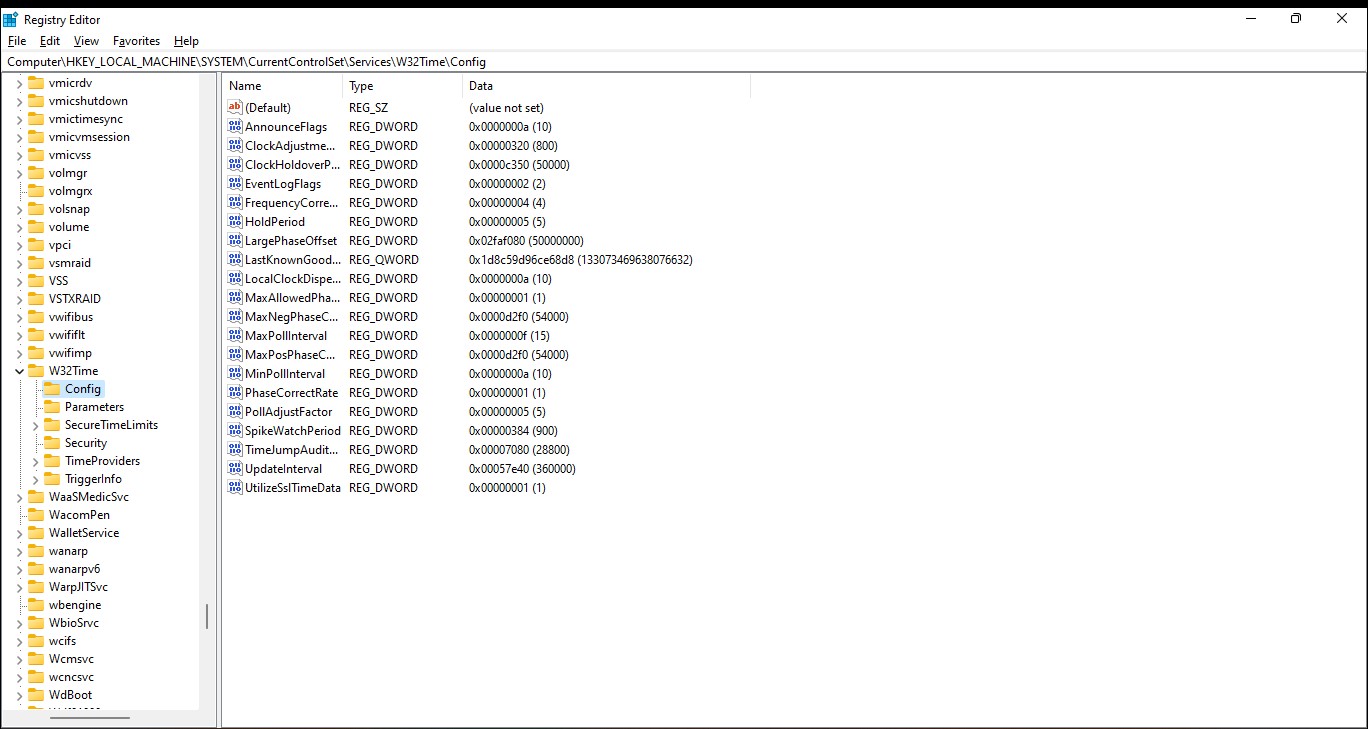
4. Select MaxNegPhaseCorrection from the right side.
5. Now, set ffff as the Value data (see screenshot for reference).

6. Tap on OK to save the change.
After select any of these methods you can conveniently fix date and time synchronization failed on Windows 11 of your device.

Although some of your ideas were original, my w11 clock still will not continue while devise is shut down.
One other thing to note of irregular time wettings it to change the BIOS battery. A weak or failing BIOS battery will reset clock to a system default start time, also it may not show up till system is powered off for periods of time, or restarted.