
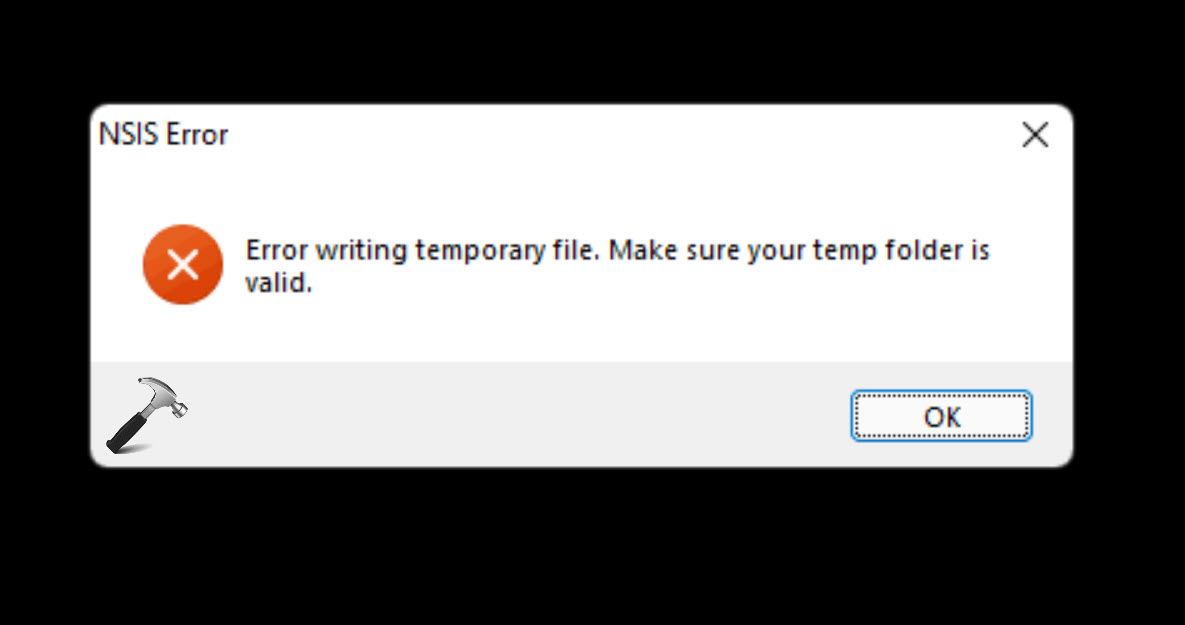
Struggling with the “Error writing temporary file. Make sure your temp folder is valid” message while installing or uninstalling programs on your Windows 11 PC? You’re not alone! This is a common error faced by many users. Don’t worry! We’ve got solutions to help you bypass it. Follow these steps one by one, and you’ll be able to install or uninstall your applications smoothly in no time.
Page Contents
Fix: Error writing temporary file in Windows 11
Method 1: Clean Temporary Files
1. Press Windows + R to open Run Command, type “%temp%” in the text field, and click Enter.

2. Once the temp folder opens, press Ctrl + A to select all the files, and press Shift + Delete to clear the temporary files.

3. Then restart your computer and check if the ‘Error writing temporary file’ error appears again.
Method 2: Re-download and Install the App
The error “Error writing temporary file, Make sure your temp folder is valid” can also occur due to a corrupted installation file or malware attached to a pirated installer. You can try re-downloading the application installer from the official software website and try installing it. You can also try running a malware scan on your PC to fix the error.
Method 3: Setting Up Temporary Files Permissions
Windows relies on temporary folders to store files during application installations. However, if these folders have read-only permissions set, you might encounter the ‘Error writing temporary files’ message. To resolve this, you can disable the read-only mode for the temporary folders.
1. Launch the File Explorer with Windows + E.
2. Then, go to the following location (make sure to replace the username with your username):
C:\Users\Username\AppData\Local
3. Once you’re in the Local folder, find and right-click the “Temp folder” and choose “Properties“.

4. In the Properties window, move to the “Security” tab, select your username, and click “Edit“.

5. Under Permissions, check “Allow” next to Full control, and click “Apply“.

6. Restart your PC to apply the changes.
Method 4: Run the Windows Memory Diagnostic Tool
1. Open Windows Search, type “Windows Memory Diagnostic“, and press Enter.

2. In the Windows Memory Diagnostic window, select the “Restart now and check for problems (recommended)” option.

3. Your PC will restart and check for any memory-related issues.
Method 5: Perform a Clean Boot
The ‘Error writing a temporary file’ error can sometimes happen due to conflicts with third-party programs or drivers. To find the problematic program, you can perform a clean boot in Windows. This temporarily disables non-essential startup programs and services, allowing you to isolate any program or driver causing the display issue.
Method 6: Compress and Run the Installer File
While running the application installer directly can sometimes trigger the “Make sure your temp folder is valid” error message for various reasons, compressing the installer into a ZIP file and running it from within the compressed folder can sometimes bypass this error.
1. Right-click the installer that is showing the error and select “Compress to” > “Zip File“.
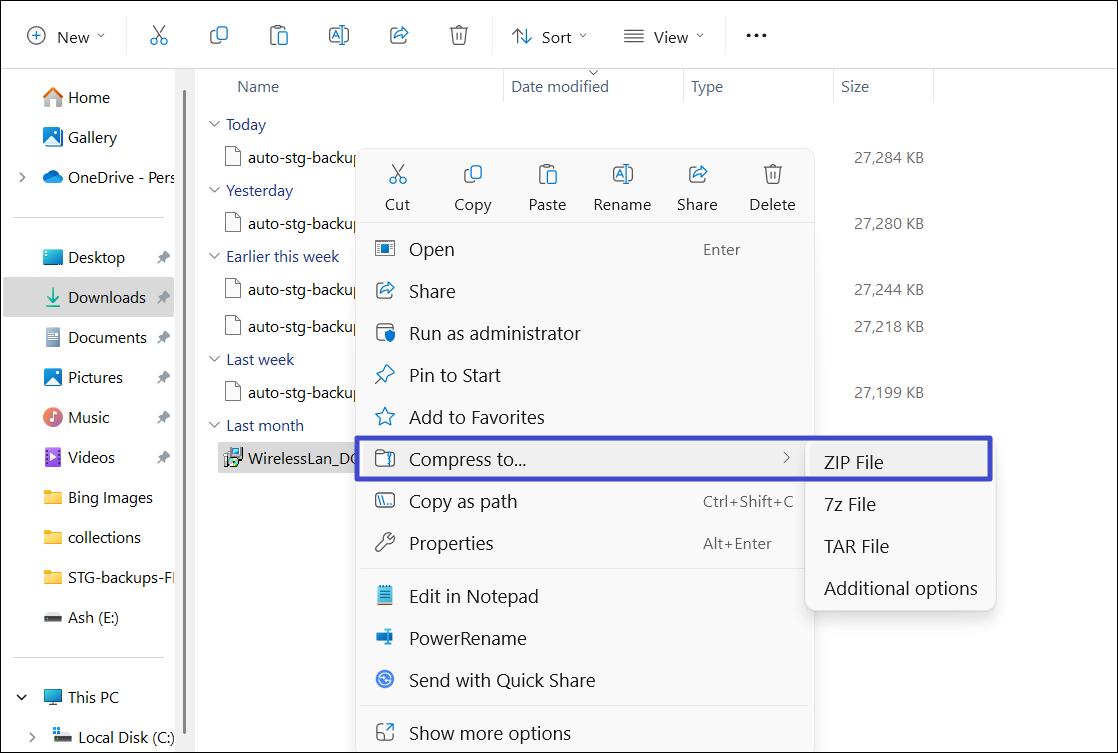
2. Then, double-click the created zip file to open it and try running the installer again.
Method 7: Reset your PC
If none of the above solutions were able to help you, you may need to consider resetting your Windows 11 PC to fix the ‘Error writing temporary file. Make sure your temp folder is valid.’ error.
That’s it.


![Quick Access Crashes File Explorer in Windows 11 [6 Fixes]](https://www.kapilarya.com/assets/File-Explorer-1-768x552.png)
