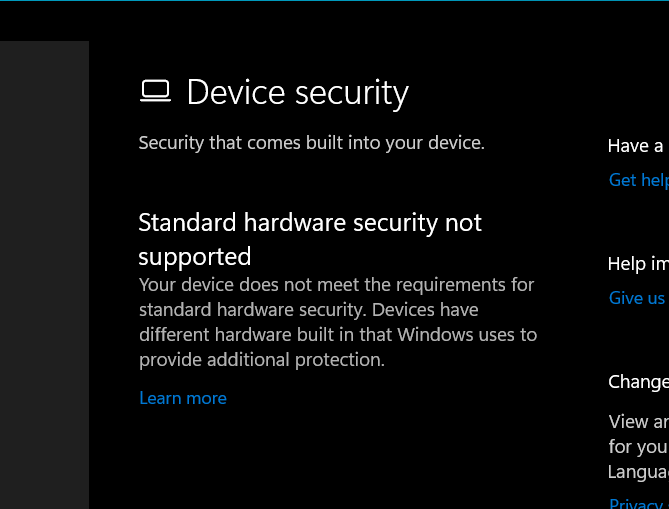
Does your Windows Security app show the error message Standard hardware security not supported on Windows 11? The security programme in Windows 11 by default is called Windows Security. You can use it to guard your computer against malware, viruses, and other threats. It features modules that provide a variety of precautions, including account protection, device security, and threat and virus prevention.
Page Contents
Fix: Standard hardware security not supported on Windows 11
Fix 1. Turn on Data Execution Prevention (DEP)
- Press Windows + R to open Run Dialog Box.
- Enter sysdm.cpl to launch System Properties.
- Scroll to the Advanced Tab in the System Properties windows and click on Settings.
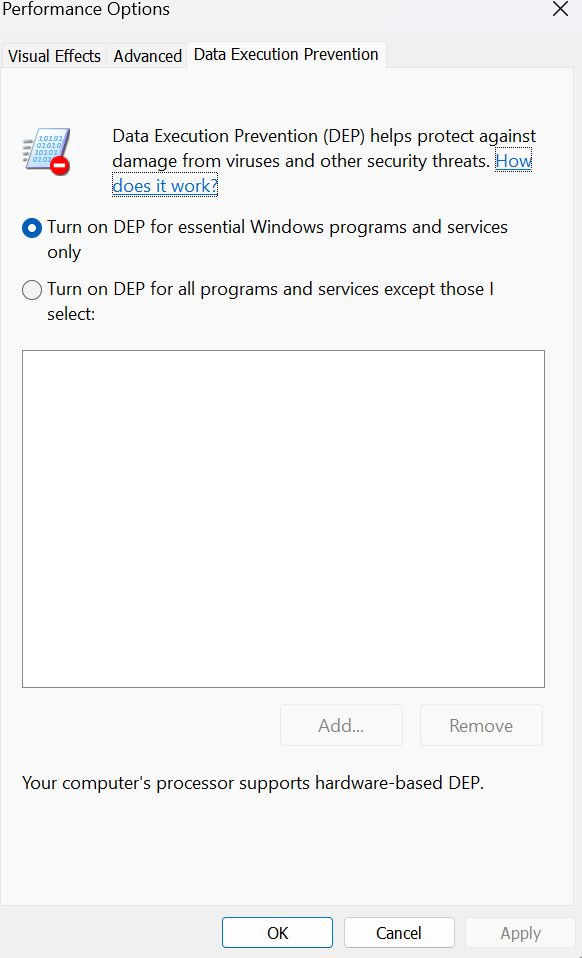
- Go to the Data Execution Prevention tab and click on Turn on DEP for essential program and services only option.
- Click on Apply followed by OK button.
Fix 2. Reset Windows Security to fix ‘standard hardware security not supported on Windows 11’ error
- Press Windows + I to open Settings.
- Go to the Apps Tab.
- Navigate to Installed Apps option and clock on the Windows Security app.
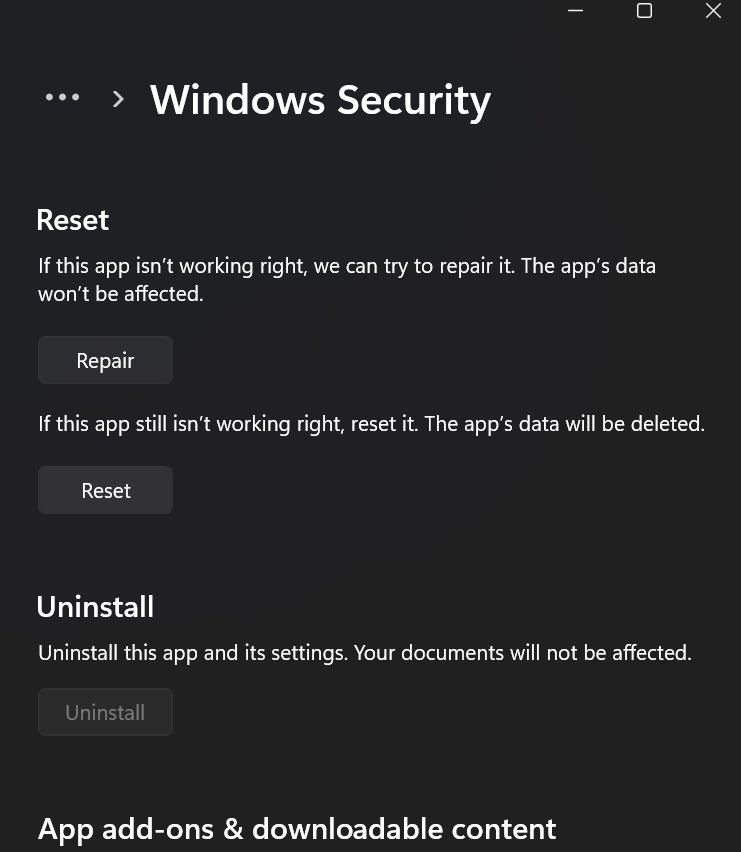
- Scroll to the Reset section and press Reset button and confirm the same.
- Restart your computer and the problem is resolved!
Fix 3. Activate Memory Integrity
- Open settings or click Windows + I.
- Go to the Privacy & Security Tab.
- Click on the Windows Security from the right panel.
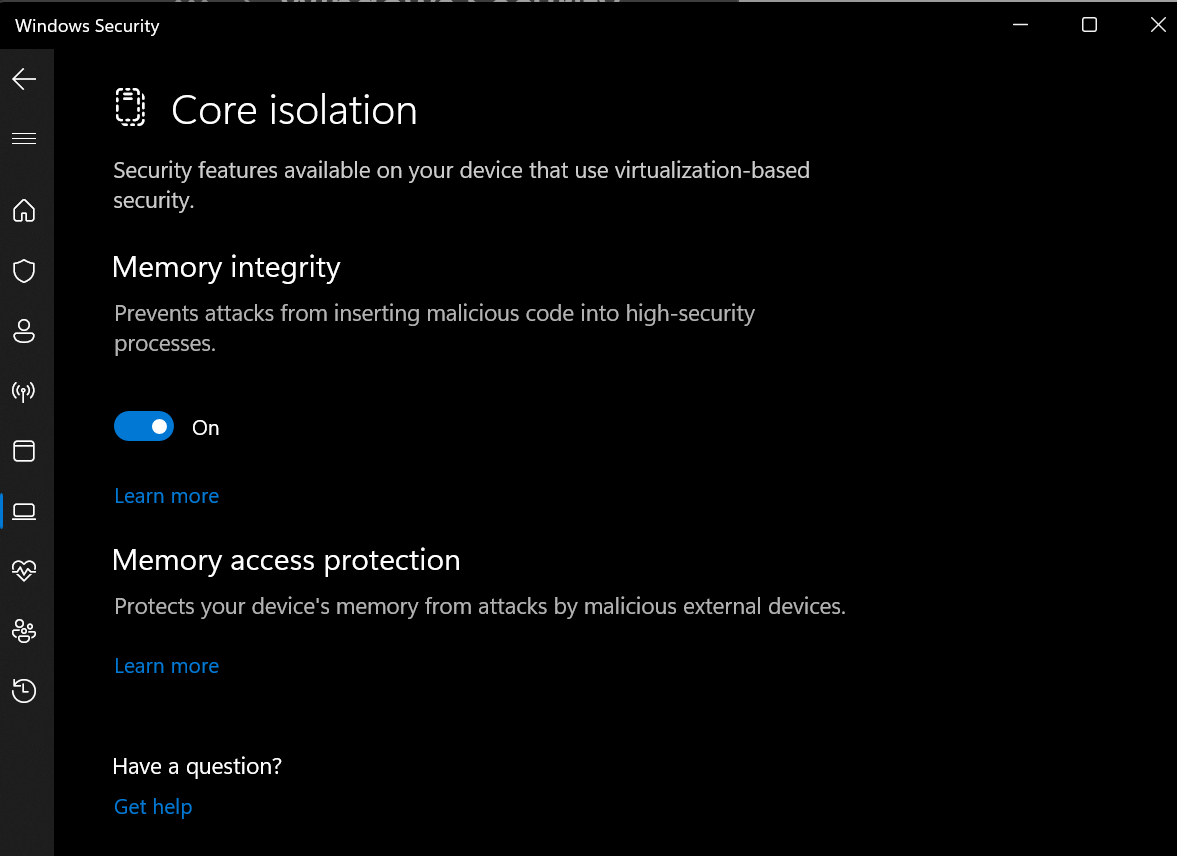
- Then, click the Device Security option and select the Core isolation details through the Core islolation section.
- Now you can exit the settings and go to the Windows Security to check the problem is solved.
Fix 4. Re-register the Windows Security app using PowerShell
- In Windows search, search for PowerShell.
- Right click on the PowerShell and Run as administrator.
- Now copy and paste the following command :
PowerShell -ExecutionPolicy Unrestricted -Command "& {$manifest = (Get-AppxPackage *Microsoft.Windows.SecHealthUI*).InstallLocation + '\AppxManifest.xml' ; Add-AppxPackage -DisableDevelopmentMode -Register $manifest}"
- Now, restart your computer and check if the error message is popping up.
Fix 5. Take SecurityHealth Folder ownership
- Press Windows + E to open File Explorer.
- Navigate to the location: C:\Windows\System32\SecurityHealth.
- Right-click on the SecurityHealth folder and select the Properties option.
- Scroll to the Security tab and click on the Advanced button.
- Next, press the Change button and then tap on Advanced.
- Then, click on the Find Now button.
- Select Administrators from the Search Results section and press OK.
- Click on Check names and press OK.
- Tick the Replace owner on sub containers and objects checkbox and press OK.
- In the Properties window, choose Administrators and press the Edit option.
- Select Administrators and tick the Allow checkbox associated with the Full Control option.
- Navigate to the 1.0.2109.27002-0 folder and run the Microsoft.SecHealthUI_8wekyb3d8bbwe.appx file.
- Restart your computer in safe mode.
- Next, go to the SecurityHealth folder and delete the 1.0.2207.20002-0 folder, and rename the 1.0.2109.27002-0 folder to 1.0.2207.20002-0.
- Restart your PC again and check if the problem is resolved.