Windows Security exclusion is referred as skip of scan for the excluded item. In simple words, if you add an item to Windows Security exclusion list, it won’t be scanned, when you’re running Quick, Full or custom scan. This will help you to reduce the time elapsed in scanning your system. If you’ve already added Windows Security exclusion using this guide but they won’t work, this article is for you. In this fix, we’ll see how to resolve Windows Security exclusions not working in Windows 11 issue.
You can try either of below mentioned solutions to fix up this problem.
Page Contents
Fix: Windows Security exclusions not working
Fix 1: Verify the exclusion settings
Double-check the exclusion settings to ensure that you’ve correctly specified the files, folders, or processes you want to exclude from Windows Security scans.
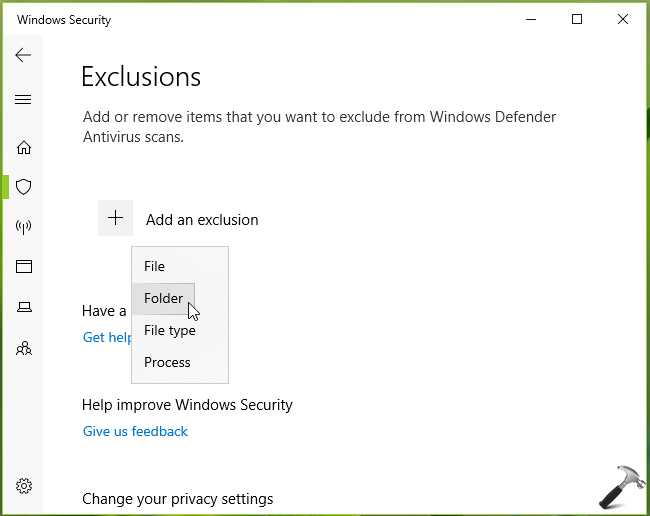
Make sure you’ve entered the correct paths and filenames.
Fix 2: Check for conflicting security software
If you have other security software installed on your system, such as third-party antivirus or anti-malware programs, they might interfere with Windows Security’s exclusions.
Consider temporarily disabling or uninstalling these programs to see if it resolves the issue.
Fix 3: Run Windows Security in Safe Mode
Booting your computer into Safe Mode and then configuring the exclusions in Windows Security can help determine if any third-party software or processes are conflicting with the exclusions.
Restart your computer and enter Safe Mode, then configure the exclusions and see if they work properly.
Fix 4: Update Windows Security
Make sure that Windows Security is up to date with the latest definitions and software updates.
Outdated versions of Windows Security might have bugs or compatibility issues that can affect exclusion functionality.

Check for updates in the Windows Security app or through Windows Update.
Fix 5: Perform a system scan
Run a full system scan with Windows Security to check for any malware or security threats.
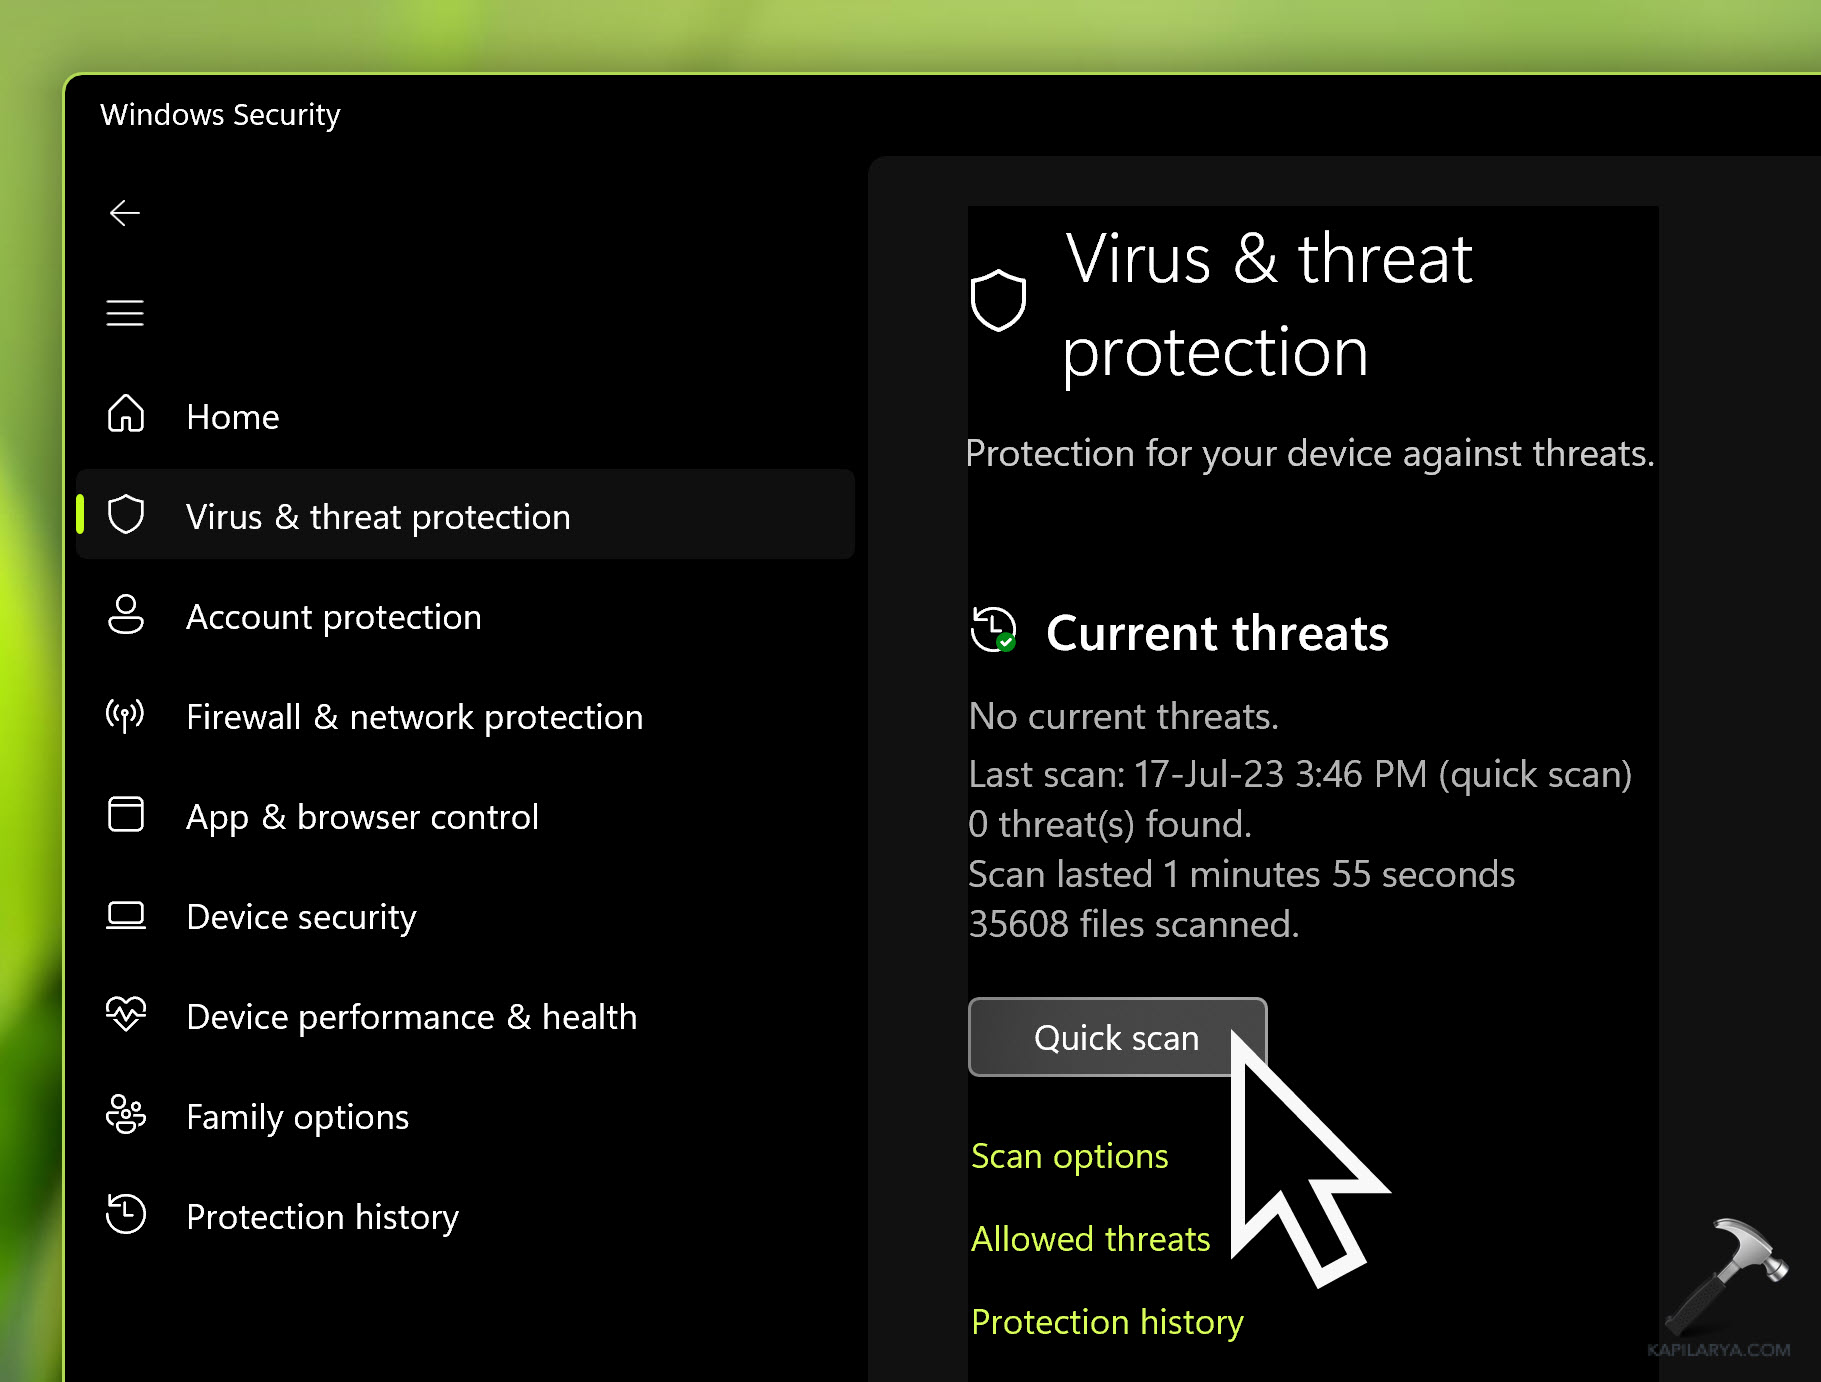
Sometimes, certain types of malware can interfere with exclusion settings.
If any threats are detected, remove or quarantine them and then retest the exclusions.
Fix 6: Reset Windows Defender settings
If the above steps haven’t resolved the issue, you can try resetting Windows Security settings to their default values.
Open the Windows Security app, go to “Virus & Threat Protection,” click on “Manage Settings,” and then click the “Restore settings to their default values” option.
Fix 7: Check for Group Policy settings
If you’re on a managed network or using Group Policy settings, ensure that there are no policies in place that override or conflict with Windows Security exclusions.

Consult your network administrator or IT department for assistance in verifying the Group Policy settings.
Hope this helps!