
Microsoft Defender Antivirus uses real-time protection to scan your downloads and the programs you run on your device. In this, we will help you to fix Windows Security Virus & Threat Protection Missing on Windows 11/10.
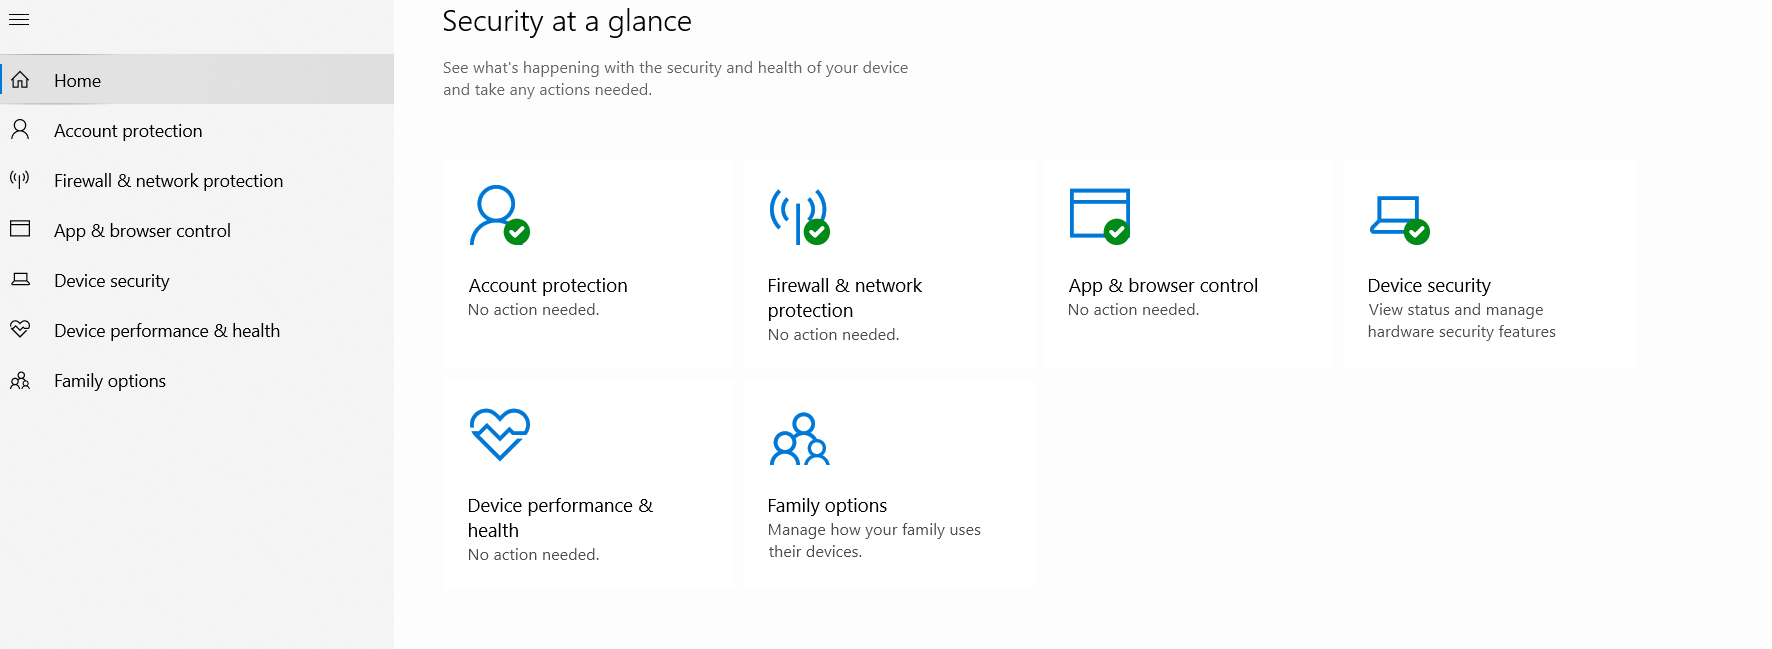
Windows Security shows you how Microsoft Defender Antivirus has been protecting you. It shows you when:
- Your device was last scanned for threats.
- Your definitions were last updated. Definitions are files that Microsoft Defender Antivirus uses to protect your device against the latest threats.
- The Device performance and health scan were run to ensure your device is operating efficiently.
- Many additional settings to manage security of your device
Page Contents
Fix: Windows Security Virus & Threat Protection missing in Windows 11/10
Solution 1: Fix using Local Group Policy Editor
1. Press the Windows Key + R. Type gpedit.msc and click OK.
2. Navigate the path:
Computer Configuration\Administrative Templates\Windows components\Windows Security\Virus and threat protection
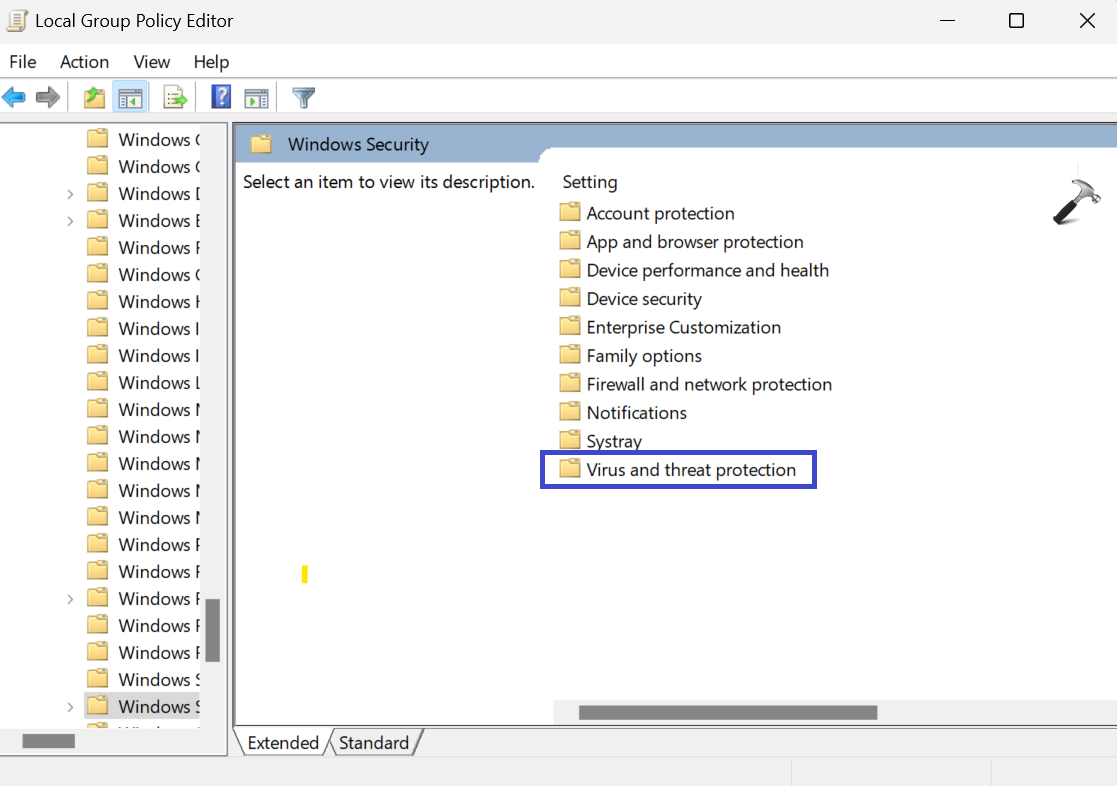
3. In the right panel, double-click on “Hide the Virus and threat protection area”.
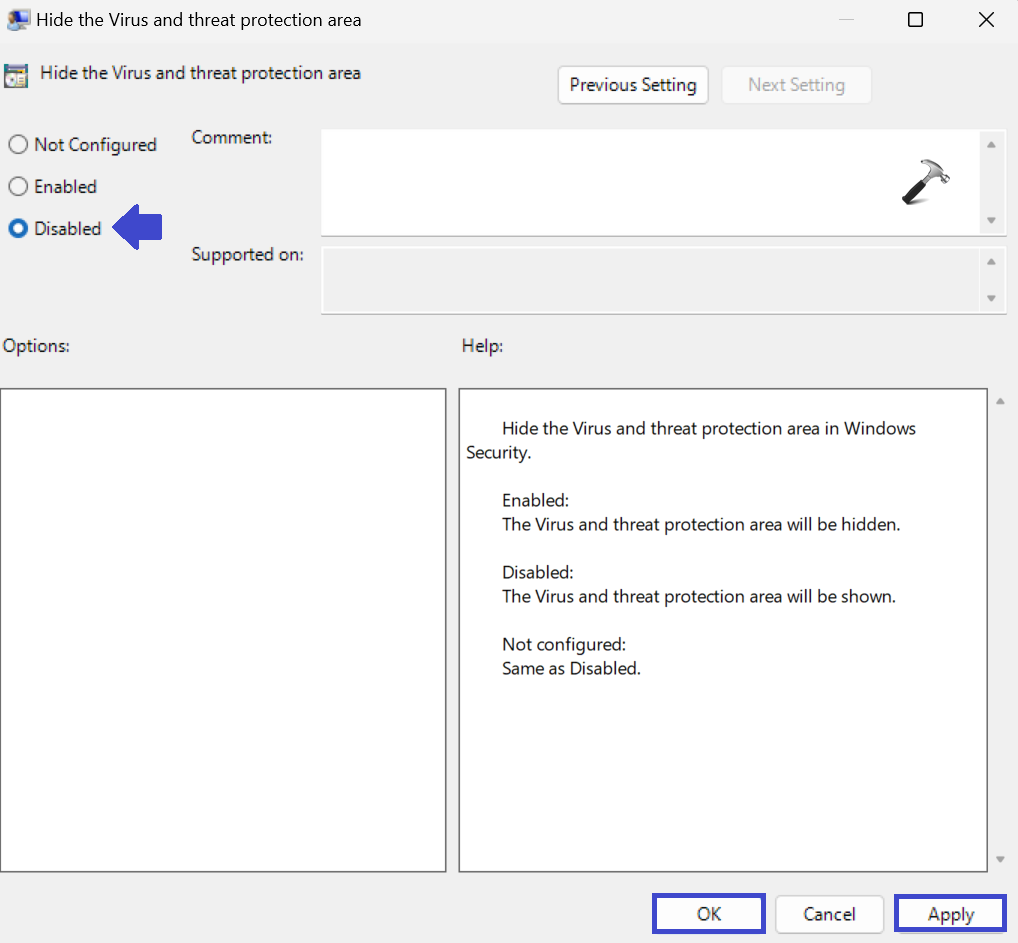
4. Prompt box will appear
Select “Not Configured” or Disabled to show the Virus & threat protection in Windows Security.
Select “Enabled” to hide Virus & threat protection in Windows Security.
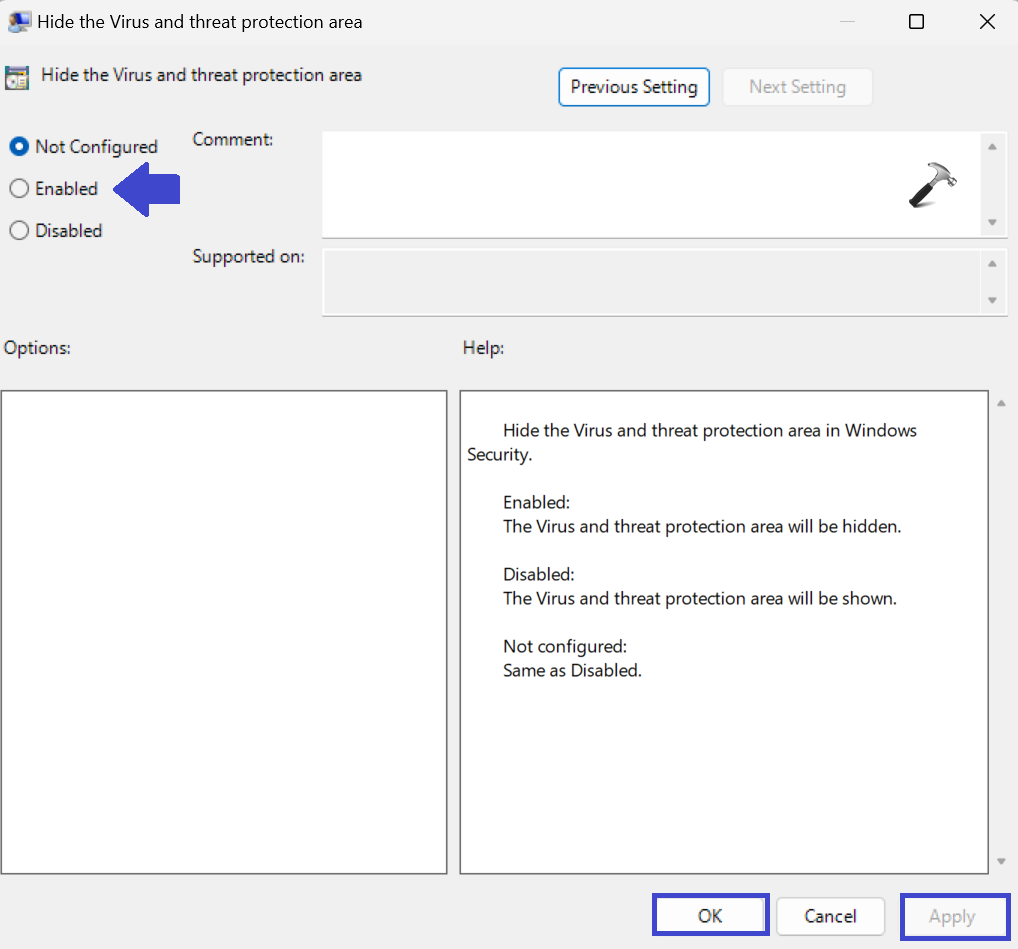
5. Click OK followed by Apply.
6. Restart the PC to apply the settings.
Solution 2: Fix using Registry Editor
1. Press the Windows Key + R. Type regedit.exe and click OK.
2. Navigate the path:
Computer\HKEY_LOCAL_MACHINE\SOFTWARE\Microsoft\Windows Defender Security Center\Virus and threat protection
3. Now, click on “UILockdown” registry key. If you don’t have the key, you can create it.
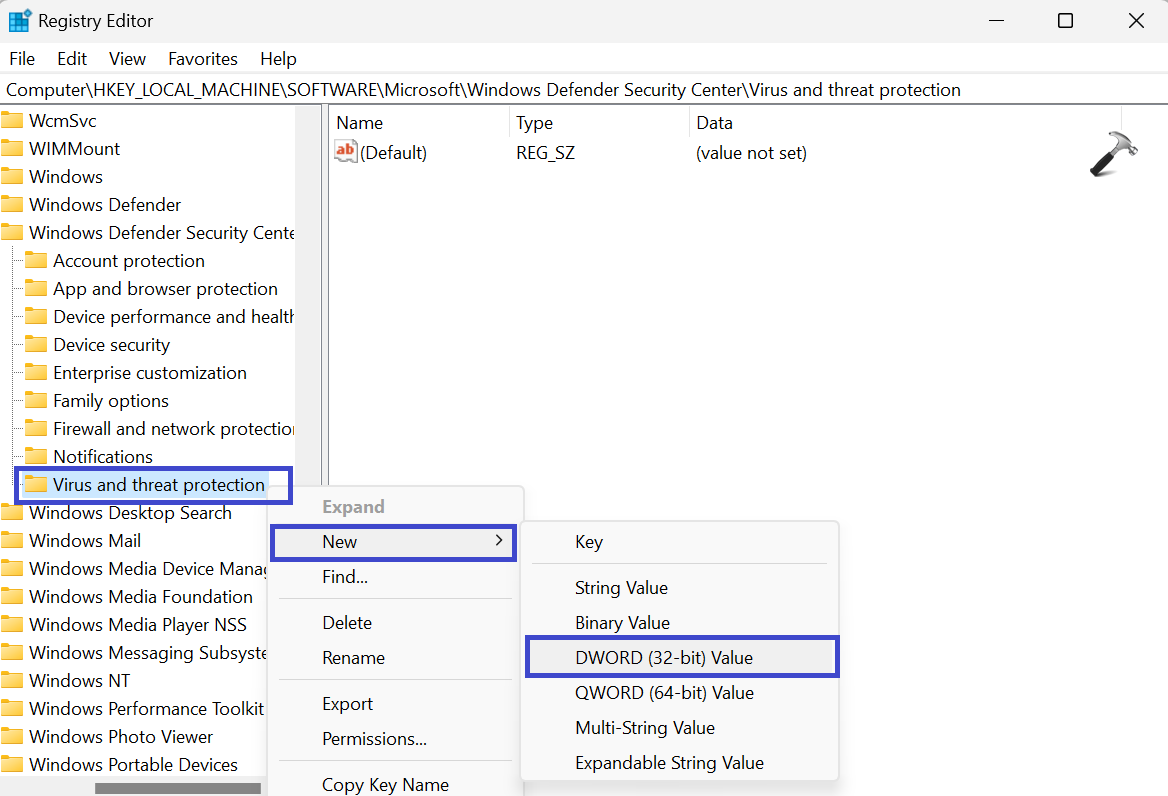
To create the registry key, right-click on “Virus and threat protection” => New => DWORD(32-bit) value. Type “UILockdown” and click OK.
Your key is created.
4. Now, double-click on “UILockdown”. A prompt box will appear.
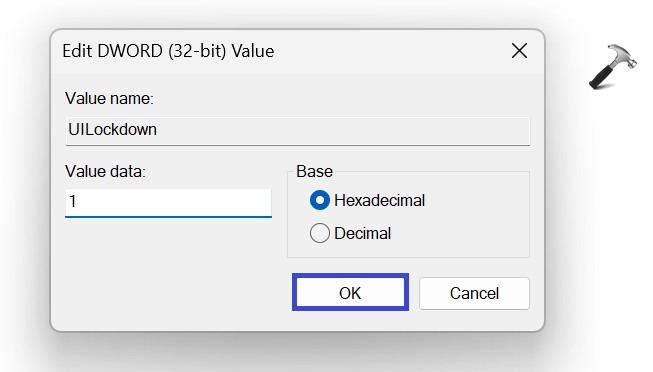
Set the value to 0 to show. Or you can also delete “UILockdown” to show the Virus and threat protection.
Set the value to 1 to hide.
5. Close the Registry Window and restart the PC to apply the settings.
Video fix
If you like, you can also checkout this live video fix demonstration:
That’s It!


All non-solutions, the only real working solution is this: open powershell as admin, and then type the following string,
Set-MpPreference -UILockdown 0
press enter and you’re done.
^^ Thanks for adding this AI.
AI, you’re the one! Thanks a lot!!!
It still doesn’t work for me..
Same, nothing worked :(
Set-MpPreference : Operation failed with the following error: 0x%1!x!
At line:1 char:1
+ Set-MpPreference -UILockdown 0
+ ~~~~~~~~~~~~~~~~~~~~~~~~~~~~~~
+ CategoryInfo : NotSpecified: (MSFT_MpPreference:root\Microsoft\…FT_MpPreference) [Set-MpPreference],
CimException
+ FullyQualifiedErrorId : HRESULT 0xc0000142,Set-MpPreference
this is what happened al ^^^^
NOTHING HAPPENED AND I KEEP TRYING BUT STILL NOTHING
Tried everything above. including the video steps. Nothing worked. Any other suggestions?