
Whenever a crash happens, Windows displays Blue Screen of Death (BSOD) or stop error. To fix BSODs, we need to exactly know the system image at the time of crash. Dump files are those files which will provide us details of this kind. They will tell us what was executing at the time of crash along with what was present in application’s memory. This will help us to locate the BSOD fault so that we can proceed accordingly and troubleshoot it.
A dump (.DMP) file is usually analyzed by a dump analyst or using dedicated tools. All you need to do is to allow Windows 10 to create dump files and if a crash occurs, collect the dump files and post your query to Microsoft Answers/Community or Technet IT Pro forums. The BSOD analysts present there will help you to solve the issue.
There are 5 type of dump files:
1. Small memory dump: It provides minimum set of information about why system crashed.
2. Kernel memory dump: It records kernel mode read/writes on physical memory while crash happened.
3. Automatic memory dump: Same as Kernel memory dump, except Windows sets system paging file for this type of dump.
4. Active memory dump: Provides information about both kernel and user mode.
5. Complete memory dump: It offers all the information about Random Access Memory at the time of crash.
You can read about them in detail in this support article.
By default, Windows 10 creates Automatic memory dump file. You can follow these steps to configure, which type of dump files should Windows 10 create.
Page Contents
How To Allow Or Prevent Windows 10 To Create Dump Files
Part 1 – Configure Windows 10 To Create Dump Files
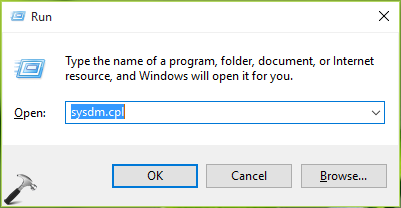
1. Press  + R and type sysdm.cpl in Run. Click OK or press Enter key.
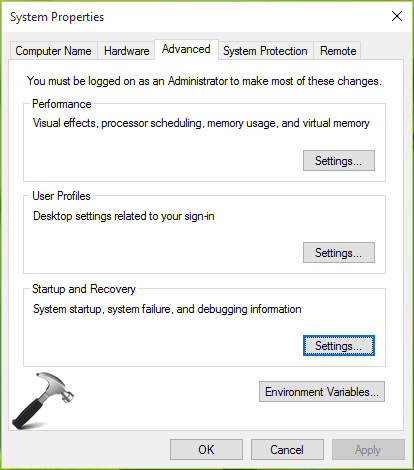
2. In System Properties window, switch to Advanced tab and under Startup and recovery heading, click Settings.
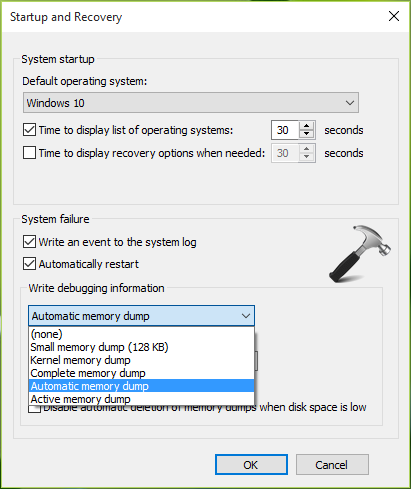
3. Next, under Startup and Recovery window, head on to Write debugging information and select the type of dump file you want Windows 10 to create. If you set this option to (none), no dump files will be generated.
4. You can also customize the location where dump files to be written. Generally when second BSOD occurs, the dump file of first BSOD are overwritten. You can uncheck Overwrite any existing file option to avoid this. Click OK, Apply, OK.
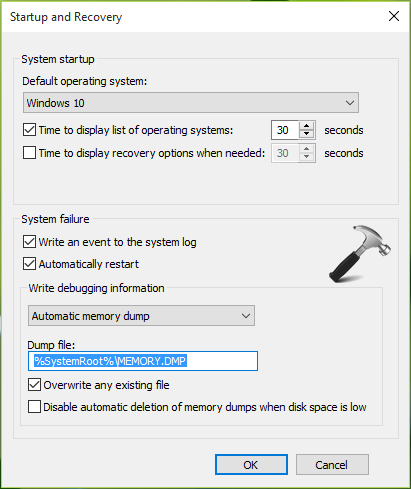
In this way, you configured Windows 10 to generate type of dump file you want.
Part 2 – Manually Create Dump File For Specific Process In Windows 10
Sometimes, users may need to analyze a particular process in Windows 10. This can also be done by creating a dump file for the process.
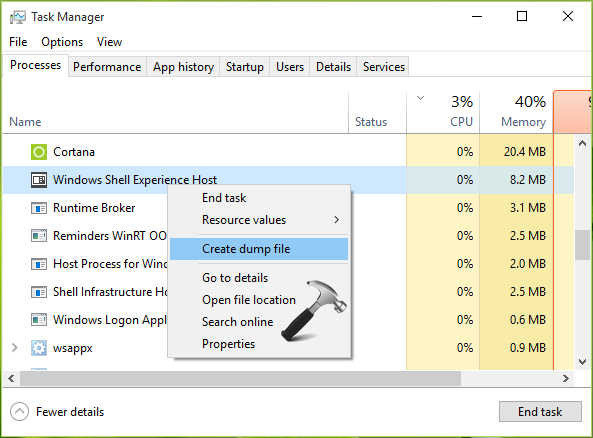
1. Press Ctrl+Shift+Esc to open Task Manager. On Processes tab, select the process for which you want to generate dump file and right click on it, choose Create dump file option.
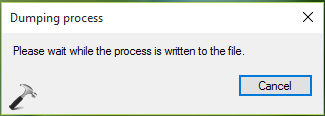
2. Hold for a moment, while Windows generates dump file.
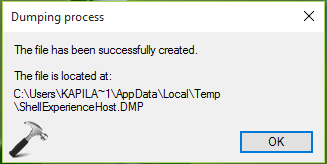
3. When finished, you’ll get confirmation and location of dump file so created.
That’s it!


Do you know if it’s possible to disable the Task Manger’s Create Dump File feature?
^^ What you’re trying to achieve with that? I believe, it’s not possible.