
In Windows 11, we can have either local account or Microsoft account. By default, when you install Windows 11, you will be asked to create a Microsoft account. A Microsoft account is often the recommended account, because it can allow you to easily sync your data with other devices. Using Microsoft account, you don’t need to sign-in apps individually as you’re directly logged in to them. However, sometimes local account may be the need of the hour. In this article, we will see the step-by-step process on how to create a local account in Windows 11.
See, you can create local account either using Settings app or using the User Accounts Management (NETPLWIZ) window. Creating the local account using Settings app is recommended option because it provides you the interface to create security questions. So in case if you later forgot your local account password, you can reset it using the security questions you set. When you login to new local account first time, you’ll see first-time sign-in animation.
Here is how you can create a local account in your Windows 11 system.
Page Contents
How to create a local account in Windows 11
Method 1: Using Settings app
1. Press  + I keys to open Settings app.
2. Go to Accounts > Family & other users. Under Other users, click Add account.

3. Next, in the Microsoft account window, click on I don’t have this person’s sign-in information link.
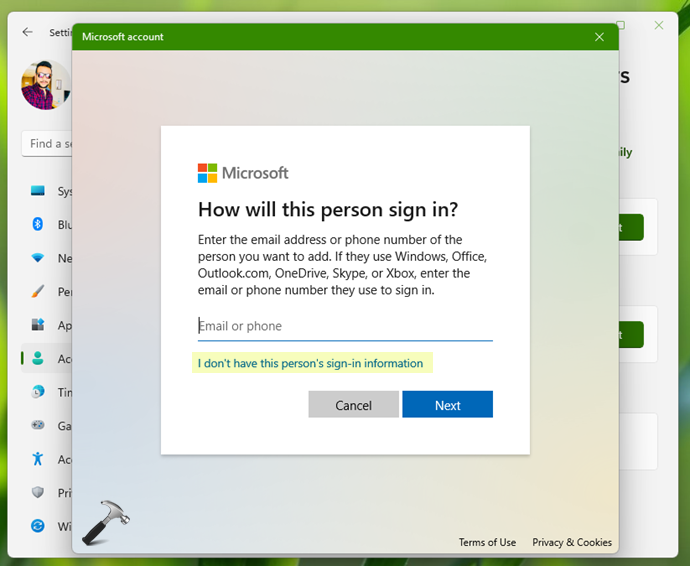
4. In the next screen, click on Add a user without a Microsoft account.

5. Now under Create a user for this PC, type in the local user account name followed by its password.
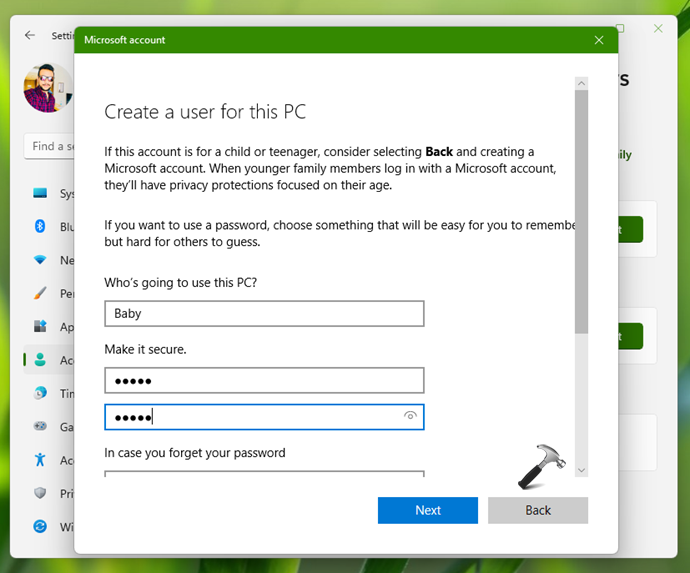
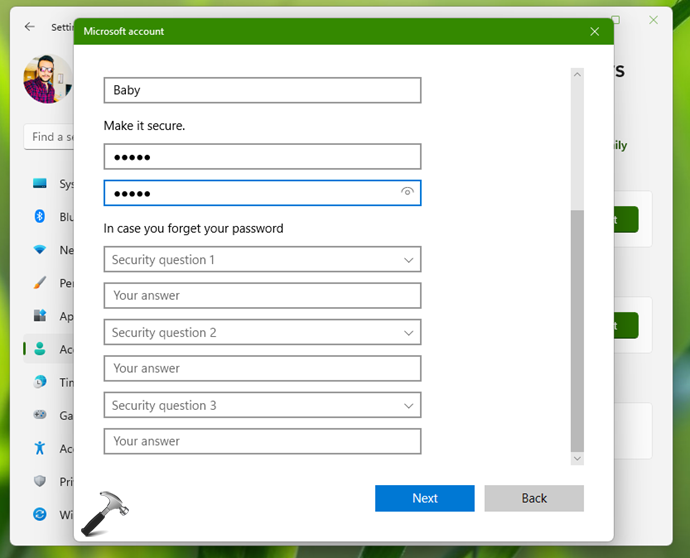
6. If you add a password to this new local account, you need to additionally create some security questions, which you can use to reset the password when you forgot it. Once done, click Next.
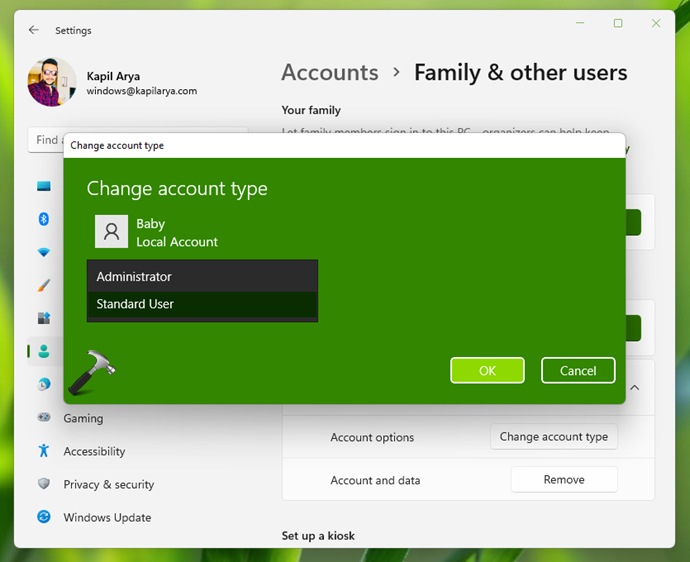
7. So the new local user account has been added to the system. Click on Change account type button to modify its level of access.
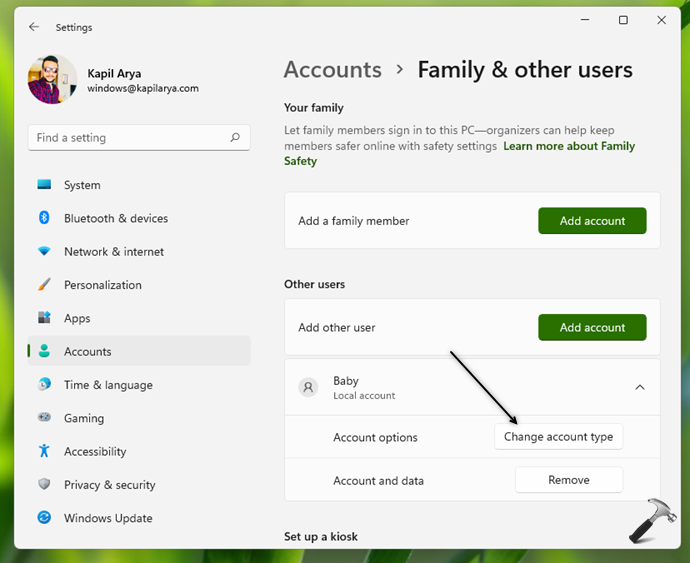
8. By default, when you create a local account, it is Standard account. So in next window, if you like, you can set the account type to Administrator.
This completes the creation of local account on your Windows 11 system.
Method 2: Using NETPLWIZ (User Accounts Management)
If you can’t follow Method 1, here is an alternative.
1. Press + R and put netplwiz in Run dialog box. Click OK or hit Enter key.
2. Under User Accounts, on the Users tab, click Add.

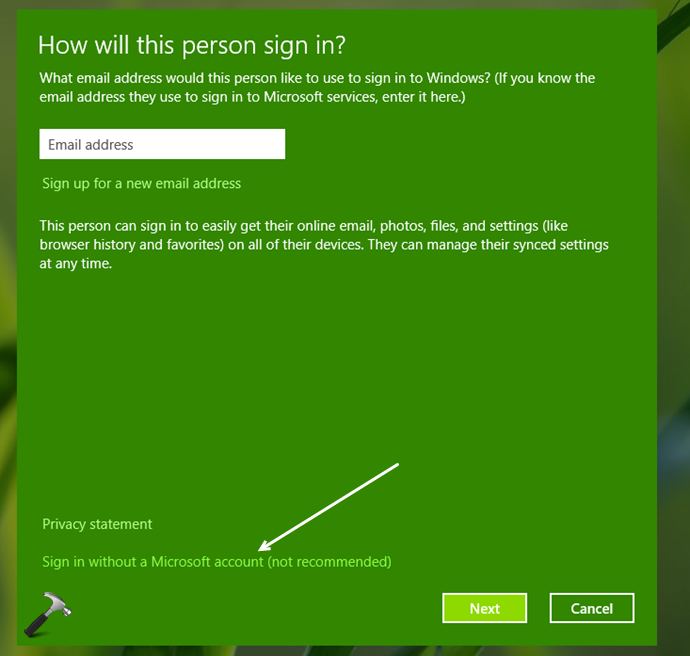
3. Next, click on Sign in without a Microsoft account (not recommended).
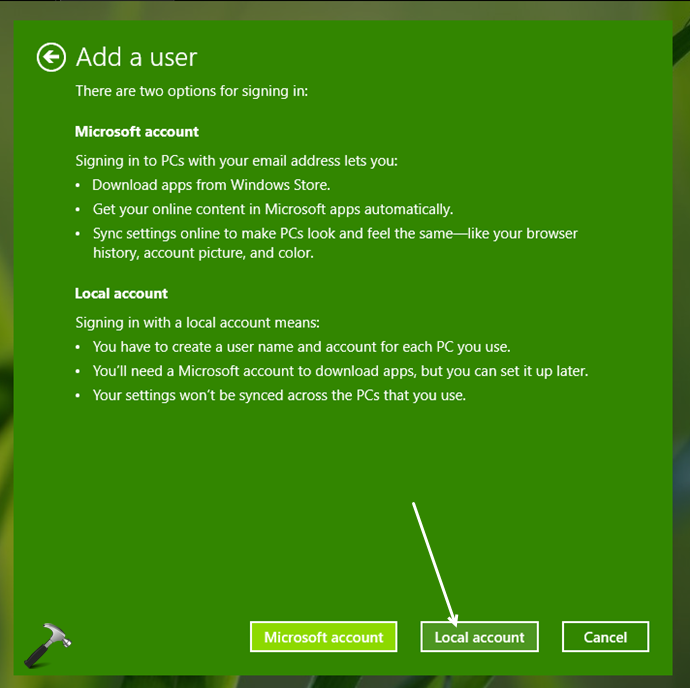
4. In the next screen, click on Local account button.
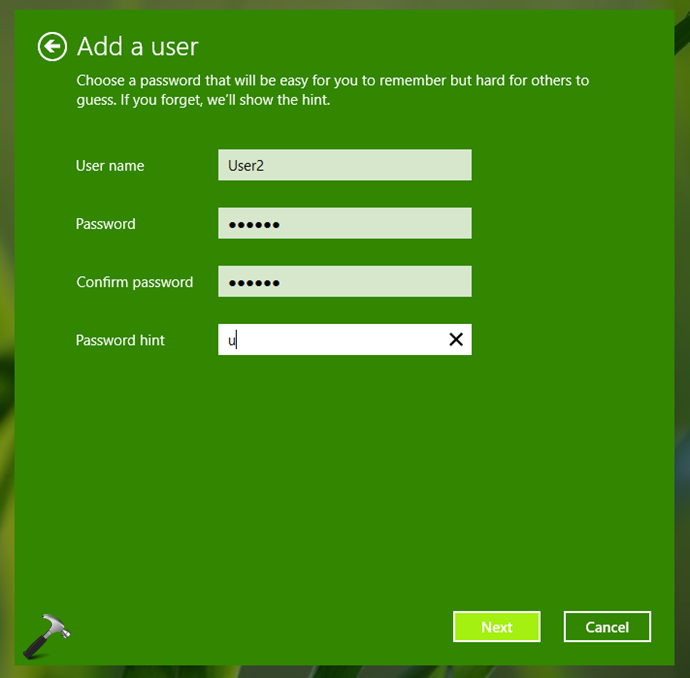
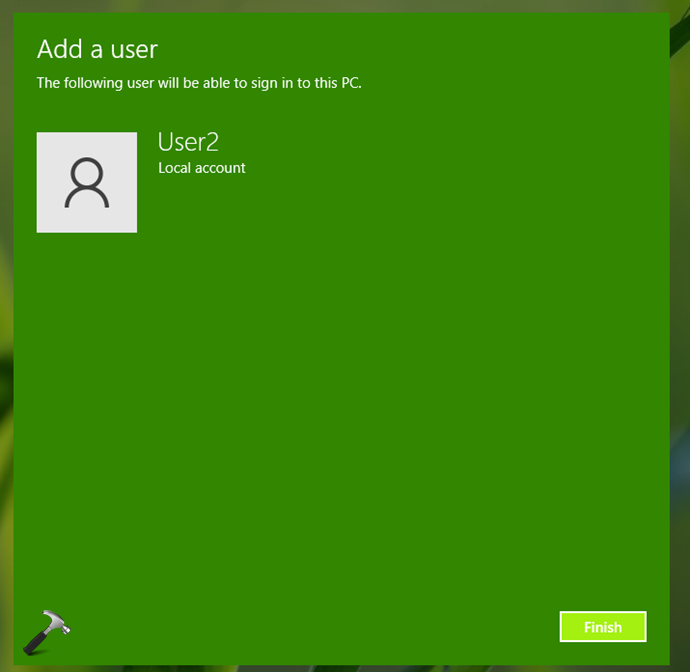
5. Now type in the local account information and click Next.
6. Click on the Finish button to complete creating your local account.
7. Now back in the User Accounts window, select your newly created local account and click Properties.
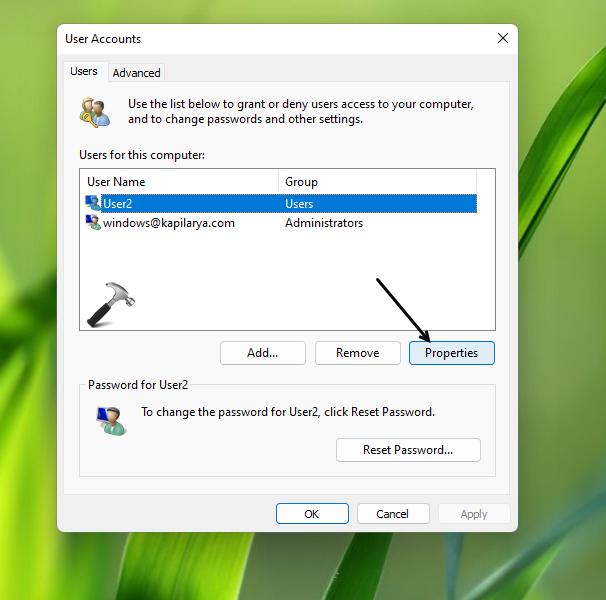
8. On the property sheet, go to Group Membership tab. Here you can change that local account type and if you like, you can make it administrator. Click OK.

Video guide
Here’s the video guide to demonstrate above methods:
That’s it!
Related: Switch to local account from Microsoft account on your Windows 11.


This needs updating, your steps in the settings app are for Windows 10 not Windows 11