On Windows 11, screen flickering or flashing can be caused by many reasons, including graphics driver issues, loose or worn-out cables, incompatible programs, or Windows Update.
It usually happens when gaming or running graphics-demanding apps, but it can happen anytime. If you’re troubled by this issue, we covered all possible solutions to fix Screen flickering on Windows 11.
Page Contents
How to Fix Screen Flickering in Windows 11
Method 1: Update the Graphics Card Driver
An outdated or faulty graphics driver can sometimes cause screen flickering on Windows 11. Installing any pending graphics driver updates can fix the issue.
1. Right-click the “Start” menu or press Windows + X and select “Device Manager“.
2. Expand “Display adapters“. Then, right-click on the display driver and select “Update driver“.

3. On the Update Drivers window, select “Search automatically for drivers“.

4. Once the update is complete, restart your PC.
Method 2: Disable Third-party Antivirus Program
1. Click the “Show hidden icons” button (Up arrow) on the taskbar to open the notification area or system tray.

2. Then, turn off the real-time protection option.

3. If you can’t find an option to turn off real-time protection in the system tray menu, open your antivirus app, navigate to real-time protection settings, and disable it there.

Method 3: Check Your Cable Connections
1. Turn off your computer completely.
2. Then, unplug video cables that connect to your monitor and your computer.
3. Check the cable for any damage like fraying or broken connectors. While you’re at it, check the ports on the monitor and computer for bent pins or dust.
4. Then, plug them back in properly, and make sure there’s no loose connection.

5. After that, turn on your monitor first and then your CPU. See if the screen flickering is stopped.
Method 4: Disconnect and Reconnect Your GPU
1. Turn off your computer completely and unplug it from the power outlet.
2. Carefully, open your computer case and unplug all the cables connected to your GPU.

3. Then, find the latch keeping the GPU in its PCI slot and gently press the latch to release it. If the GPU is screwed in, remove the screws.
4. Carefully, pull the GPU out of its slot.

5. Clean the dust with compressed air (not a vacuum) or a soft brush on both the card and PCI slot on the motherboard.
6. Slide the GPU back into its slot and secure it with the latch or screws.
7. Plug all the cables you disconnected before and close the case.
8. Turn on your PC.
Method 5: Create a New User Profile
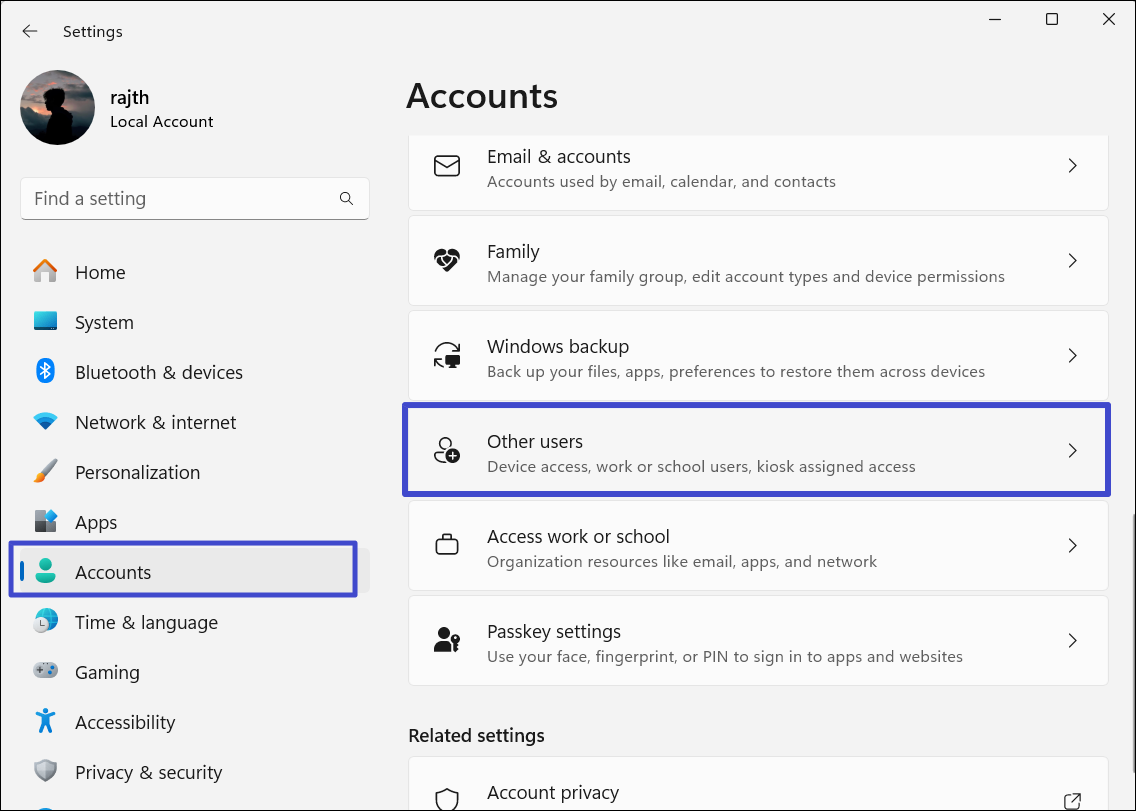
1. Open Windows Settings, go to “Accounts“, and click on “Other users“.
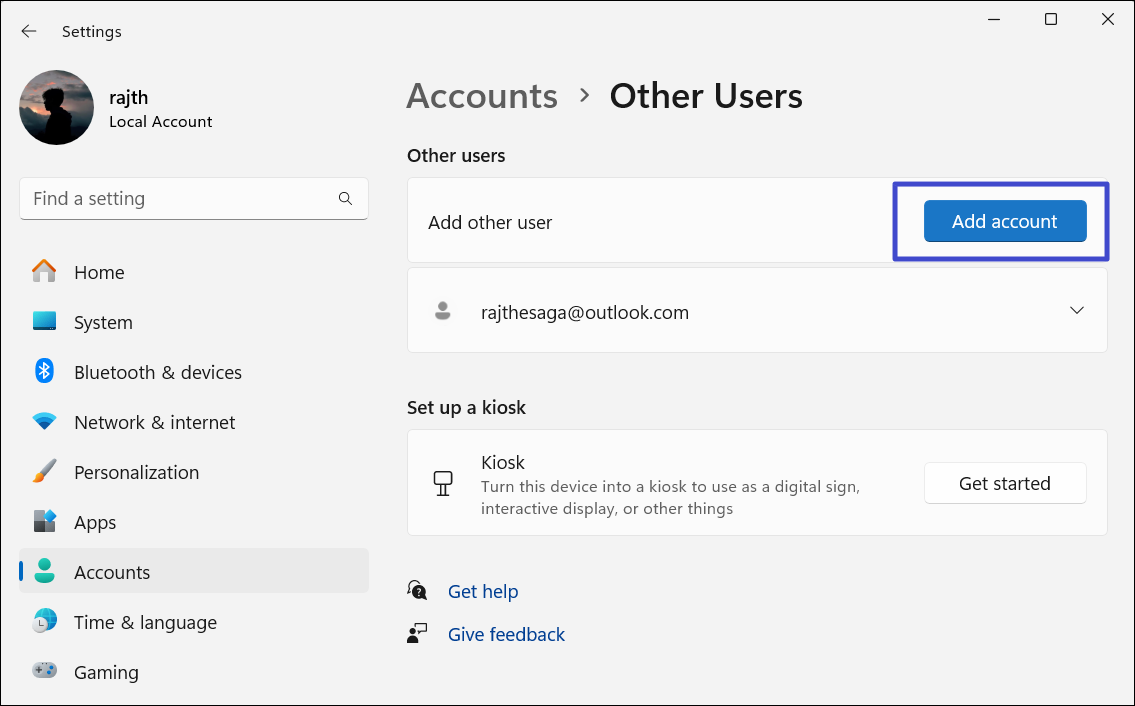
2. On the next page, click on “Add accounts“.
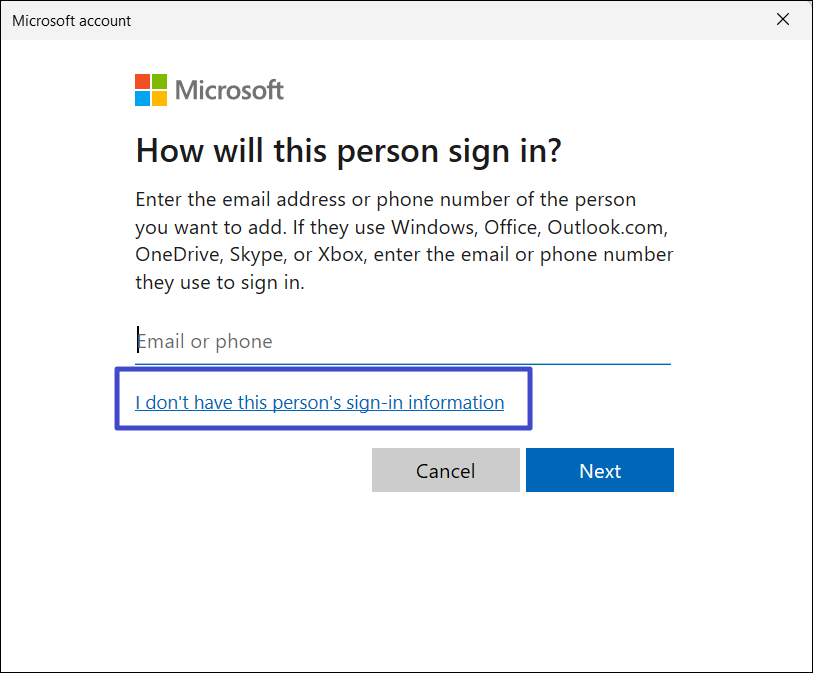
3. Next, click on “I don’t have this person’s sign-in information“.
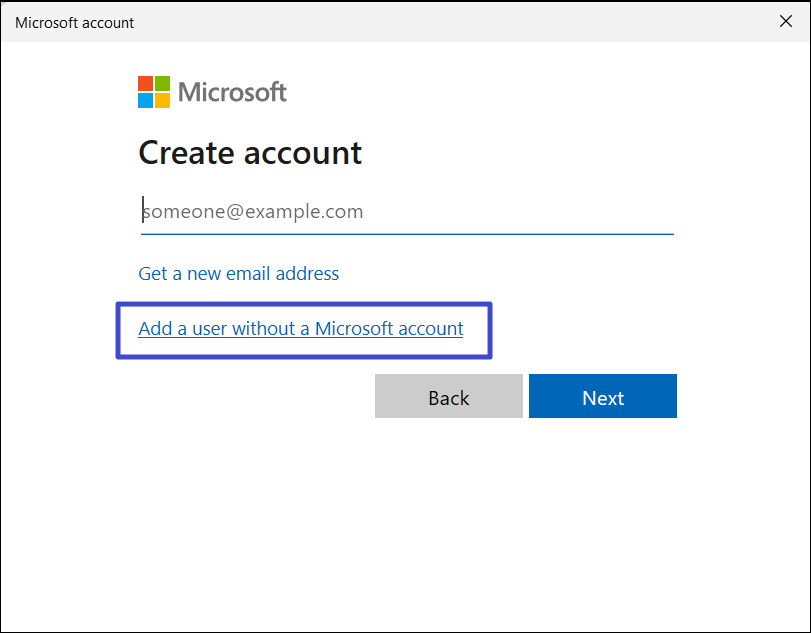
4. Click “Add a user without a Microsoft account“.
5. Finally, fill in your account details and click “Next“.
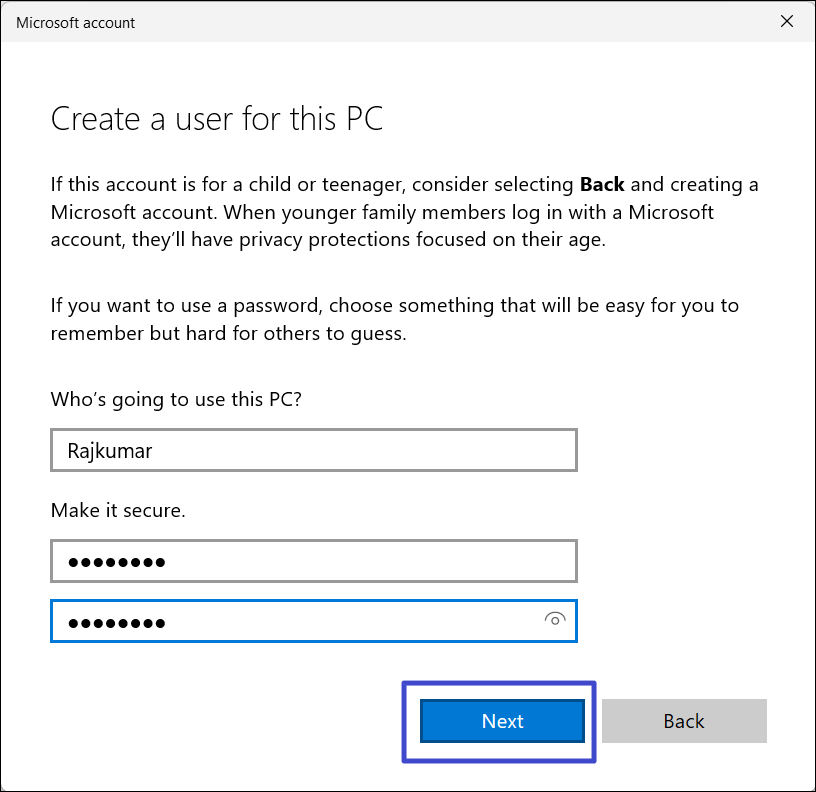
6. After creating the account, switch to the newly created account and see if the flickering occurs.
Method 6: Perform a System Restore
1. Press Windows + R to open the Run Command box. Type “rstrui.exe” and press Enter.

2. Click “Next” to continue.

3. Choose the restore point that was created before you started experiencing the flickering issue and click “Next”.

4. Finally, click “Finish” to start the process.
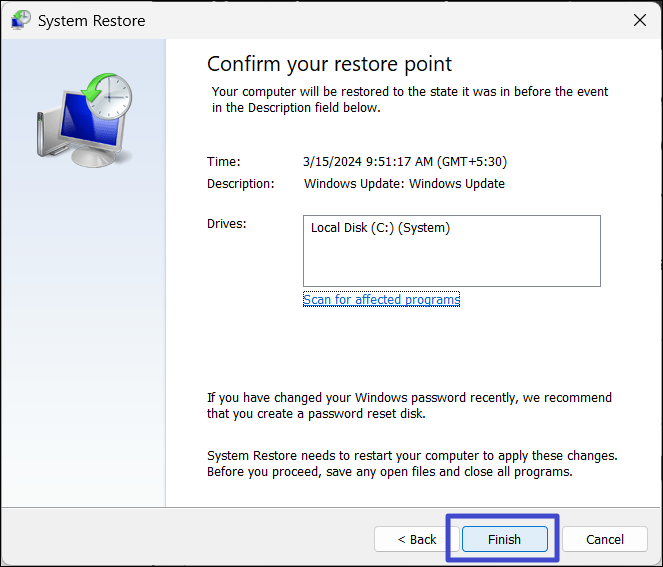
5. After your PC restarts, check if the screen flickering issue is gone.
That’s it.