Paging file in Windows 11 is a hidden storage file available on the hard disk. This file extends the capacity of RAM as it automatically stores the rarely used data from RAM. There can even be times wherein you might need to manually manage the Paging File. This can be needed when your C: drive (where Windows is installed) is small in size, or if you are getting Low Memory type error, or if your Paging File is large in size. In this situation you can conveniently follow this tutorial to manage Virtual Memory Paging File in Windows 11 by following any one method from a list of these mentioned below:
Page Contents
Method 1: Set Paging File Size for All Drives to be managed Automatically
1. Open Settings.
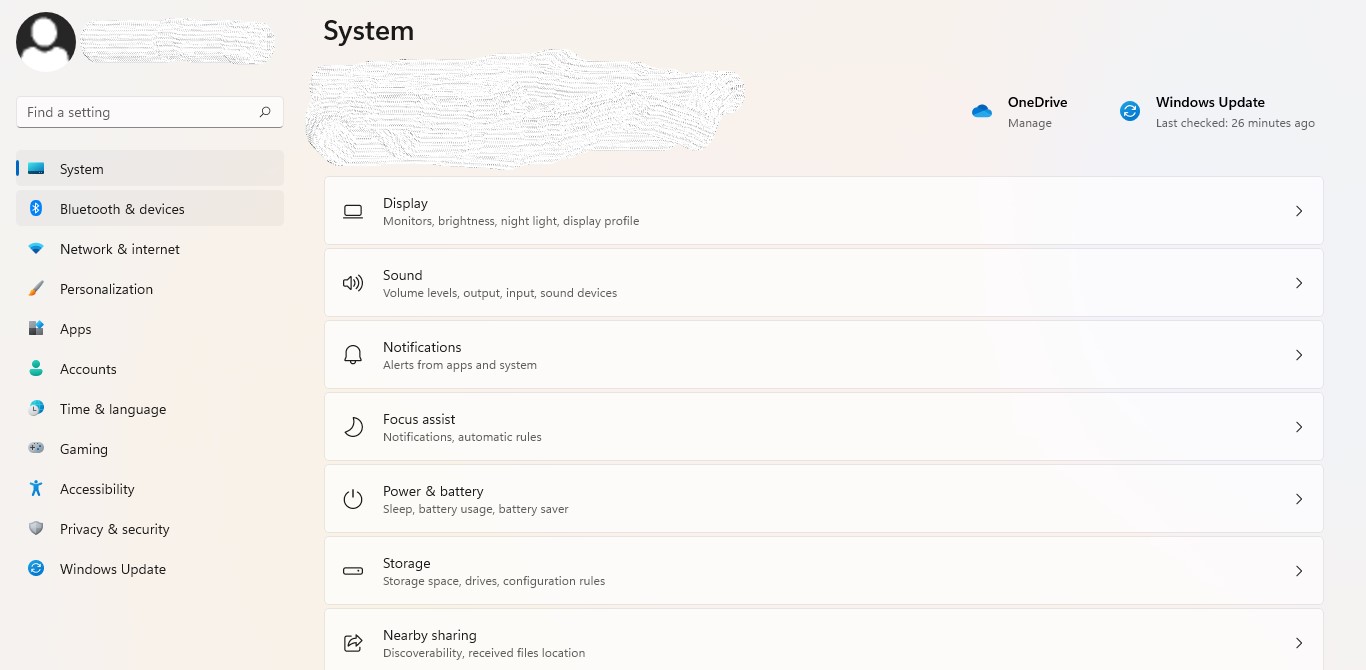
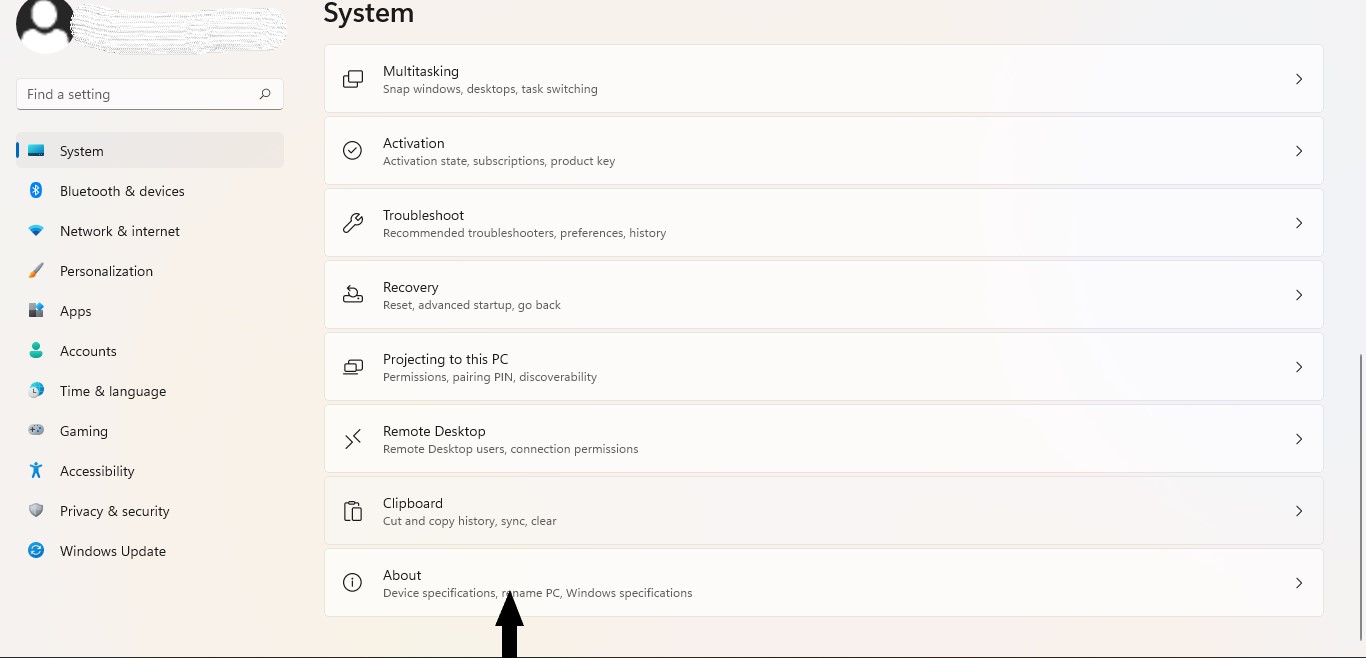
2. Click on System from the panel, followed by selecting About on the right side.
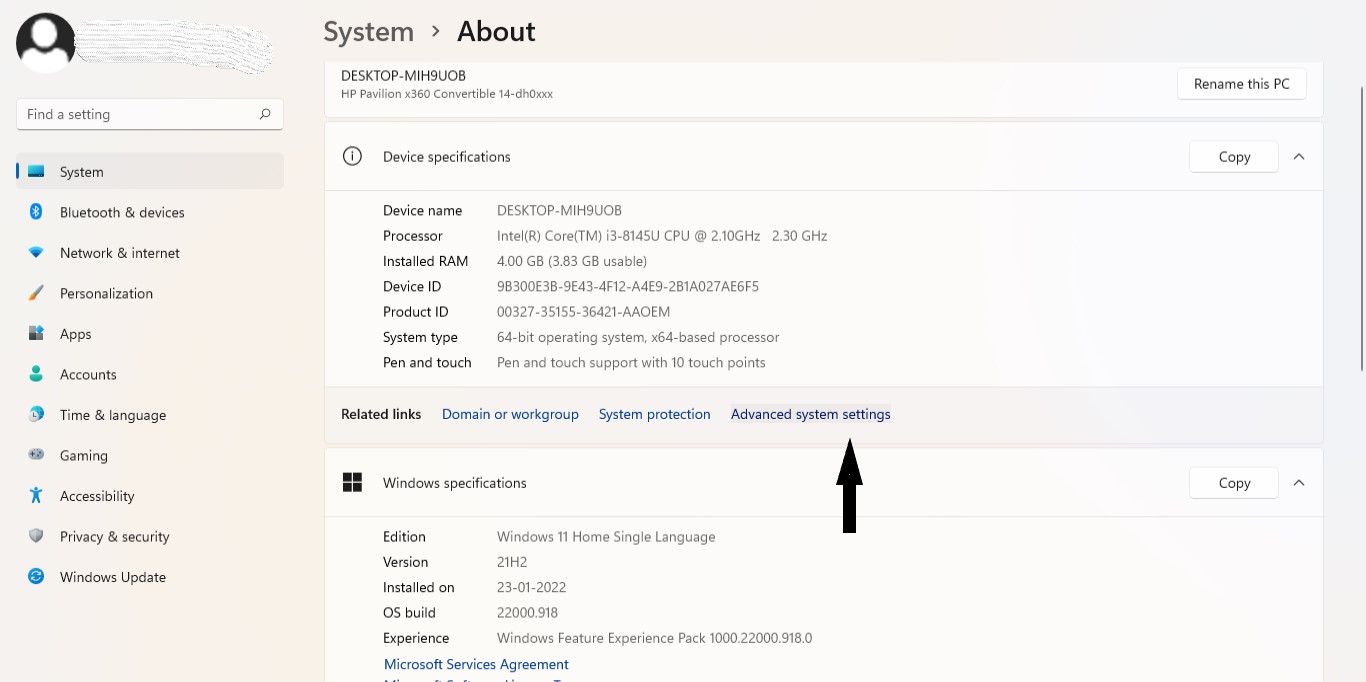
3. Select Advanced systems settings to open System Properties.
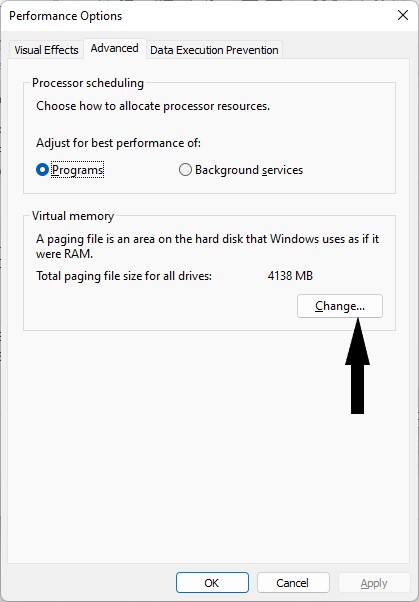
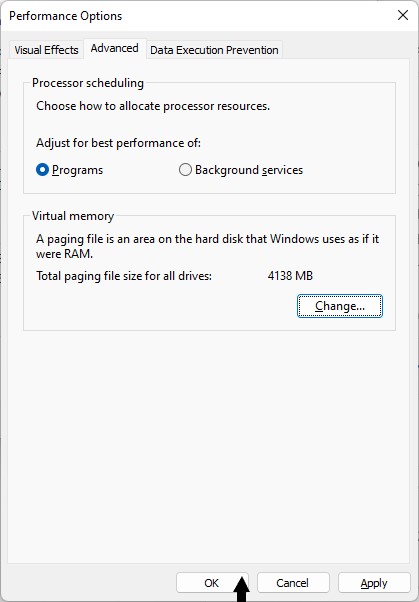
4. Click on Settings, under Performance.

5. Now, open Advanced tab. Followed by selecting Change under Virtual Memory.
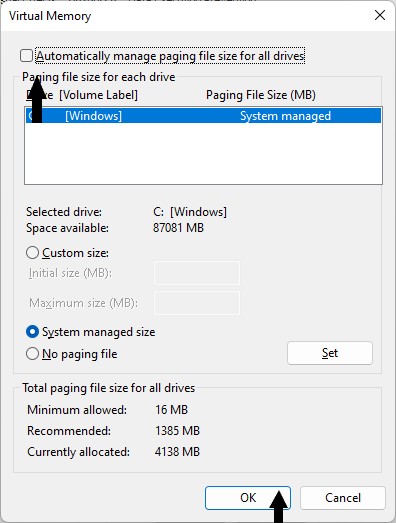
6. Select Automatically manage paging file size for all devices, then click on OK.

7. Click on OK, to apply the desired changes.

Method 2: Manage Virtual Memory Paging File Size for Specific Drives
1. Follow Step1, 2, 3, 4 and 5 from Method 1.
2. Now, uncheck Automatically manage Paging File size for all devices, then click on OK.
3. Select the drive with a Paging File and click on Custom Size. (See the screenshot below)
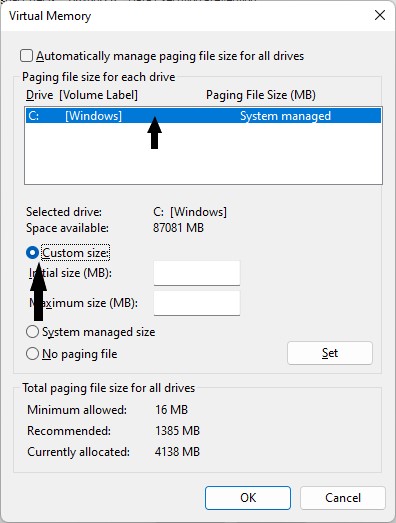
4. Now, enter the desired Initial Size and Maximum Size for the Paging File.
5. Click on Set button.
6. Lastly, select OK to apply the desired changes.
Method 3: Set Paging File Size for specific Drive to be System Managed
1. Follow steps 1 and 2 of Method 2.
2. Select the drive with a Paging File and click on System Managed Size.
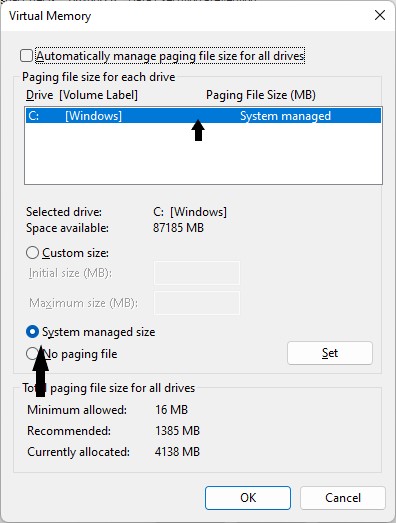
3. Click on Set button.
4. click on OK.

5. Click on OK.
6. Click on OK.

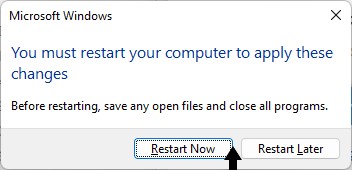
7. Click on Restart Now .
Method 4: Set Paging File Size for All Drives to be managed Automatically using Command
1. Open Windows terminal (Admin).
2. Now, copy and paste the command (mentioned below), and press Enter.
wmic computersystem where name="%computername%" set AutomaticManagedPagefile=True

3. Close Windows terminal (Admin).
4. Restart your device to apply the desired changes.
Method 5: Remove Virtual Memory Paging File using no paging file
1. Follow step 1 of Method 3.
2. Select the drive with a Paging File you want to remove, followed by selecting No paging file.
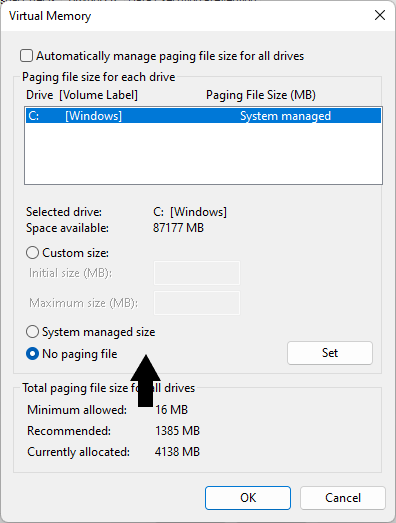
3. Click on Set button.
4. Now, follow steps 4, 5, 6, and 7 to apply the desired changes.
Any of these methods can be selected to efficiently manage Virtual Memory Paging File in your device.