Have you ever wanted to capture what’s on your computer screen in Windows 11? It’s super easy! Taking pictures of your screen, called screenshots, can be helpful for various reasons. Whether you want to show something cool you did, save an error message, or share information, Windows 11 has simple ways to do it. In this guide, we’ll go through easy steps on how to take a screenshot in Windows 11, like pressing certain keys or using specific tools, to help you capture and keep pictures of your screen.
Page Contents
How to take a screenshot in Windows 11
Here, we’ve top 7 simple ways to capture screenshots in Windows 11. These methods are easy to use and will help you capture images of your screen effortlessly.
Method 1: Use Windows Key – PrtScn keyboard shortcut
Utilizing the Windows key + PrtScn shortcut is an efficient and straightforward way to capture your screen content without the need for additional steps.
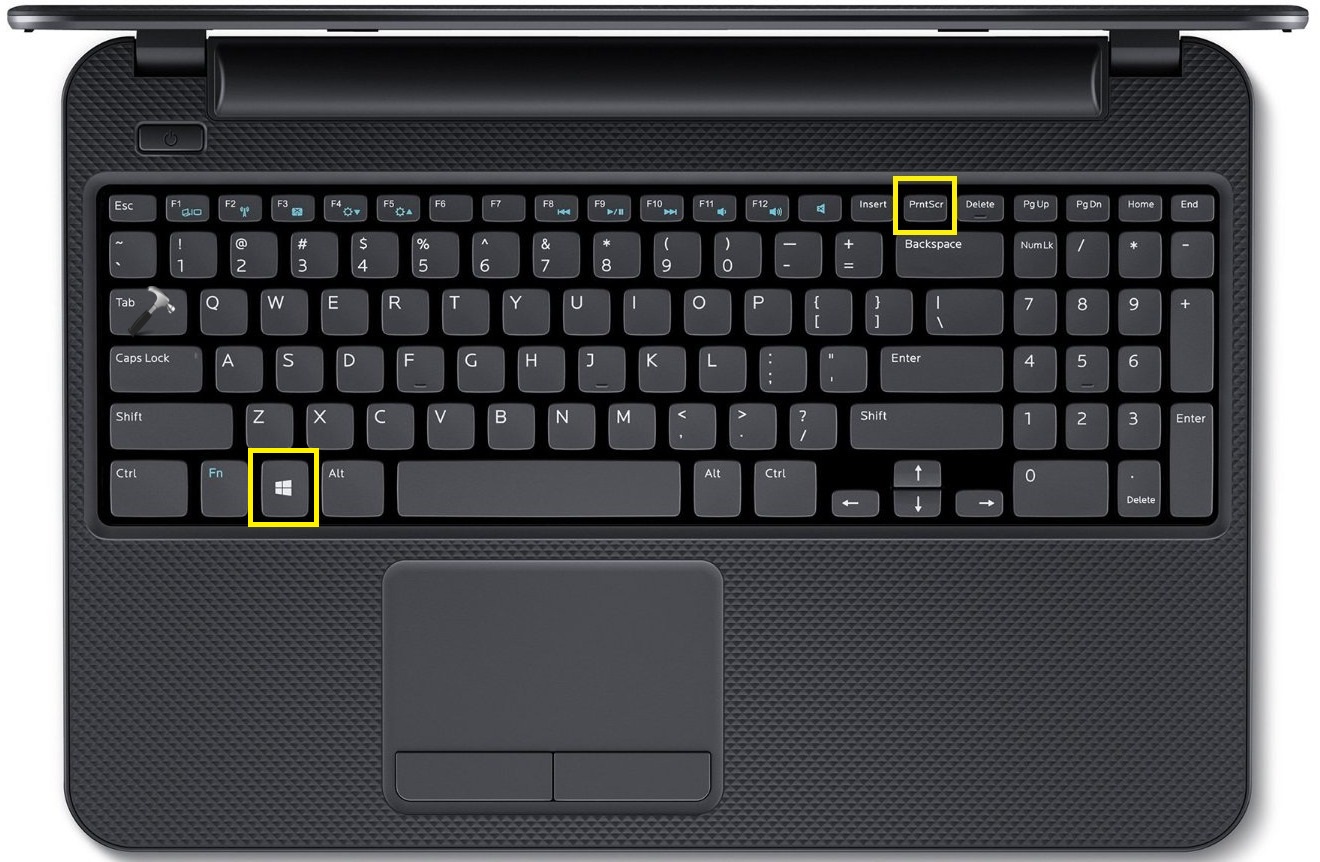
This method is especially useful for users who prefer a quick and easy approach to take and save screenshots locally on their Windows 11 device.
Method 2: Use Snipping Tool
The Snipping Tool is a built-in screenshot utility that offers various options for capturing screenshots, allowing you to choose between a rectangular shape, freehand selection, or full-screen capture.
1. Press the Windows key + Shift + S to open the Snipping tool.
2. Once the Snipping Tool is open, you’ll see options for rectangular, freeform, window, and full-screen snips.Set featured image

3. Choose the desired snipping option by clicking on it.
4. After selecting the snipping option, use your mouse to capture the specific area or window you want to include in the screenshot.
5. The captured screenshot will then be copied to your clipboard.
6. Open an application such as Paint or Word, and paste the screenshot using Ctrl + V.
7. Save the file if needed.
Method 3: Use the PrtScn (Print Screen) key
Taking a screenshot can be effortlessly achieved using the PrtScn key on your keyboard. Using the PrtScn key is one of the quickest and simplest methods to capture your screen content.
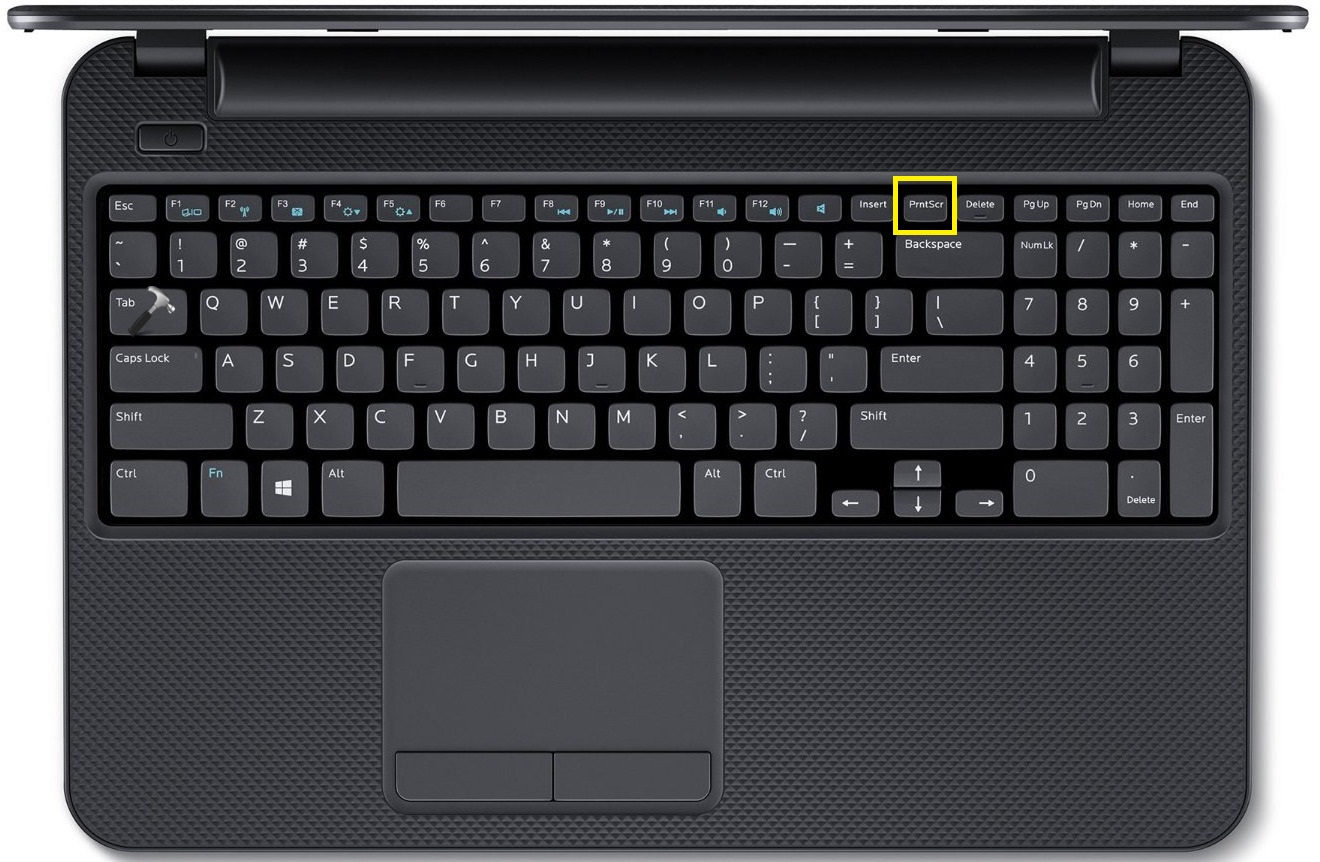
While it captures the entire screen by default, the flexibility to capture only the active window provides added convenience for users who need more selective screenshot capabilities.
Method 4: Use the PrtScn key with OneDrive
1. Open the File Explorer and right-click on OneDrive’s cloud icon in the left panel.
2. Click on Settings.

3. A dialog box will appear. Navigate to “Sync and backup“, and toggle on the “Save Screenshot I capture to OneDrive” option.

This option allows you to save the image in PNG format and is automatically created in the OneDrive/username/Pictures/Screenshots folder. The filename uses the current date and time.
Method 5: Use the Game Bar
The Game Bar is a convenient way to capture screenshots, especially for gamers. It provides a quick and easy way to capture screenshots.
Follow these steps to utilize the Game Bar for taking screenshots:
1. Press the Windows key + G to open the Game Bar.
2. Click on the Camera icon.

3. A small prompt box will appear. Again, click on the Camera icon, and your image/screenshot is saved.

3. Your screenshot is automatically saved, and you can find it in the default location for Game Bar captures. Just click on “See my captures“.

4. Here, you will be able to see all your screenshots. You can also rename the screenshot just by clicking the edit icon at the bottom.

To locate the screenshot, click on the “Open file location” option which is at the bottom.
Method 6: Use the Volume Up and Power buttons on Surface Tablets
If you’re using a Surface tablet, capturing screenshots is easy with the combined power of the Volume Up and Power buttons.
Here’s how:
- Navigate to the content or screen you wish to capture on your Surface tablet.
- Press both the Volume Up and Power buttons simultaneously.
- Witness a quick screen flash, signaling the successful capture of your screenshot.
- The screenshot is automatically saved and can be conveniently found in the ‘Screenshots‘ folder within the ‘Pictures‘ library.
Method 7: Use Third-Party Screenshot Utility
While Windows 11 offers decent built-in screenshot tools like the Snipping Tool and Game Bar, sometimes you need more advanced features and flexibility. This is where third-party screenshot utilities come in. They offer a wider range of capture options, editing tools, and automation features to take your screenshots to the next level.
Below are some of the third-party tools to take a screenshot in Windows 11:
- GreenShot
- ShareX
- Snagit
- Lightshot
Video guide
This video guide further demonstrates you different methods to take screenshots.
That’s It!