Device Manager is a built-in utility in Windows that shows you all the hardware devices connected to your computer and helps you manage them. However, the hardware device names in the Device Manager can be generic and boring, making things harder to find. If you ever want to change the hardware name in the Device Manager on Windows 11, follow this step-by-step tutorial.
Page Contents
How to Rename Device in Device Manager for Windows 11
Step 1: Find the Driver Key for the Hardware Device
First, you need to find the hardware device you wish to rename in the Device Manager and get its driver key value. Here’s how you do this:
1. Right-click the Start menu and select “Device Manager“.
2. Find the hardware that you wish to change the name of. For instance, I want to rename one of the hard drives. Right-click the device and select “Properties“.

3. In the Properties window, switch to the “Details” tab and choose “Driver key” from the “Property” drop-down.

4. Right-click the value and select “Copy“.

Step 2: Edit the Registry key for the Device
Next, you need to use the Registry Editor to edit the registry key for the hardware device.
1. Open the Run Command box, type “regedit” and click “OK” to launch the Registry Editor.

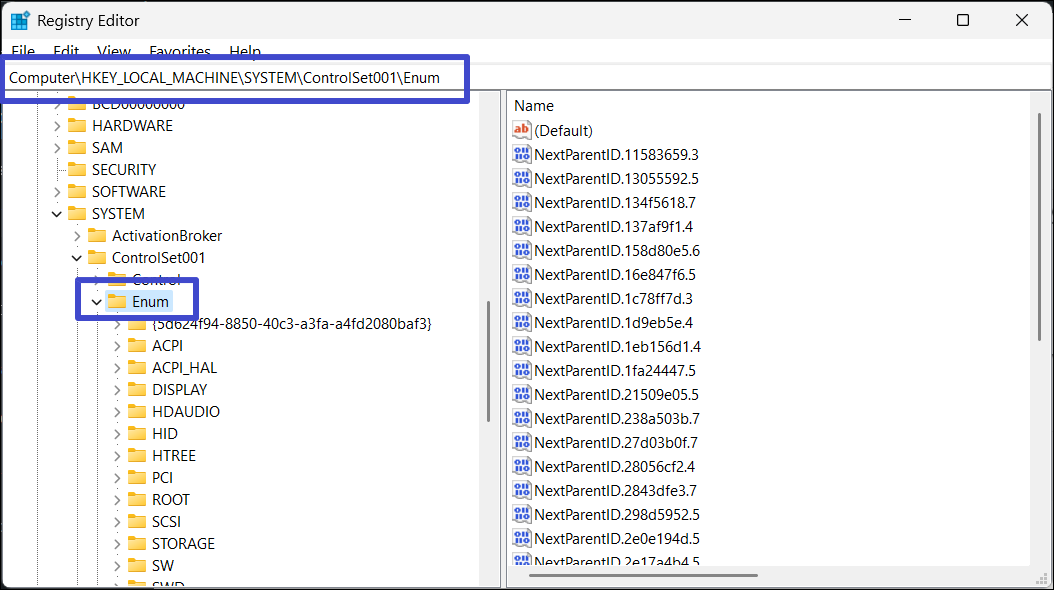
2. Navigate to the following location using the left panel or just copy-paste the below path into the address bar and press Enter:
Computer\HKEY_LOCAL_MACHINE\SYSTEM\ControlSet001\Enum
3. Now, right-click the “Enum” key/folder and select “Find“.

4. In the “Find what” field, paste the driver key that you copied earlier from the Device Manager, and click “Find Next“.

5. Look for a string value named “FriendlyName” within the driver key, and double-click it to open it. If you can’t find it, right-click the folder, and select “New” > “String“. Then, name the string “FriendlyName“.

6. Now, enter your desired name for the device in the “Value data” field and click “OK“. For example, I want my hard drive to be renamed “Internal SSD”.

7. Close the Registry Editor and get back to the Device Manager.
8. In the Device Manager, click the “Action” menu and select “Scan for hardware changes“.

9. The hardware device should now be listed with the new name you entered.

That’s it.