Windows 11 comes equipped with a built-in security system designed to protect your computer from various online threats. However, in certain situations, you may need to temporarily disable Windows Security to install or run certain programs or troubleshoot certain issues. Disabling Windows Security can be a delicate task, as it exposes your system to potential risks if not done correctly. In this article, we will explore the steps required to temporarily disable Windows Security in Windows 11, as well as provide some tips to ensure that your system remains secure during the process.
Page Contents
Temporarily disable Windows Security in Windows 11
Fix 1: Install another antivirus software
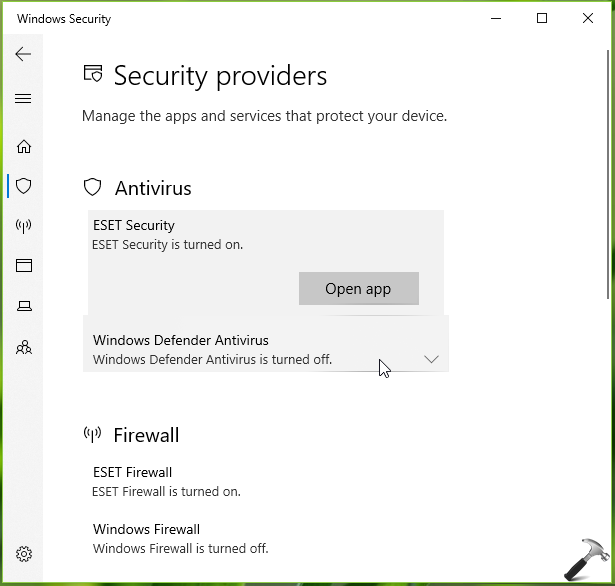
To temporarily disable Windows security, install another antivirus software. Many antivirus software options are available like Malwarebytes, Bitdefender, Webroot, etc.
As soon as you install another antivirus program, Windows Security will disable itself to avoid conflict, as shown in this image.
Fix 2: Disable firewall to temporarily disable Windows Security in Windows 11
Follow these steps to disable the firewall in your system:
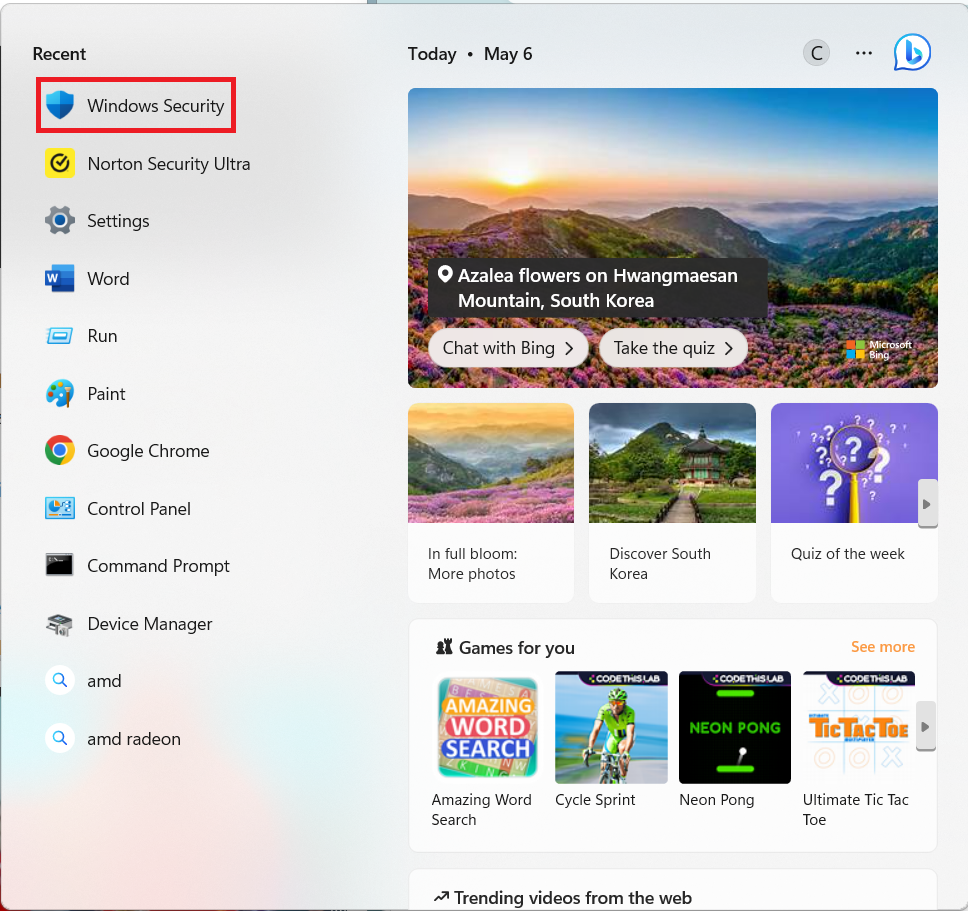
- Open Windows Security by searching it on the Search tab in the Taskbar.
- Next, click on Firewall and network protection option.
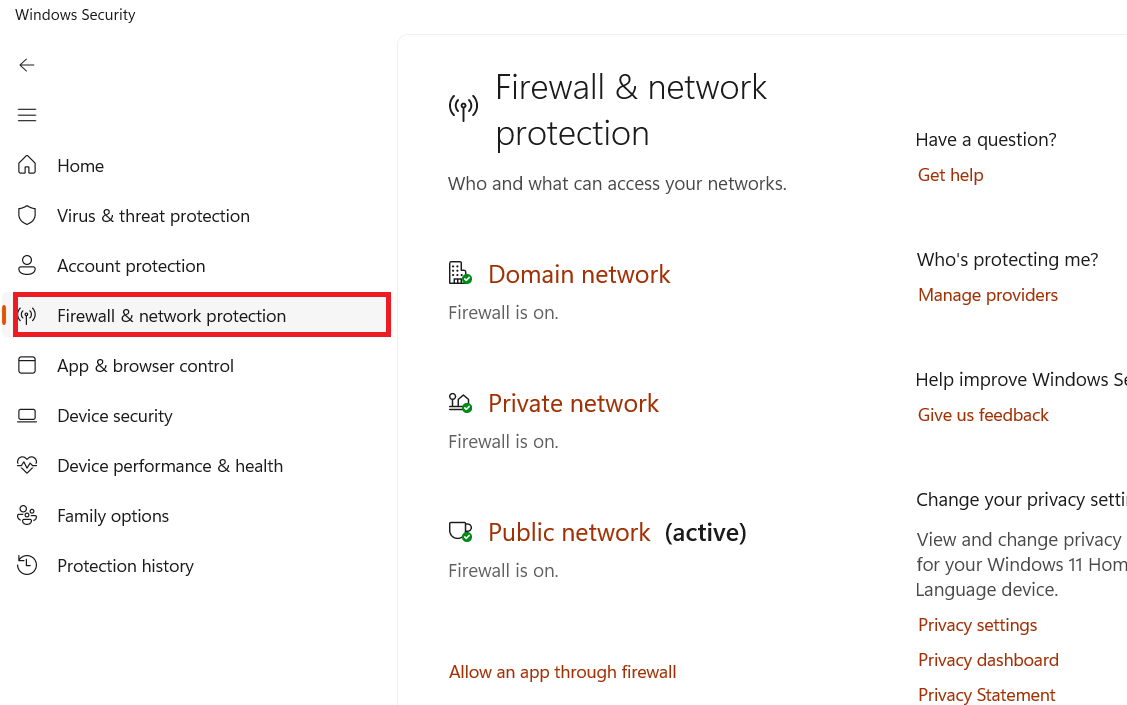
- Then select domain networks/ private networks/ public networks. Click the suitable option and avoid disabling public networks.
- Set the radio button to Off under Microsoft Defender Firewall.

- Repeat the same for your other networks if required.
Fix 3: Temporarily disable real-time protection
Sometimes Microsoft doesn’t disable antivirus software in Microsoft Defender. So you can disable real-time protection to temporarily pause antivirus. Foll these steps:
- Open Windows Security.
- Then, click on Virus & threat protection towards the left side of the opened window.
- Afterwards, click on Manage settings.

- Switch the radio button to Off in Real-time protection.
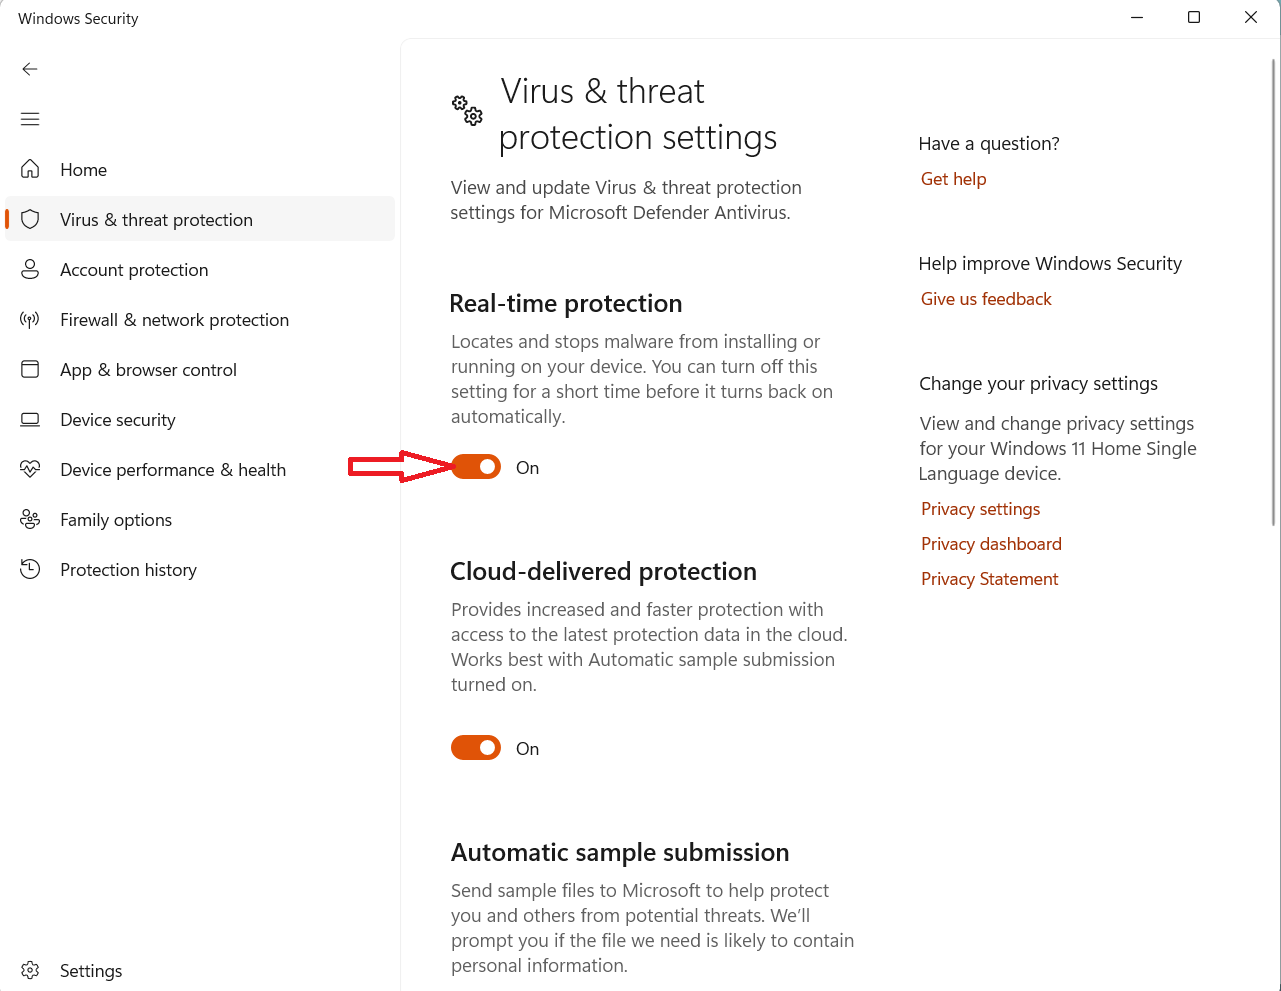
This will disable Realtime-protection temporarily.
Disable Windows Security – only if needed
In conclusion, temporarily disabling Windows Security in Windows 11 can be necessary at times, but it should be done with caution to avoid exposing your computer to potential security risks. Before disabling Windows Security, it’s important to ensure that you have a backup plan in place, such as a reliable antivirus program, to keep your system protected while it’s vulnerable. By following the steps outlined in this article and taking the necessary precautions, you can safely disable Windows Security in Windows 11 when needed. It is highly recommended to re-enable Windows Security, when you already completed the aim of disabling it. This would ensure your system remains safe and secure.
Hope this helps!