

Whenever you use Excel, most of time you need to manipulate sheet rows and columns. No matter in which environment you’re working, managing rows and columns becomes great priority as far as data management is concerned. Well, today we came around a situation where we were not able to Insert or Delete any row/columns. Since both of these options were grayed out, hence we can’t no longer modify sheet data:
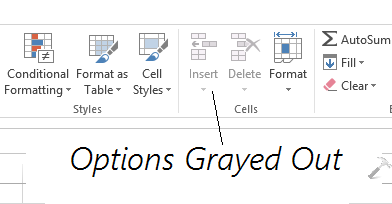
The sheet on which we faced this issue wasn’t opened in Protected Mode, as this is obvious in that mode. After investing a bit, we reached to a conclusion that incorrect configuration settings were culprit behind this issue. Here are the two simple ways to get rid of this problem:
Page Contents
FIX : Can’t Insert Or Delete Sheet Rows And Columns In Excel 2013
FIX 1 – Using File Explorer
1. Press  + R and and type following into Run dialog box, press Enter:
%appdata%\Microsoft\Excel
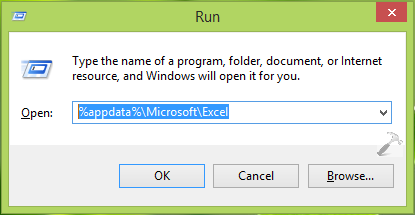
2. Next, in the Excel folder so opened, you’ll find that there is an Excel15.xlb file along with XLSTART folder. All you need to do here is to rename Excel15.xlb file to Excel15.old file.

Reboot the machine now and you must be now able to manipulate sheet rows and columns with Insert and Delete options. If the issue still persists, move on to FIX 2 mentioned below.
FIX 2 – Using Registry
Registry Disclaimer: The further steps will involve registry manipulation. Making mistakes while manipulating registry could affect your system adversely. So be careful while editing registry entries and create a System Restore point first.
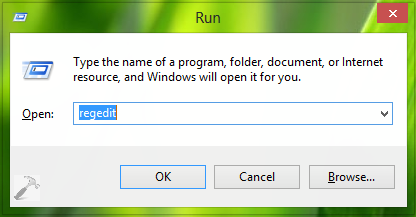
1. Press + R and put regedit in Run dialog box to open Registry Editor (if you’re not familiar with Registry Editor, then click here). Click OK.
2. In the left pane of Registry Editor window, navigate here:
HKEY_LOCAL_MACHINE\SOFTWARE\Microsoft\Office\15.0\Excel\Options
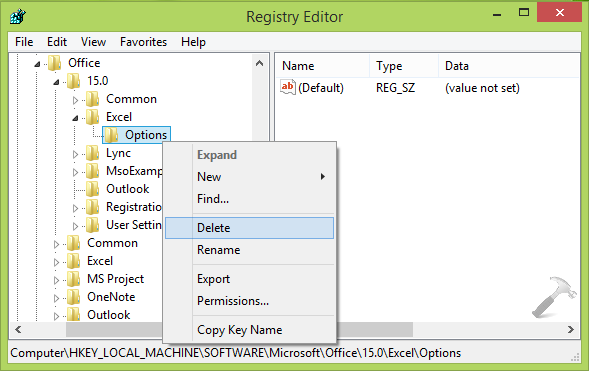
3. In the left pane of this registry location, highlight Options key and right click on it, select Delete. You can now close Registry Editor and restart the machine. After rebooting the system, launch a new instance of Excel and you’ll observe that you can use Insert and Delete options without any problem:
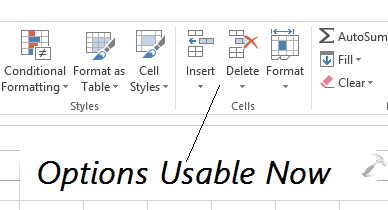
That’s it! Don’t forgot to check how to prevent Internet usage in Office 2013.


What if my w/book is shared? Is that not a valid reason for Excel to prevent inserting rows, columns?
Thanks
Testing……
^^ In that case, yes, it is justified if the options are unavailable :)
If when you click on the table area, the TABLE TOOLS DESIGN tab comes up, go to that tab and use the CONVERT TO RANGE option to make it possible to edit the columns again.
This actually worked!!! Thanks man…in my case there was both the xlb file and old file..just deleted the xlb file and started again and it worked….thanks a ton..
I used Angel’s suggestion and I’m now back at work. Wish I’d found it about an hour ago! Thanks.
Angel’s answer is correct.