Windows Defender is one of the best in-built features of Windows 8 and later updates, that monitor your system to keep away the harmful viruses and other threats. Using this security suite, you can perform a Quick or Full scan based upon your priority to check for possible threats. After performing the scan, Windows Defender store the result of scans into following locations:
C:\ProgramData\Microsoft\Windows Defender\Scans\History\Results\Quick
C:\ProgramData\Microsoft\Windows Defender\Scans\History\Results\Resource
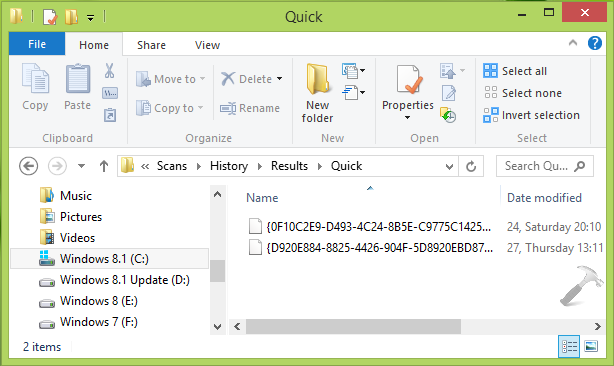
Here ProgramData folder is hidden though by default. Well, by default, Windows Defender removes the results of scan from the above mentioned folder automatically after a threshold period of 30 days. So after performing your search, if you look out the scan results in same folder on 31st day, you won’t have those results anymore. Here is how to make Windows Defender to keep those scan history items forever or avoid the same from being removed:
Page Contents
How To Disable Automatic Removal Of Scan History Items For Windows Defender In Windows 10/8.1/8
WAY 1 – Using Group Policy
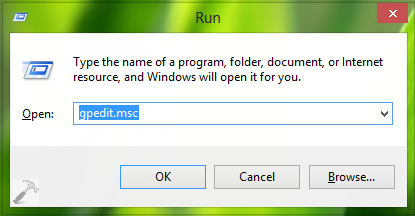
1. Press  + R and put gpedit.msc in Run dialog box to open Local Group Policy Editor. Click OK.
2. Navigate here:
Computer Configuration -> Administrative Templates -> Windows Components -> Windows Defender -> Scan

3. In the right pane of above shown window, look for the Setting named Turn on removal of items from scan history folder and double click the same to get this:

4. Moving on, in above shown window, first click Enabled and then in Options section, input 0 so that we can prevent automatic removal of scan history items as evident from policy explanation. Click Apply followed by OK. You may now close Local Group Policy Editor and reboot the machine to make changes effective.
WAY 2 – Using Registry Editor
Registry Disclaimer: The further steps will involve registry manipulation. Making mistakes while manipulating registry could affect your system adversely. So be careful while editing registry entries and create a System Restore point first.
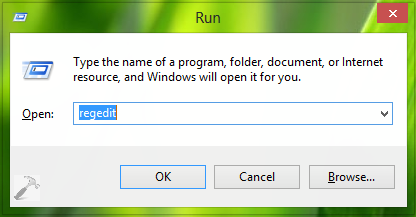
1. Press + R and put regedit in Run dialog box to open Registry Editor (if you’re not familiar with Registry Editor, then click here). Click OK.
2. Navigate here:
HKEY_LOCAL_MACHINE\SOFTWARE\Policies\Microsoft\Windows Defender\Scan
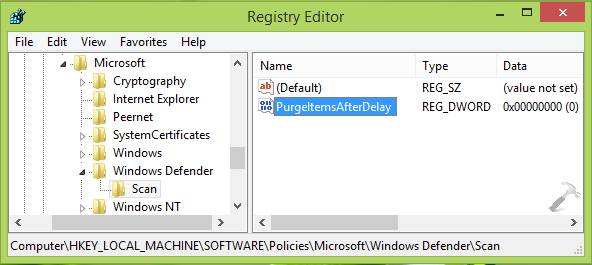
3. In the right pane of this location, right click and select New -> DWORD. Name this newly created DWORD (REG_DWORD) as PurgeItemsAfterDelay and double click the same to get this:

4. In the above shown box, input the Value data as 0 and click OK. You may now close the Registry Editor and reboot the machine to get your tweak applying its action.
That’s it!