In Windows 11, Settings allows you to personalize and customize the system settings like Account, Network, Language, Privacy, etc. Control Panel is also similar to the Settings App. If you are sharing your computer with other people and you want to prevent your computer from accessing the Settings App and Control Panel to avoid misconfiguration, then this guide is for you. In this article, we will show you how to enable or disable the Settings app in Windows 11.
When you disable the Settings app or you want to open the Control Panel, the below prompt box will appear with a message.

Page Contents
Enable or Disable the Settings app in Windows 11
Below we have two methods by which we can Enable or Disable the Settings App:
Method 1: Enable or Disable Settings App using Local Group Policy Editor
Follow the below steps:
1. Press the Windows key + R. Type gpedit.msc and click OK.

2. Navigate the following path:
User Configuration > Administrative Templates > All Settings
3. In All Settings, click on “Prohibit access to Control Panel and PC settings“

4. Now, click on Enabled to Enable the Settings Apps. Click OK followed by Apply.
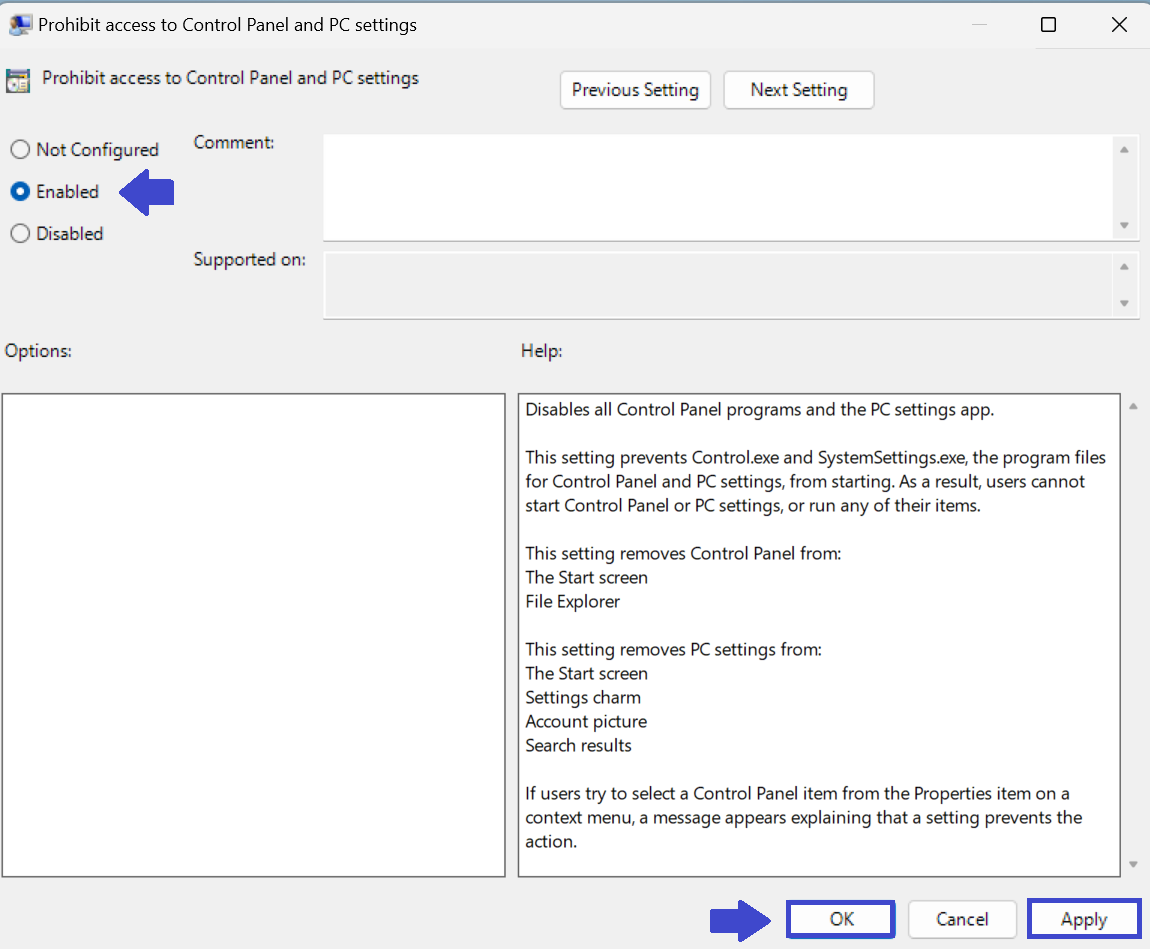
5. Click on Disabled to Disable the Settings App. Click OK followed by Apply.

6. Close the Group Policy Editor Window and restart your computer to apply the settings.
Method 2: Enable or Disable using REG File
Follow the below steps:
1. Press the Windows key + R. Type regedit.exe and click OK.

2. Navigate the following path:
Computer\HKEY_LOCAL_MACHINE\SOFTWARE\Microsoft\Windows\CurrentVersion\Policies\Explorer
3. There is a NoControlPanel registry key.
If you don’t have the registry key, you can create it.

Right click on Explorer => New => DWORD (32-bit) value. A prompt box will appear. Now, type NoControlPanel and click OK.
Your Registry Key is created.
4. Now, Double-click on NoControlPanel. Again prompt box will appear.
5. Here you have to enter the value 1 or 0.

To Enable the Settings App, set the value to 1.
To disable the Settings App, set the value to 0.
6. Close the Registry Windows and restart your computer to apply the settings.
That’s It!