For a Windows operating system, Hypervisor-Protected Code Integrity (HVCI) can use hardware technology and virtualization to isolate the Code Integrity (CI) decision-making function from the rest of the Windows operating system. When using virtualization-based security to isolate Code Integrity, the only way kernel memory can become executable is through a Code Integrity verification. So this over all increases the security of your system. In this article, we will see how you can enable virtualization-based security in Windows 11/Windows 10.
The virtualization-based security offers following features:
- HVCI protects modification of the Control Flow Guard (CFG) bitmap.
- HVCI also ensures that your other trusted processes, like Credential Guard, have got a valid certificate.
- Modern device drivers must also have an EV (Extended Validation) certificate and should support HVCI infrastructure.
You can checkout all about HVCI in this documentation. If you want to enable this virtualization-based security on your Windows, here’s how you can do that.
Page Contents
Enable virtualization-based security in Windows 11/10
Method 1 – Using Windows Security
You can easily enable HVCI in Windows 11/10 using Windows Security app. Here, it is labelled as Memory integrity. Follow these steps:
1. Open Windows Security from taskbar, or using search.
2. Go to Device Security > Core isolation > Core isolation details. Under Memory integrity, you’ll find this option turned Off by default. You can turn On this option to enable HVCI.

3. After this, you will receive a notification that this change requires a system restart. Click on Restart in that notification.
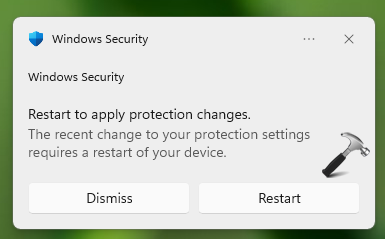
Your system will now reboot and after reboot, you should have virtualization-based security enabled.
Method 2 – Using Group Policy
1. Open Group Policy Editor snap-in.
2. In the Group Policy Editor window, navigate here:
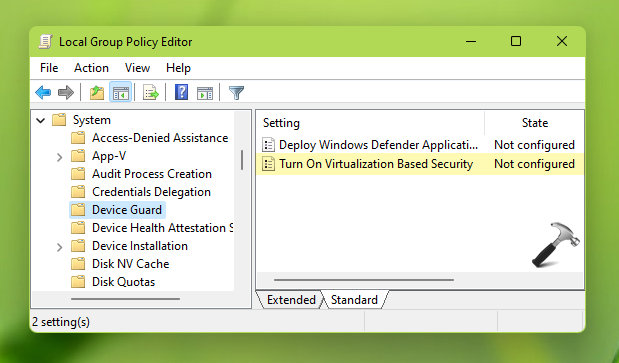
Computer Configuration > Administrative Templates > System > Device Guard
3. In the right pane of Device Guard, locate the policy setting named Turn on Virtualization Based Security. Double click on that to modify its settings.
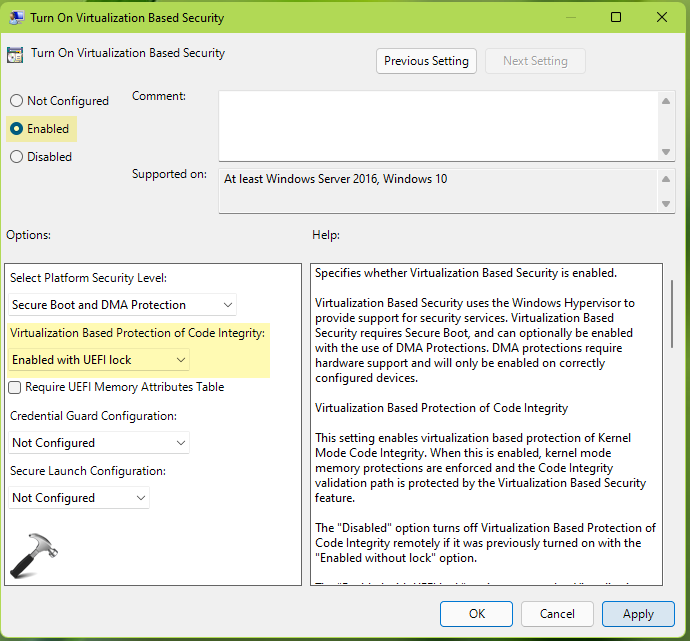
4. In the policy configuration window, select Enabled. Under Options, for Virtualization Based Protection of Code Integrity, select Enabled with UEFI lock. Click Apply, OK.
You can now restart the system, or update Group Policy engine by running gpupdate /force command to have virtualization-based security enabled.
That’s it!