Windows 11 has many new features and improvements, but users may still experience issues like Ethernet not working. Fortunately, there are several troubleshooting steps you can take to fix Windows 11 Ethernet not working issue. In this article, we’ll provide solutions to help you get your Ethernet connection up and running again.

Page Contents
Fix: Windows 11 Ethernet not working
Fix 1: Restart your Windows 11 PC
- Press Alt + F4 key to open Shut down Window box.
- Then select Restart and click OK.
- After the PC gets restarted, hopefully the issue must be resolved.
Fix 2: Restart the modem/router
If you’re experiencing issues with Ethernet not working on Windows 11, then restarting the modem/router can be a quick and easy solution to try. Here are the steps you can follow to fix the issue:
- Save any important work and close all applications.
- Then, turn off your computer.
- Now, unplug the power cable from your modem/router.
- Next, wait for 30 seconds to 1 minute.
- Then, plug the power cable back into your modem/router.
- Now, Wait for the modem/router to fully start up and establish a connection to the internet.
- Then, turn on your computer.
- Now, check if the Ethernet connection is now working.
Fix 3: Reinstall the Ethernet driver
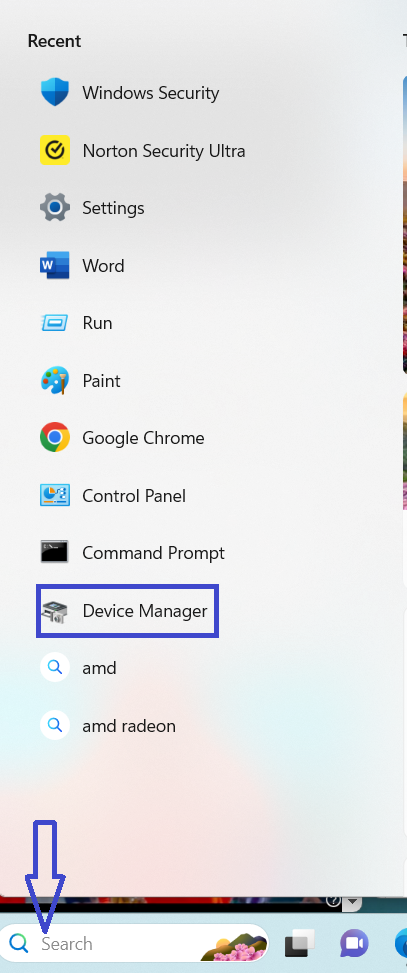
- Open the Quick Access menu by clicking on the Search in the Taskbar and then click on Device Manager.
- Next, expand the Network adapters option by clicking on the arrow besides it.
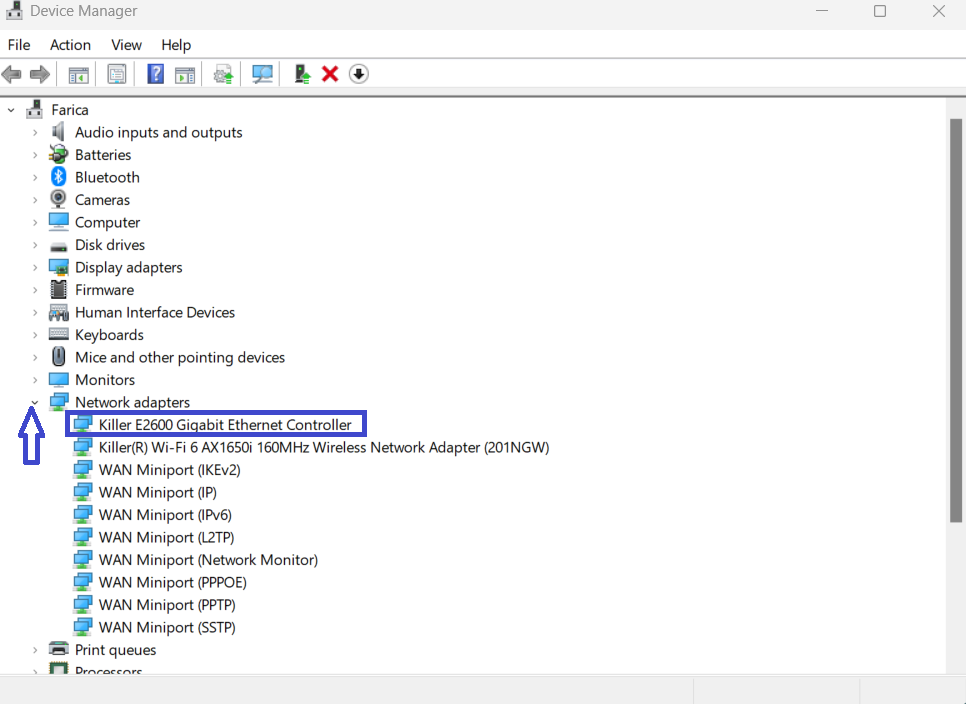
- Then, right-click on the Ethernet adapter and select Uninstall device option.
- Now, tick the checkbox Attempt to remove the driver for this device. Afterward, click Uninstall.

Restart your PC.
Fix 4: Check the Ethernet cable connections
If you’re experiencing issues with Ethernet not working on Windows 11, then checking the Ethernet cable connection can be a simple solution to try. Here are the steps you can follow to fix the issue:
- Save any important work and close all applications.
- Then, check the Ethernet cable connection at both ends, ensuring that it is securely plugged in.
- If the cable connection is loose, unplug it and plug it back in firmly.
- Try a different Ethernet cable if you have one available.
- Now, turn on your computer.
- Check if the Ethernet connection is now working.
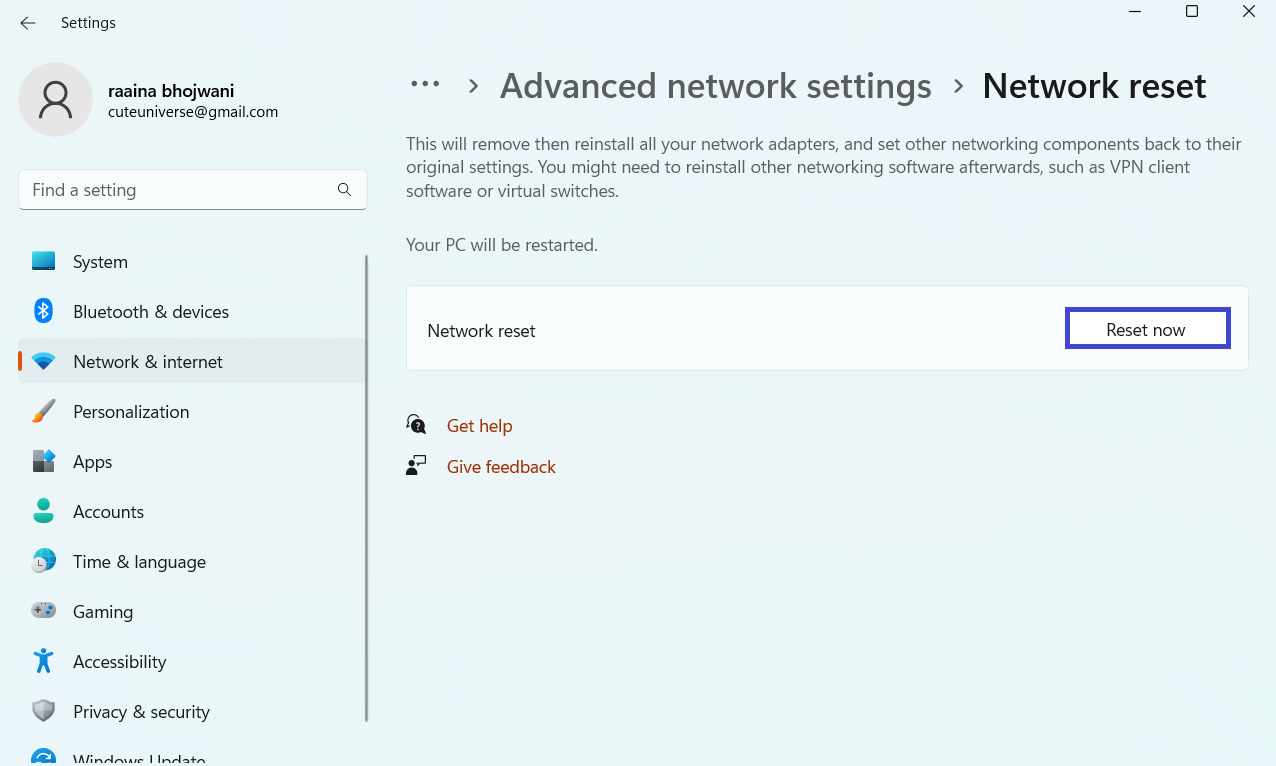
Fix 5: Reset network settings
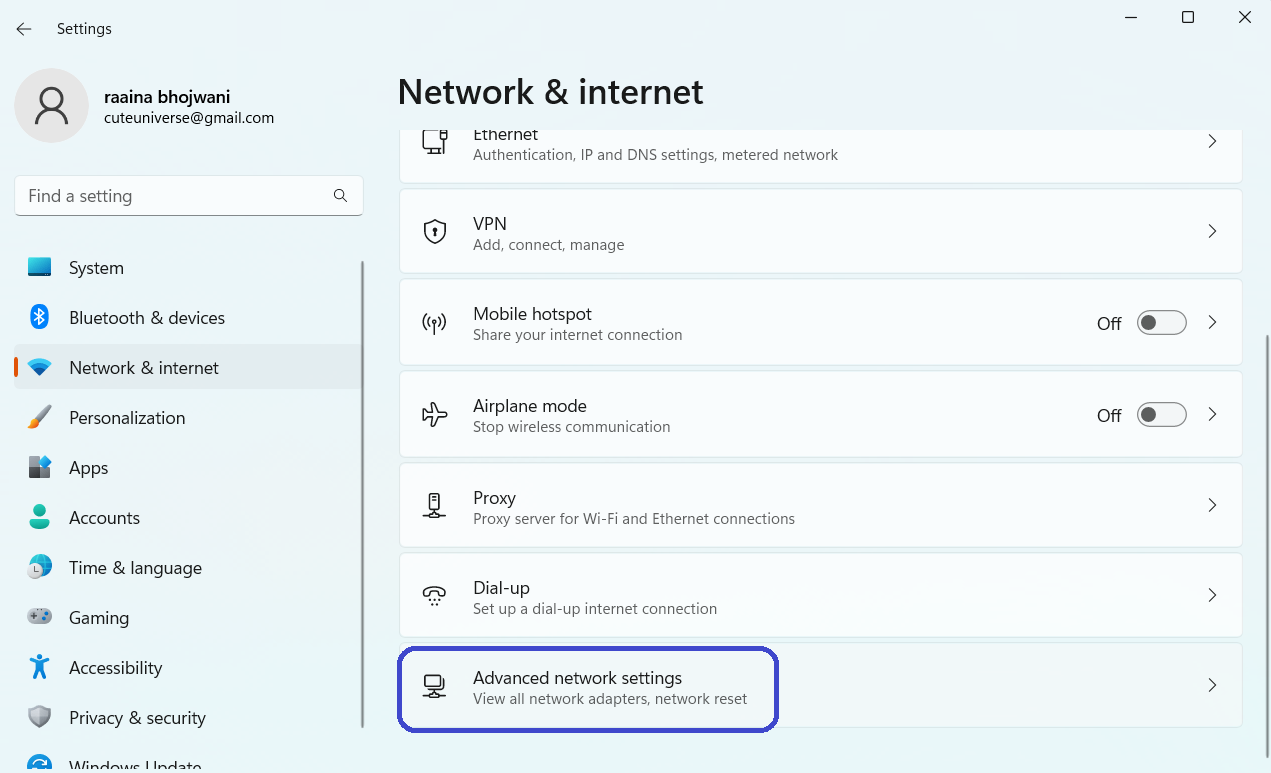
- Open the Settings app by pressing the keys Windows + I.
- Then select the Network & Internet option.

- Next, click on Advanced network settings.
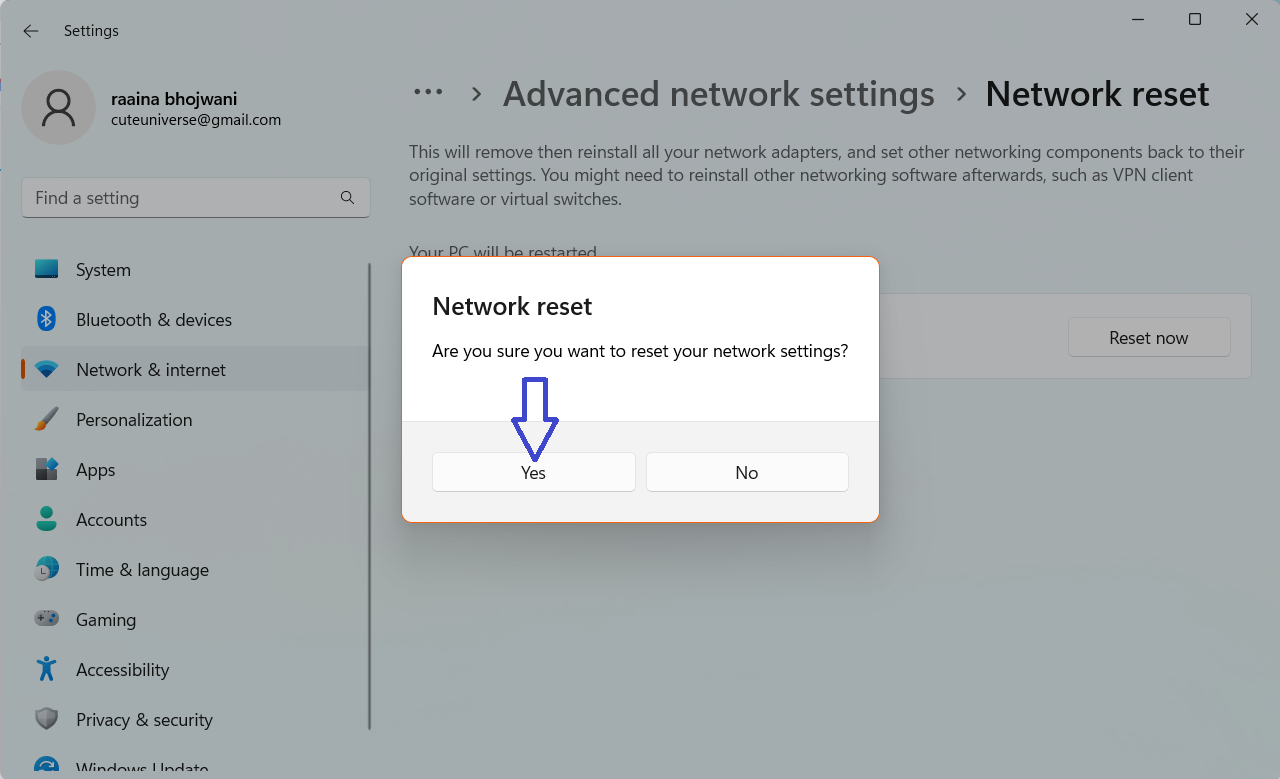
- Next, Click on Network reset under the More settings group.
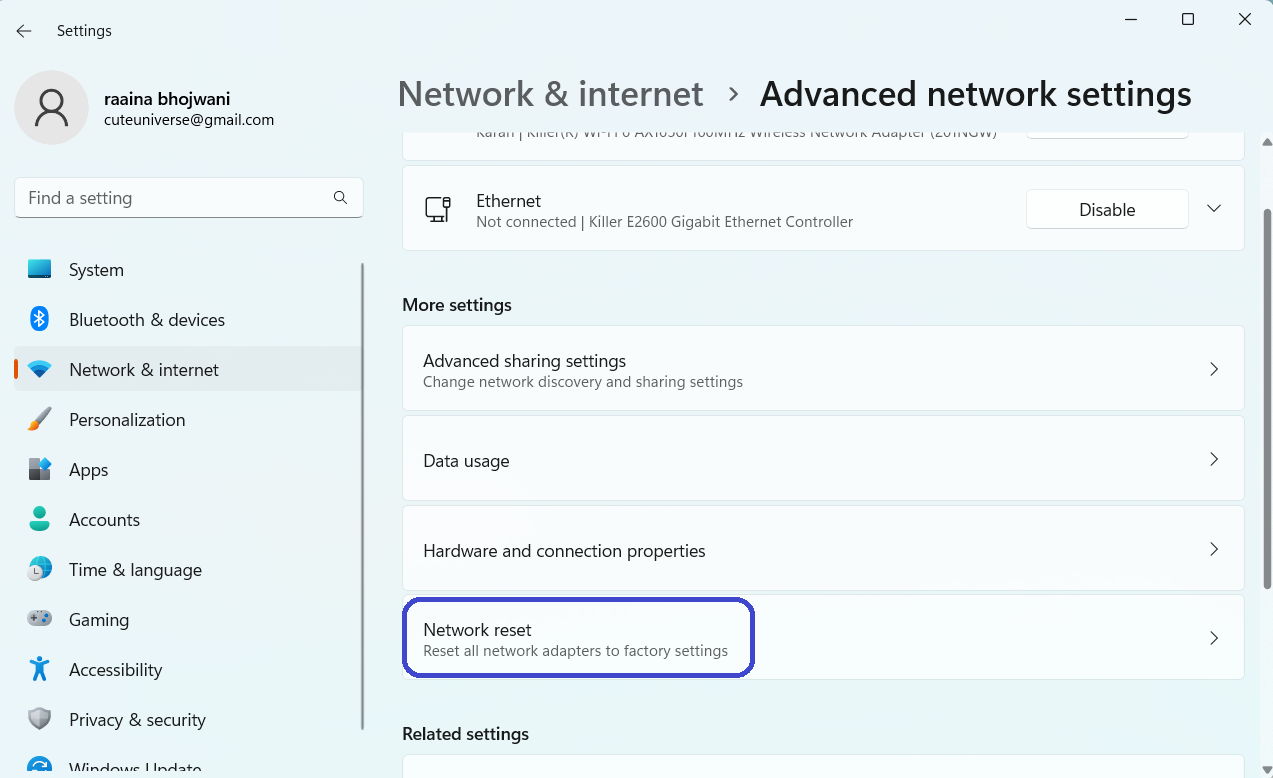
- Afterwards, click on Reset now > then click Yes.
Fix 6: Check if the Ethernet adapter is enabled
- Open the Run prompt by pressing Win + R keys.
- Then type ncpa.cpl command and hit Enter.

- If the Ethernet adapter is greyed, then right-click on it and click Enable.

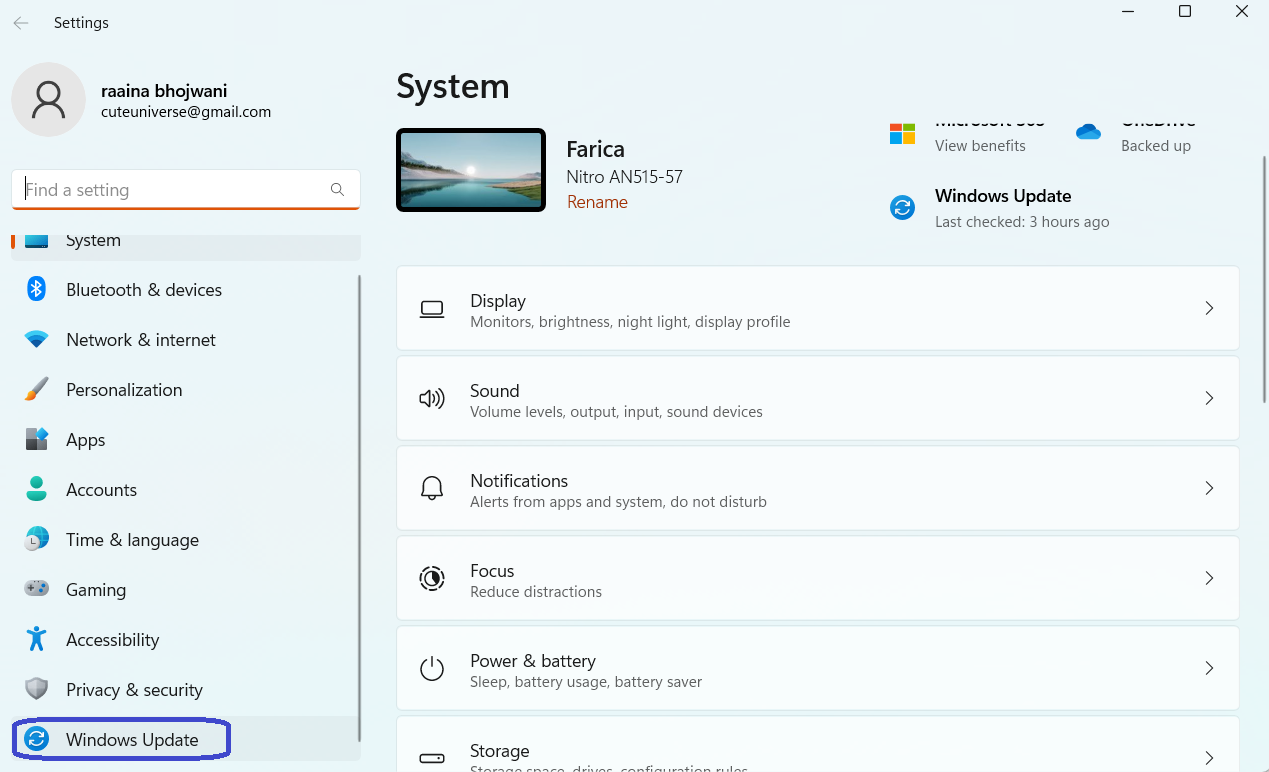
Fix 7: Update Windows 11
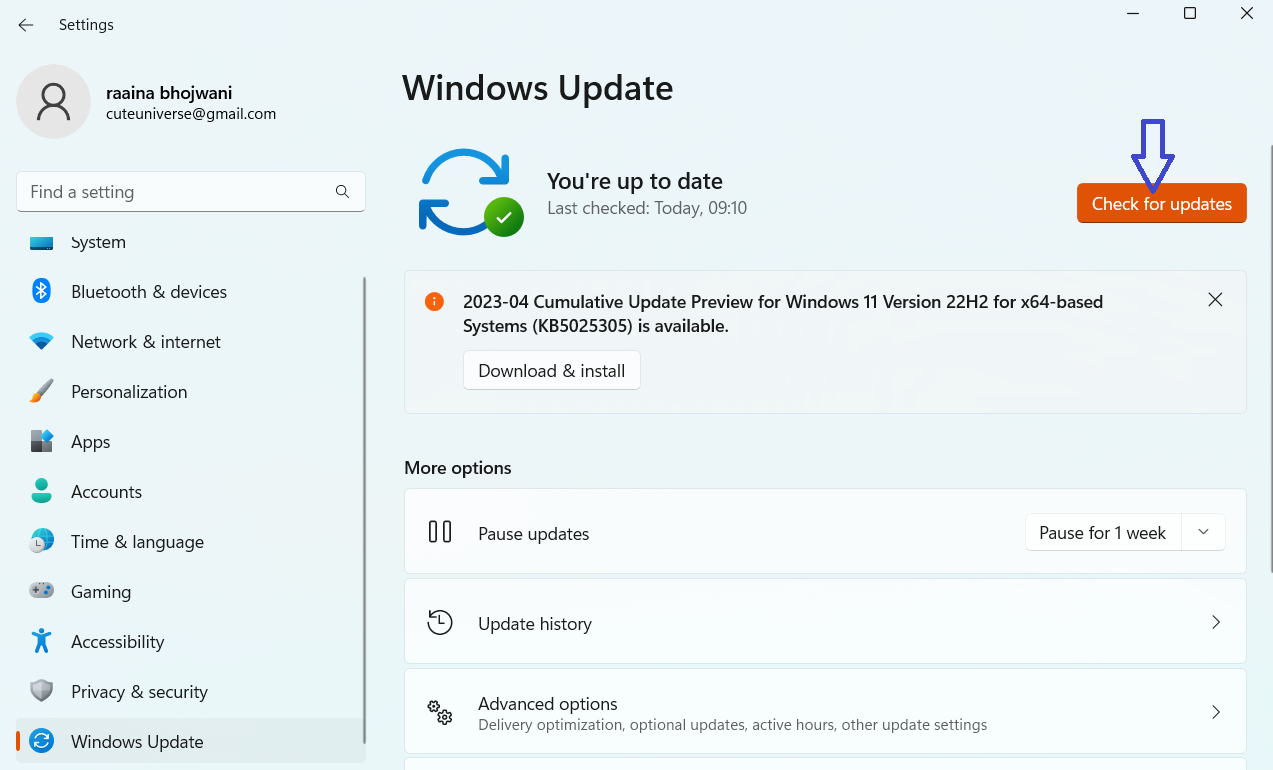
- Open Settings and click on the Windows Update option on the left.
- Then, click on Check for updates and download recommended updates.
Video fix
For further help, you can also refer this video fix:
That’s it!

![The mapped network drive could not be created [Detailed fix]](https://www.kapilarya.com/assets/Network-Drive.jpg)
![Stop sharing a folder in Windows 11 [Guide]](https://www.kapilarya.com/assets/Network.png)