
Network Bridging is a process of connecting two individual network connections to act as single. If you have different type of networks and you want to connect them so you can exchange information, you need to create network bridge.
You must be thinking how creating a network bridge would be beneficial for me. Let us understood this with an example. Imagine you’ve multiple systems with some have wired or Ethernet connection, while others are connected to wireless network. In this situation, wired machines will only communicate with other wired machines. Similarly, wireless machines will only communicate with other wireless machines. If you create a network bridge between wired and wireless connections, all machines will be able to communicate with each other and this is the biggest benefit of network bridge.
AFAIK, you can create a single network bridge on a computer and the network bridge can include a number of connections available on system. In this article, we’ll see how to setup and configure network bridge in your Windows.
Page Contents
How to bridge network connections in Windows 11/10
Part 1: Setup Network Bridge In Windows
1. Press Windows + R to open Run, type ncpa.cpl and click OK.

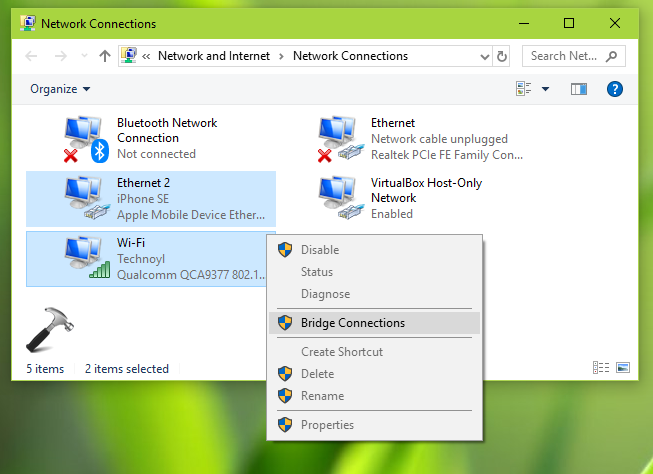
2. In the Network Connections window, manually select networks to bridge with control-click and then right click, select Bridge Connections.
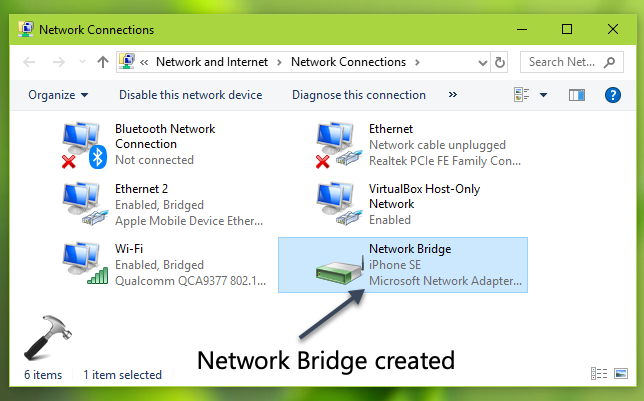
3. You should be then wait for a moment so Windows configures network bridge.

4. In few seconds, you should have the network bridge created.
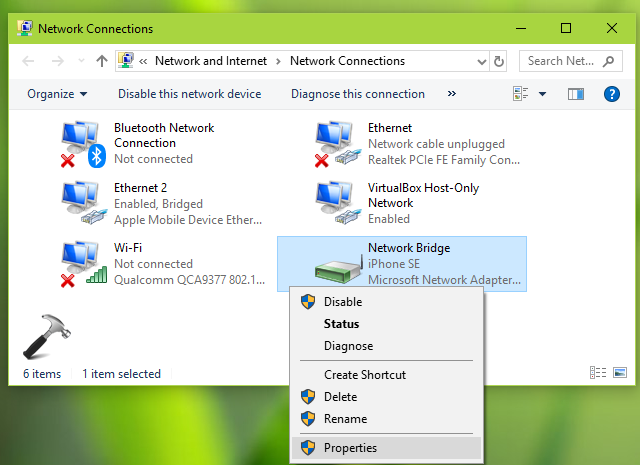
5. To check information about the network created so far, right click on select Properties.
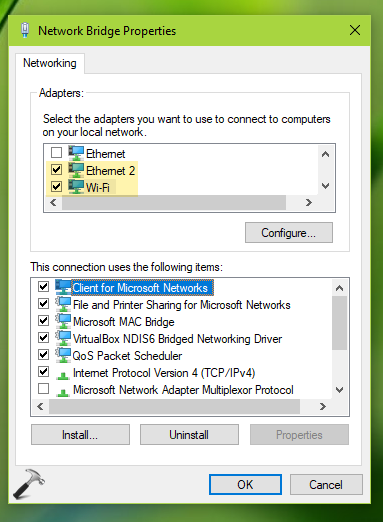
6. On the network bridge property sheet, you can configure the settings for the bridge in same manner as you configure for an individual network. For example, you can select Internet Protocol Version (TCP/IPv4), click Properties and proceed to set a static IP for the network bridge.
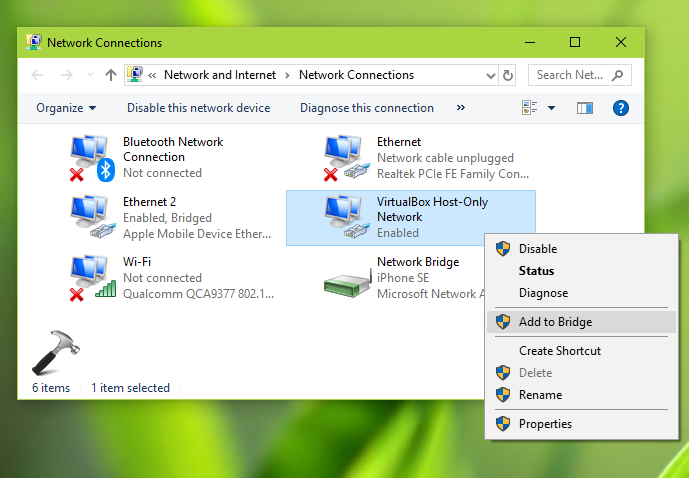
7. To add participation of new networks to network bridge, simply right click on them and select Add to Bridge.
So this is how you can setup network bridge in your Windows.
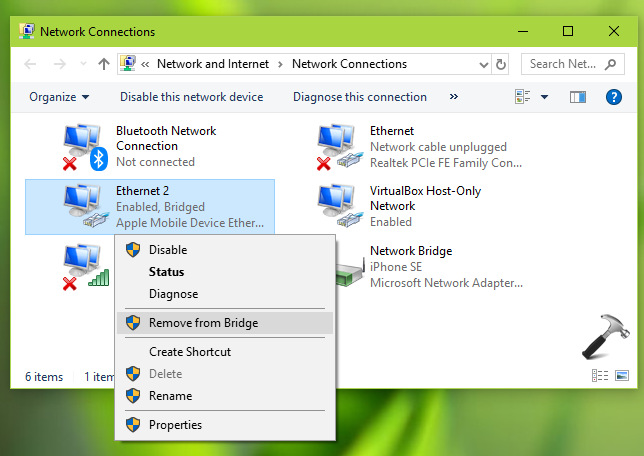
Part 2: Remove A Network From Bridge
To remove an either participating connection from network bridge, simply right on this network and select Remove from Bridge.
That’s it!


![The mapped network drive could not be created [Detailed fix]](https://www.kapilarya.com/assets/Network-Drive.jpg)

![Stop sharing a folder in Windows 11 [Guide]](https://www.kapilarya.com/assets/Network.png)