Many users regularly run a CHKDSK command-line in Windows 11. The purpose is to identify bad sectors and to verify the integrity of stored files on the drive. While running it on the drive, you may come across a particular error. This article talks about how to fix Windows cannot run disk checking on this volume because it is write protected error in Windows 11.
Here is a complete guide on how you can fix it.
Page Contents
Fix: Windows cannot run disk checking on this volume because it is write protected
Windows shows this error when the drive is either write-protected, read-only attributed, or corrupted. To solve it, you need to scan and make sure it is not the case. There are three ways in which you can fix this issue in your Windows 11:
- Removing the write-protection
- Running the CHDSK command line and fixing issues on the drive
- Formatting the drive
Method – 1: Fix Windows cannot run disk checking error with remove Write-Protection on the drive
You can do it through the Command Prompt or Registry Editor.
To remove write-Protection through Command Prompt, follow the steps below.
Step 1: Search for Command Prompt in the start menu. In the result, click on Run as administrator to open the prompt.
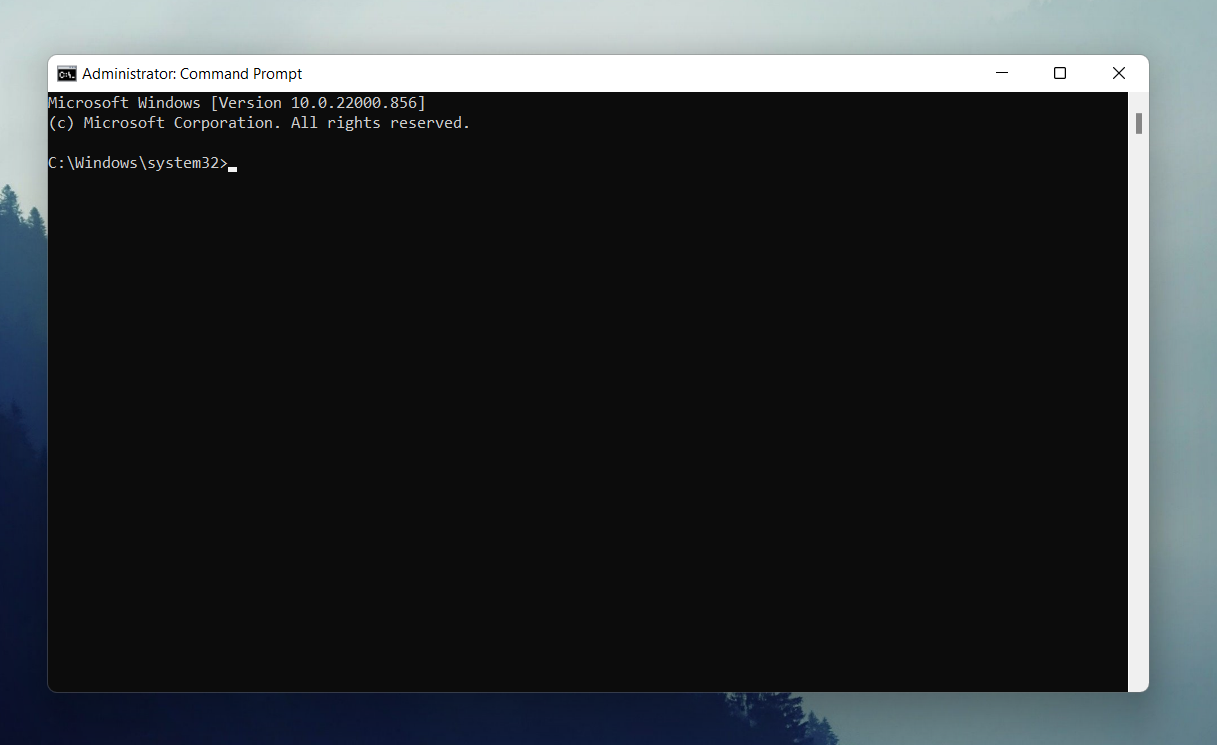
Step 2: In the Window that appears as above, type ‘diskpart’ and press Enter.
Step 3: Type ‘list disk’ and press Enter. You will see the list of drives available in your computer
Step 4: Now, type ‘select disk D’. Simply replace D with the drive that you are having issue with and Press Enter.
Step 5: You will see a message suggesting that the disk you chose is now the selected disk. Type ‘attribute disk clear readonly’ and press enter. This will disable the write protection for your selected drive.
Next, to remove write-protection through the Registry Editor, here is what you do:
Step 1: Press ‘Win + R’ to open the search box and type ‘regedit’ to open the Registry Editor. (Select Yes in the UAC prompt.)
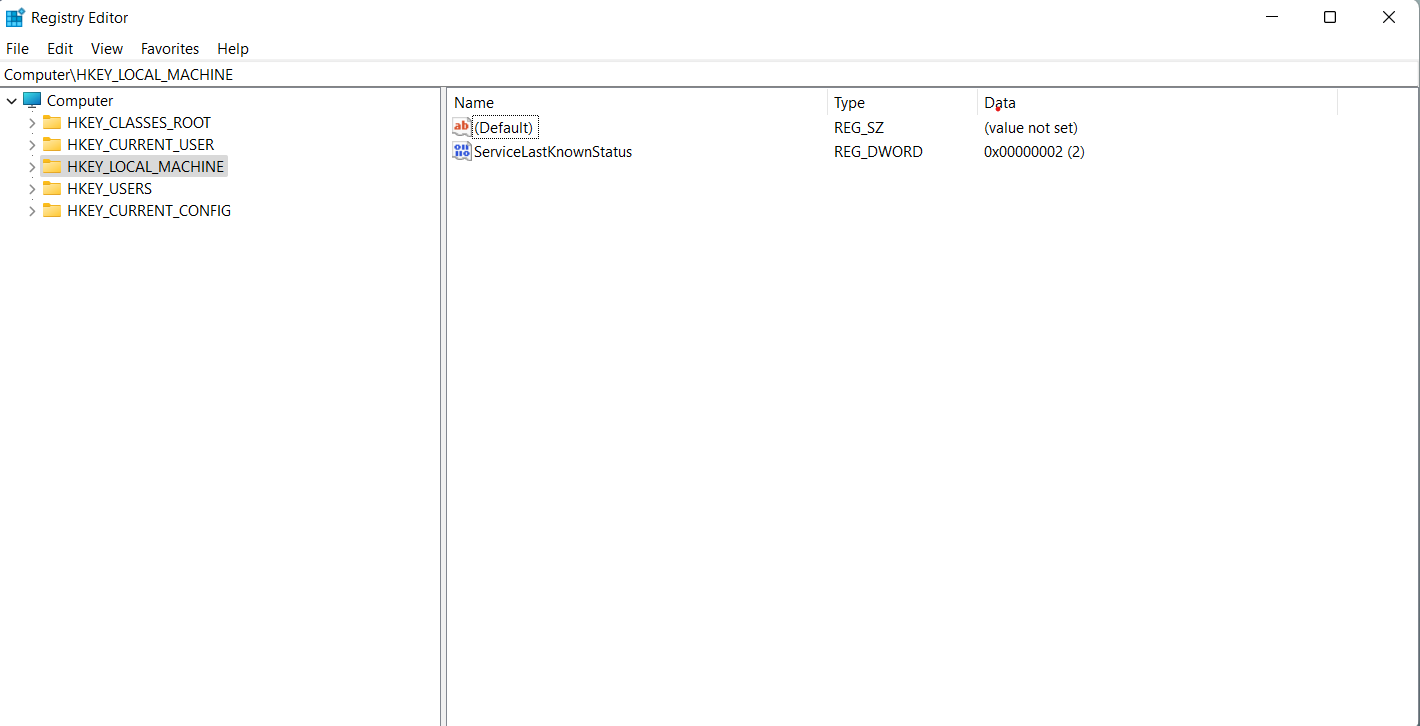
Step 2: In Registry Editor, follow the following path:
Computer\HKEY_LOCAL_MACHINE\SYSTEM\CurrentControlSet\Control\StorageDevicePolicies
Step 3: You will see a DWORD named WriteProtect here. Click on it and in the box that appears, set its Value Data as 0.
Now just Restart your computer and the error should not occur again.
METHOD 2: Run CHDSK command-line to fix issues on the drive
To check and fix issues on the drive, open the Command Prompt as shown in the previous method.
Type ‘chkdsk C: /r /x’ here. Replace C with the drive you are facing issue with. Then press Enter.
This command will find and fix any issues with the drive. We have used parameters /r to identify bad sectors and recovering information, and /x to force the volume of dismount. /x also invalidates all the open file handles. There is a possibility of data corruption/loss while using this. Hence, you should be careful or avoid using it if you are on Desktop Edition of Windows.
Method 3: Format the drive
If you are not able to fix the issue even after applying both the above methods, the last option is to format the drive. Recover the files with the help of data recovery software and format the drive. You may need to contact your service center if the drive is not recoverable.
Hence, by removing write protection through these methods, you can fix the error when Windows cannot run disk checking because the volume is write protected.