The C: drive in Windows 11 consists of various important files and folders, all of which takes a lot of the space. However, certain users have faced the issue of C: drive keeps filling up for no reason. Thus, we will check all the fixes for solving this issue in detail.
Page Contents
Fix Windows 11 C: drive keeps filling up for no reason
The users can at first try some quick fixes such as relocating personal folders to some other partition/ drive; changing the default save location for files and folders; removing unnecessary software and applications, etc. Moreover, if none of these works, then the users can try the fixes provided in this blog.

Fix 1: Using CHSKDSK
Damaged disks may cause in the occurrence of the issue of C: drive filling up for no reason. Thus, for checking and repairing the errors of the drive, we need to run the CHKDSK command. Follow the steps given below to do the same-
Step 1- Primarily, run the Command Prompt as an administrator.
Step 2- Now, copy and paste the prompt given below to run the CHKDSK command and press Enter.
chkdsk C: /f
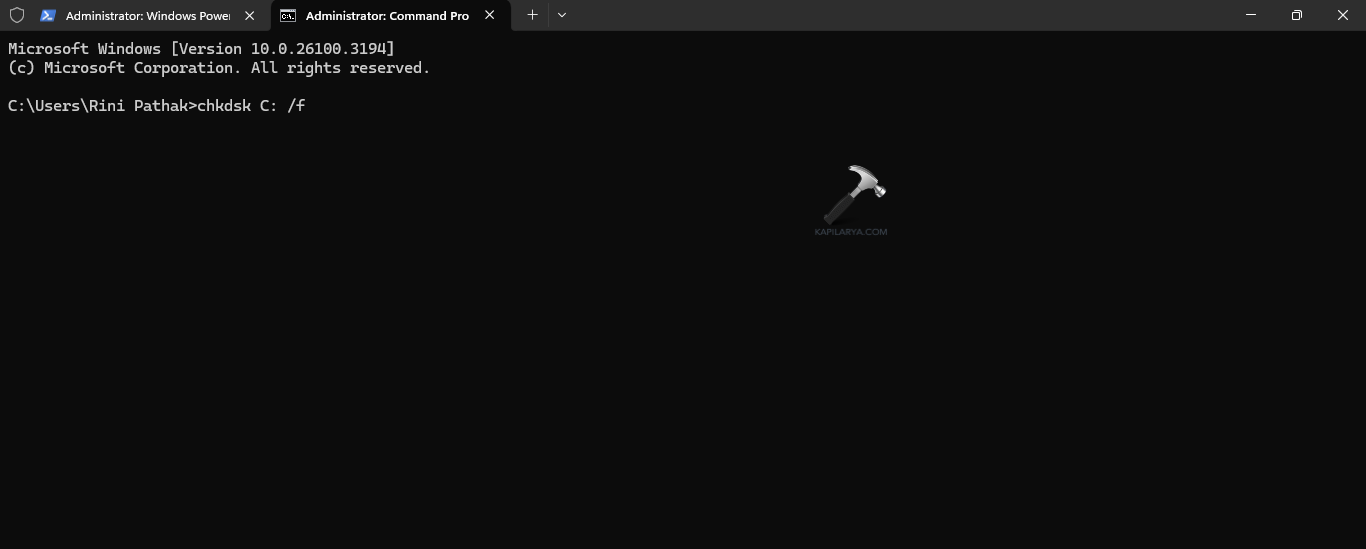
Step 3- Now, the CHKDSK command will scan any error in C: drive and repair it. Again, if it asks for scheduling a disk check next time, press Y on the keyboard. Thereafter, press Enter and reboot the PC to allow the CHKDSK command to run.
Fix 2: Extending C: Partition
The users can also try extending the C: partition for fixing the mentioned issue. Now, let us check the steps for doing that.
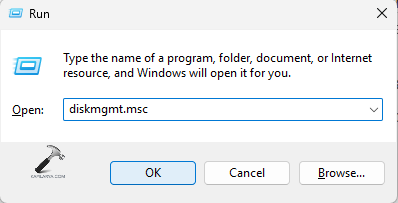
Step 1- At first press Win + R and open the Run box. Next copy and paste the prompt below in the box and press Enter.
diskmgmt.msc
Step 2- Now, in the Disk Management window, right-click Local Disk (C).
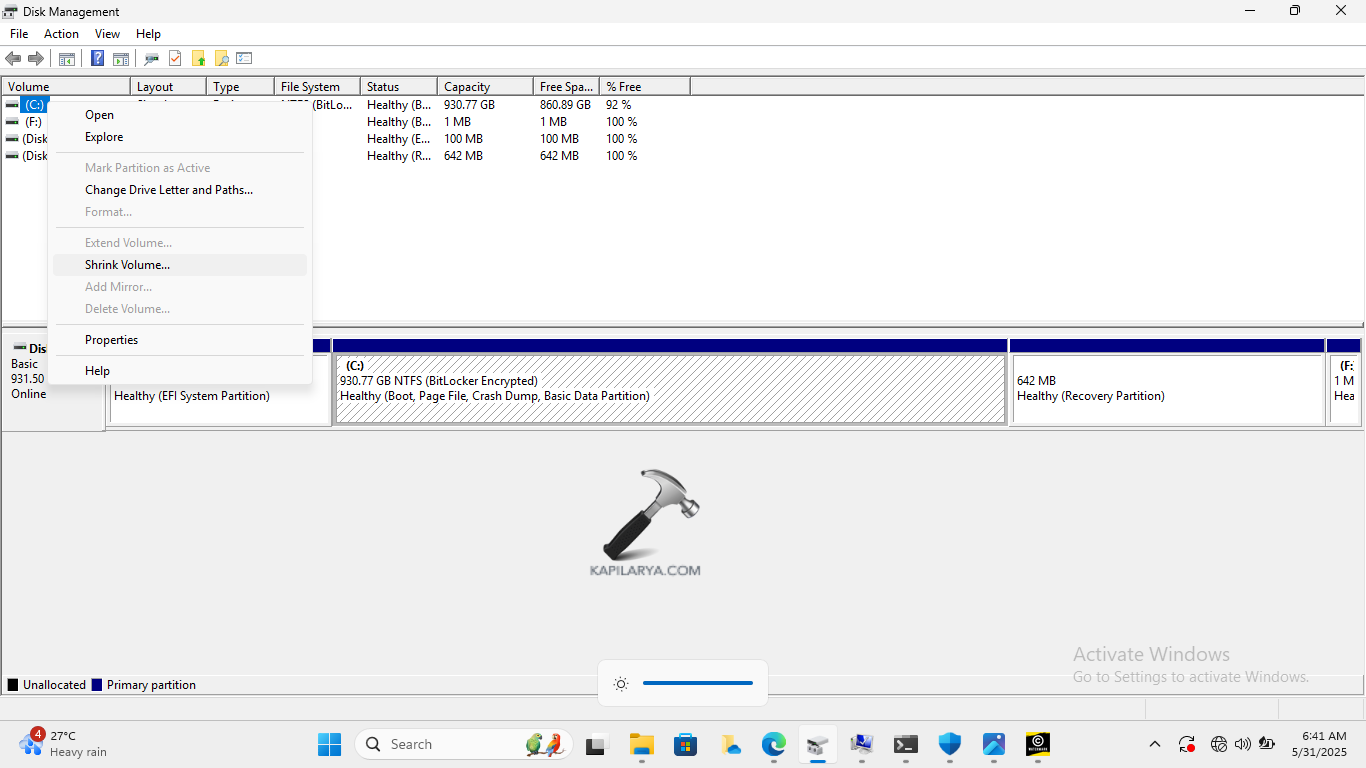
Step 3- Next, select Extend Volume option. However, if the option is greyed out, then no unallocated space is present on the PC’s storage device. In such case, for unallocating space from another partition, right-click the partition and click Shrink Volume. Thereafter, enter the required amount of space for reallocating.
Step 4- Further, in the Extend Volume Wizard, select Next.
Step 5- In the Select the amount of space in MB option, modify the space amount for adding to the C: drive. Lastly, press Next > Finish.
Fix 3: Scanning for Malware
Presence of any malware or virus in the PC system can be another reason for the issue. Therefore, follow the steps for scanning any malware in the PC.
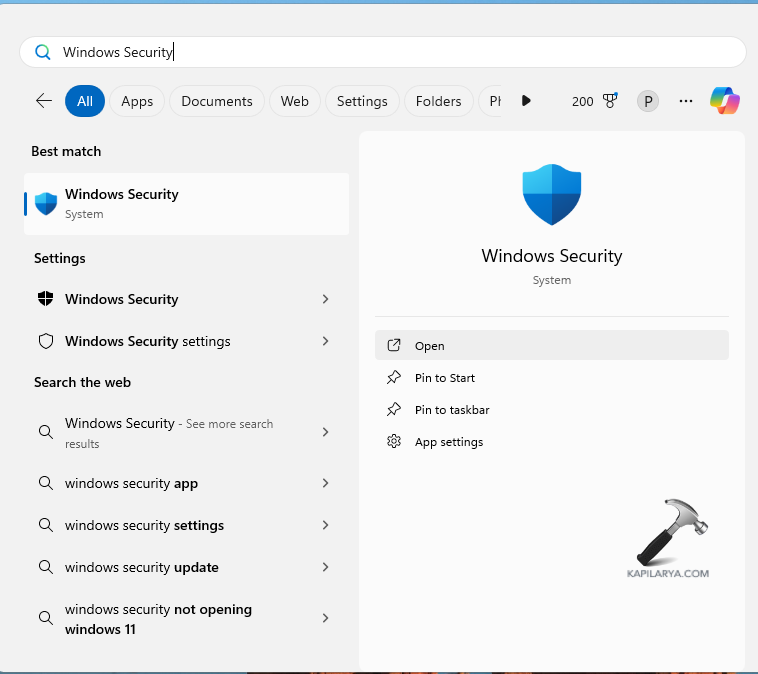
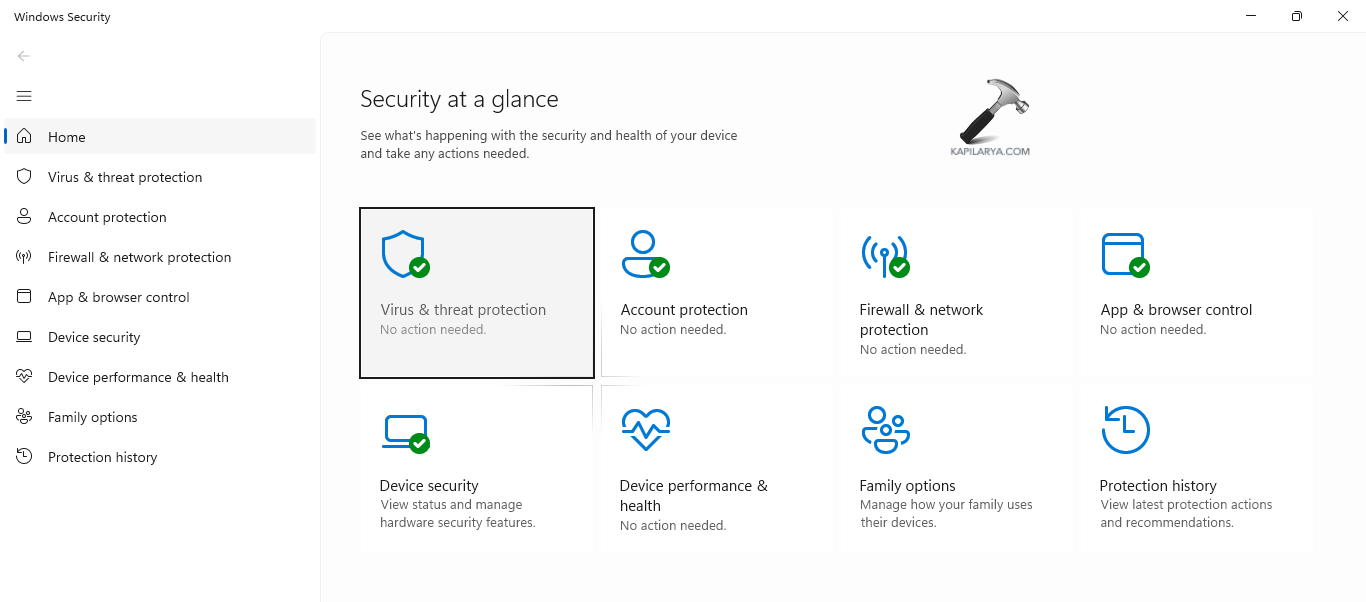
Step 1- Open Windows Security.
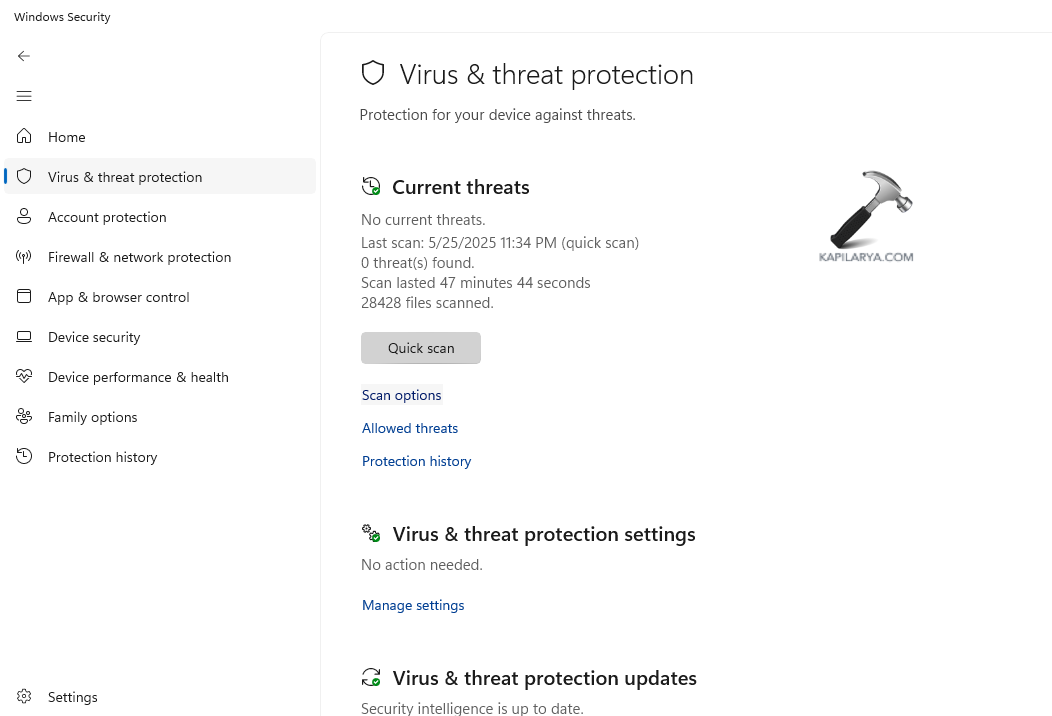
Step 2- Next go to Virus & threat protection > Current Threats > Scan options.

Step 3- Now, select Full Scan > Scan now. Then, wait for Windows to finish the scan.
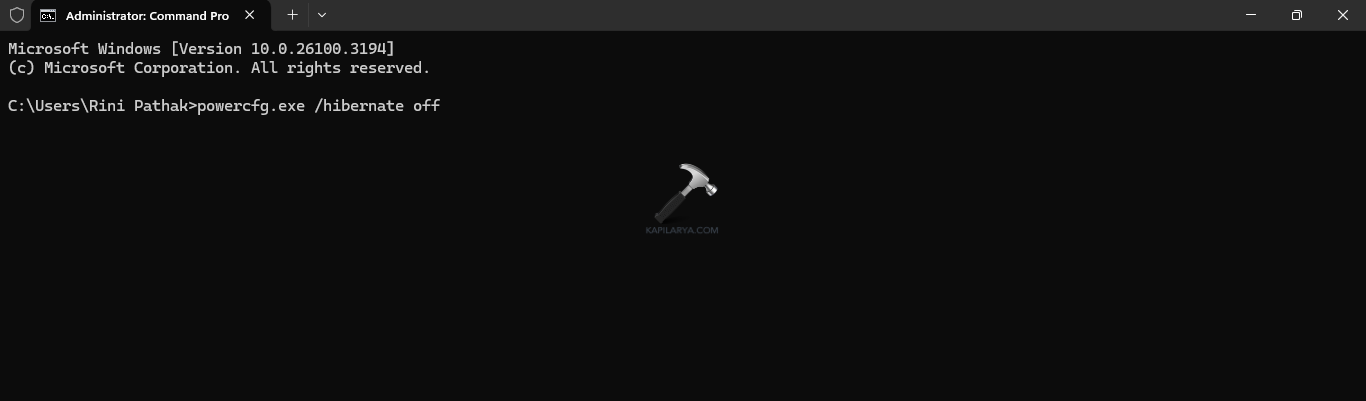
Fix 4: Stopping the PC from Hibernating
Sometimes when the PC enter into hibernation mode, it saves energy and shuts down the PC completely. However, it lets to pick up the work exactly from it was last left. But, this leads to filling up the C: drive. Thus, it is beneficial for turning off the hibernation. For doing the same, run Command Prompt as an administrator and copy and paste the prompt below. Also, save all the work before turning off the hibernator.
powercfg.exe /hibernate off
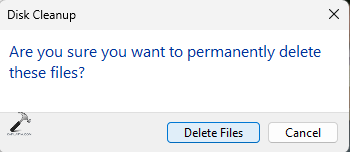
Fix 5: Running Disk Cleanup
Another way for solving the issue is through the Disk Cleanup tool. Now, the instructions to use the disk cleanup tool for this reason are provided below.
Step 1- At first, type disk cleanup in the search box and Run it as an administrator.

Step 2- Next, select Local Disk (C): and press OK.

Step 3- Below, Files to delete section, select the desirable file for removing and press OK. Lastly, select Delete Files to complete the process.
Fix 6: Managing System Restore Points
If none of the fixes above works, then the users should manage their restore points so that sufficient space is created. Follow the steps below for managing the points.
Step 1- Open Create a restore point.
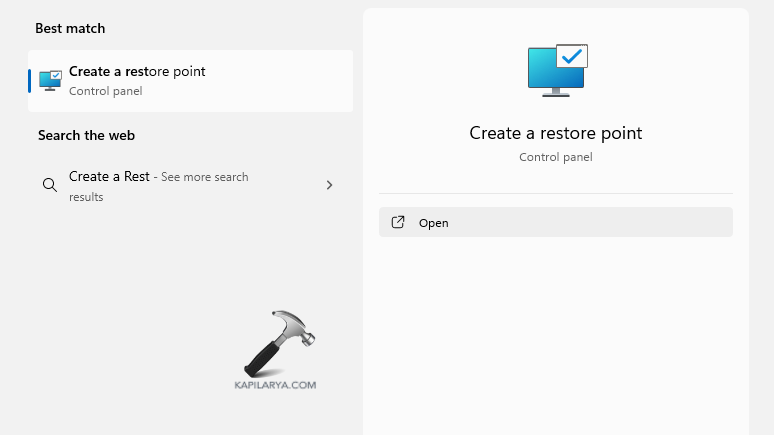
Step 2- Now, below Protection Settings, in the Available Drives box, click Local Disk (C) > Configure.

Step 3- Now, move the slider of Max Usage to the left. System Restore will use lesser space to make restore points, the more the slider is to the left.

Step 4- Finally, press OK > OK
Hope the blog helps!