Windows Modules Installer Worker is an important Microsoft process that is responsible for checking, installing, and removing Windows updates on your Windows PC. If the Windows Modules Installer Worker or TiWorker.exe uses too much CPU for too long, then there’s something with the process. In that case, try these solutions to get back your CPU resources on Windows 11/10.

Page Contents
Fix: Windows Modules Installer Worker High CPU Usage
Solution 1: Restart your PC
Whenever you see Windows Modules Installer Worker or TiWorker or any other process causing a spike in CPU usage and slowing down your PC, the first step is to restart your computer. A simple restart will clear your memory, clean temporary files, and fix minor software glitches that might be causing the issue.
Solution 2: Restart Windows Update Service
1. Open Windows Search, type “Services” and select the app from the search results.

2. In the Services window, find and double-click “Windows Update“.

3. Select “Automatic” from the Startup type and click “Apply“.

4. Then, click “Start” to start the process.
5. After that, restart your computer and check if the CPU usage has returned to the normal level.
Solution 3: Run Windows Update Troubleshooter
1. Press the Windows key and select “Settings” to open Windows Settings.
2. Go to the “System” tab and, click on “Troubleshoot” on the right.
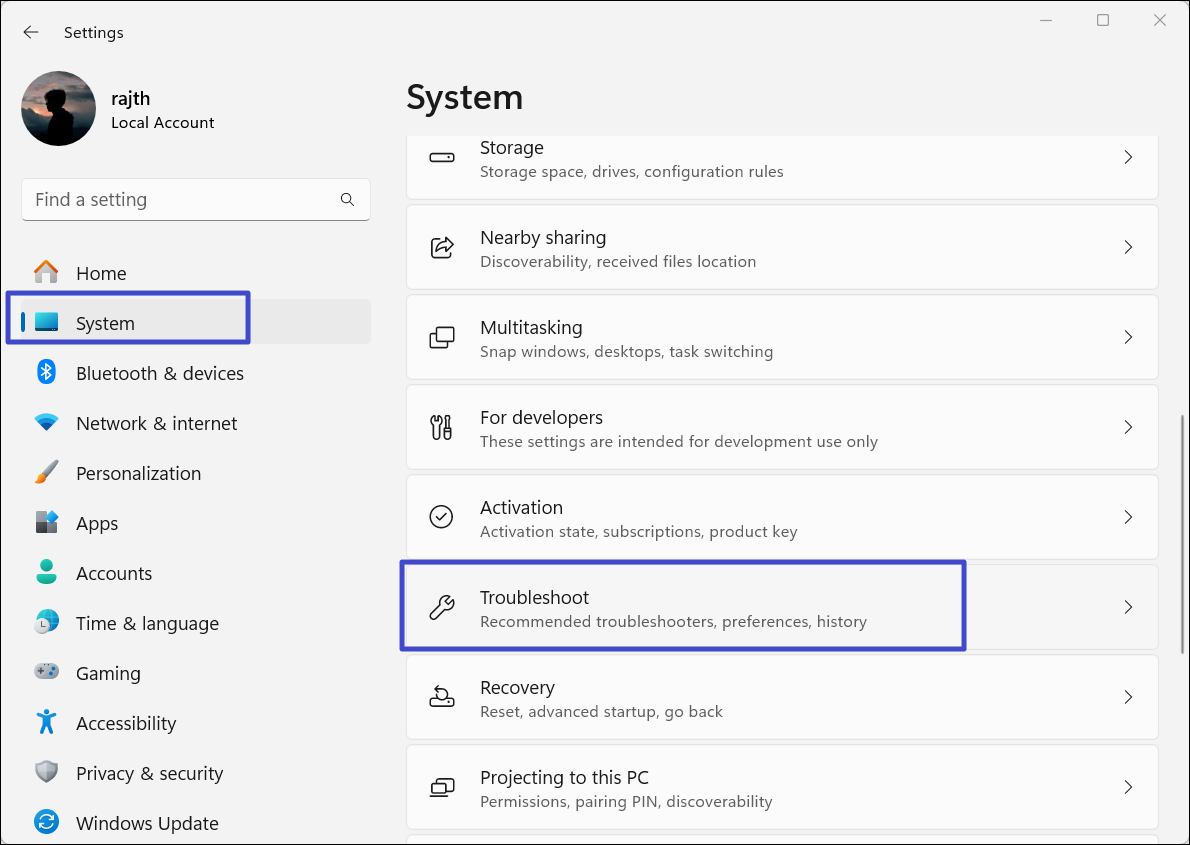
3. On the Troubleshoot settings page, select “Other troubleshooters“.

4. Click the “Run” button next to Windows Update.

5. Then, follow the on-screen instructions to fix the issue.
Solution 4: Disable Window Update
If restarting the Windows Update services doesn’t solve the problem, disabling it completely might lower the CPU usage.
1. Open the Services Console again.
2. In the Services console window, scroll down and right-click the “Windows Update” service. If it’s running, click “Stop” to stop the service.
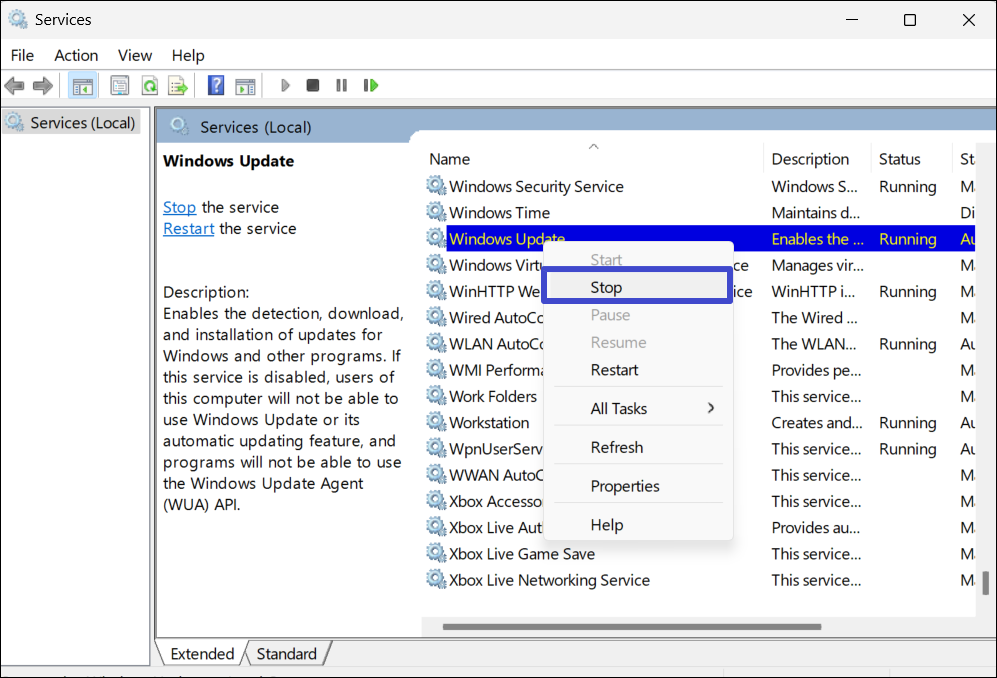
3. Right-click the Window Update service again and select “Properties“.

4. From the Startup type drop-down, select “Disabled“, and click “Apply“.

5. Then, click “OK“. Close the Service window, and restart your computer.
Solution 5: Run System File Checker (SFC) and DISM Scan
1. Press the Windows key, type “Command Prompt”, and select “Run as administrator“.
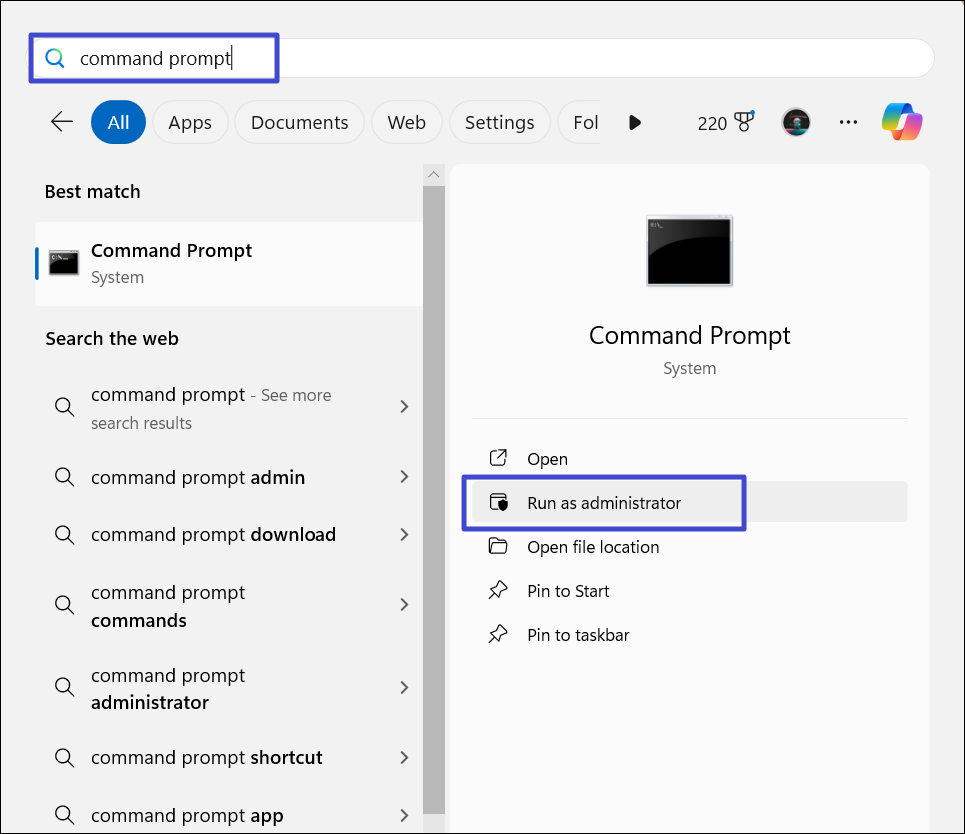
2. Click “Yes” in the User Account Control prompt.
3. In the Command Prompt window, type the following command, and press Enter:
sfc /scannow
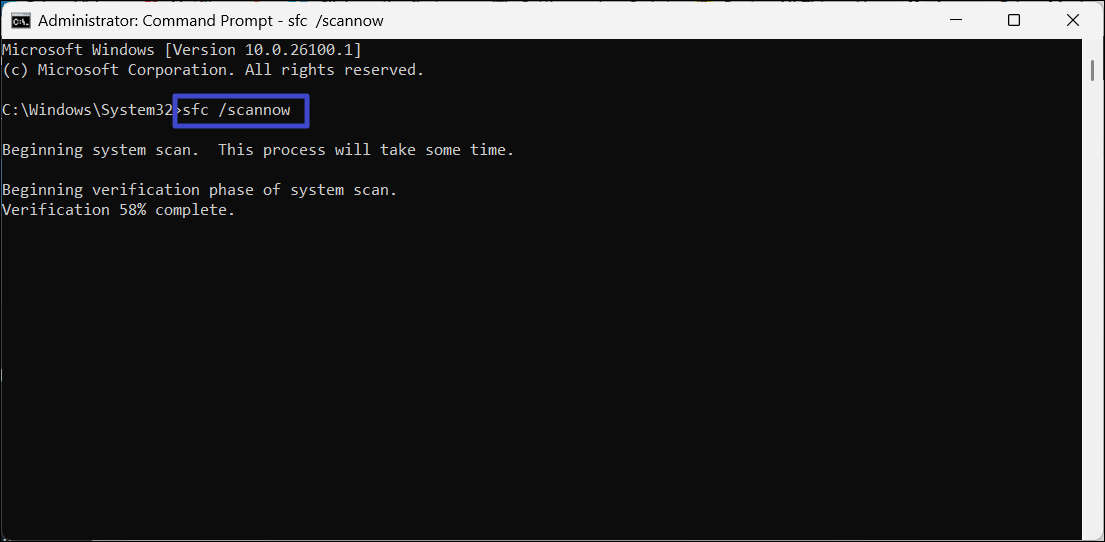
4. The System File Checker command will scan for corrupted DLLs and system files, and replace them if necessary.
5. After running the SFC scan, run the DISM commands to scan for corruption with the operating system image.
6. In the Command Prompt, copy-paste or type the following commands one by one, and press Enter after each command:
DISM /Online /Cleanup-Image /CheckHealth
DISM /Online /Cleanup-Image /ScanHealth
DISM /Online /Cleanup-Image /RestoreHealth
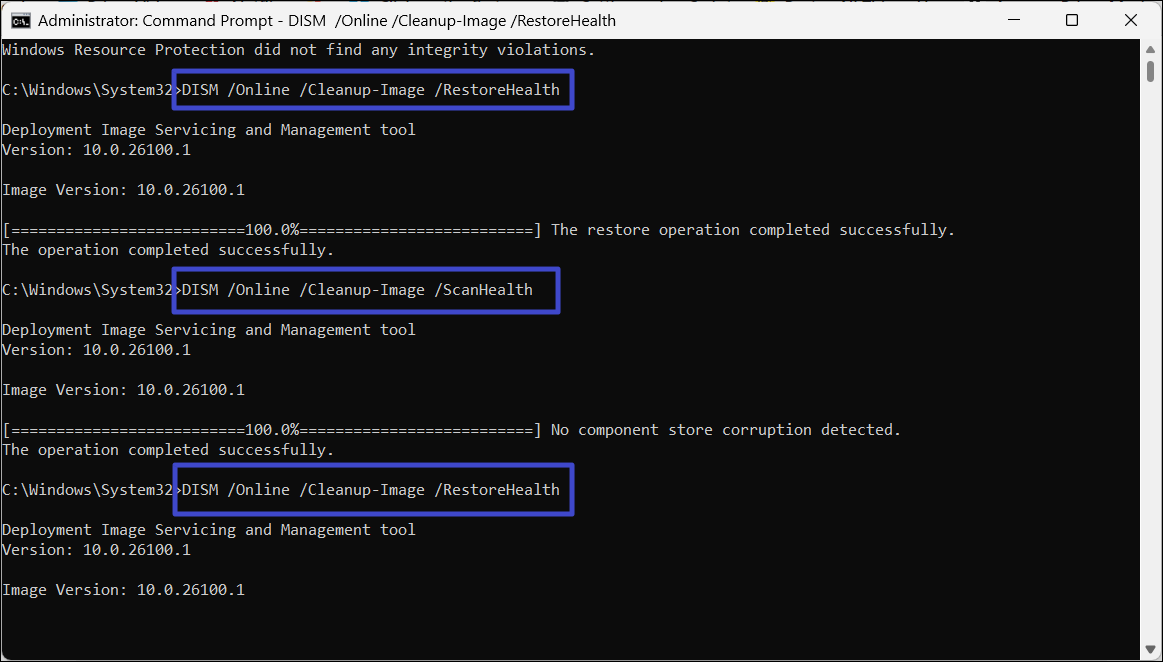
7. Wait for the scan to finish and restart your PC. Then, check if the Windows Modules Installer Worker process’s CPU usage has gone down.
Solution 6: Clear the SoftwareDistribution Folder
1. Open Command Prompt as an administrator.
2. In the Command Prompt, run the below commands one by one to stop specific Windows services:
net stop wuauserv
net stop bits
net stop cryptSvc
net stop msiserver
3. Then, go to the following location in the File Explorer:
C:\Windows\SoftwareDistribution\
4. Press Ctrl + A to select all the files and folders and press Delete to clear the folder. If prompted, click Continue.
5. After cleaning the SoftwareDistribution folder, run the below commands to restart the stopped services:
net start wuauserv
net start bits
net start cryptSvc
net start msiserver
6. Then, close the File Explorer and reboot your PC.
That’s it.