When you use Windows for a long time, certainly there are some files located as temporary files may be accumulated with the installation. No matter on which Windows operating system you are on, this may happen with any of them. Additionally, when you upgrade your Windows to a newer version, there may be some previous Windows installation files remain on the system. If you’re on Windows 11 installation that is low on storage, clearing out temporary files evolves as a bigger priority. In this guide, we’ll see how to remove temporary files in Windows 11.
These temporary files may be created by some of the programs you install. There may be some log files as well. Additionally, they may be created when you install updates or perform a version upgrade of your system. In that case, it is classified as previous Windows installation files. But whatever, these temporary files may take a lot of space in some cases and you may not be able to use your disk space completely. Here’s how you can remove these temporary files and claim that disk space for other purpose.
How to remove temporary files in Windows 11
1. Press  + I keys to open Settings app.
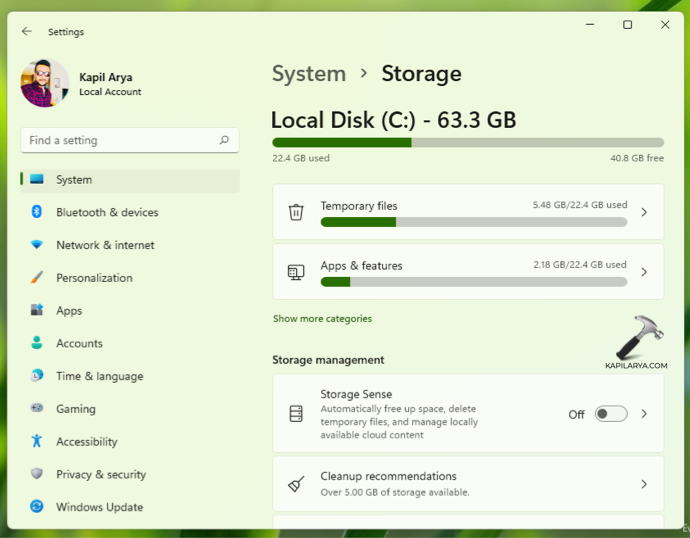
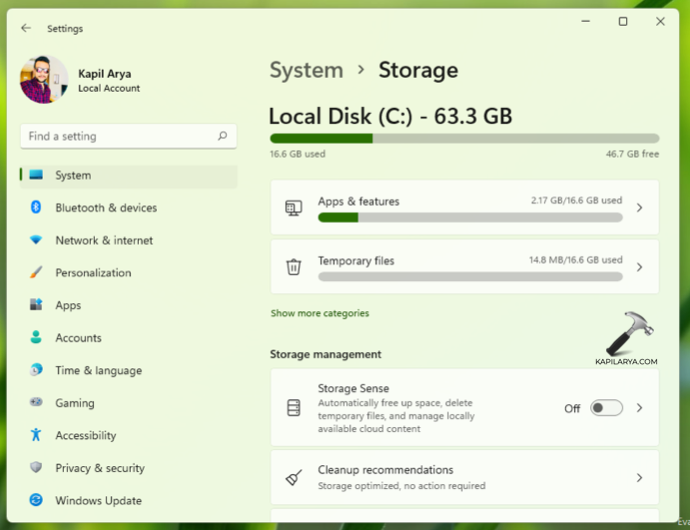
2. In Settings app, go to System > Storage. Here, you should be able to locate disk space occupied by temporary files and apps. Click on Temporary files.
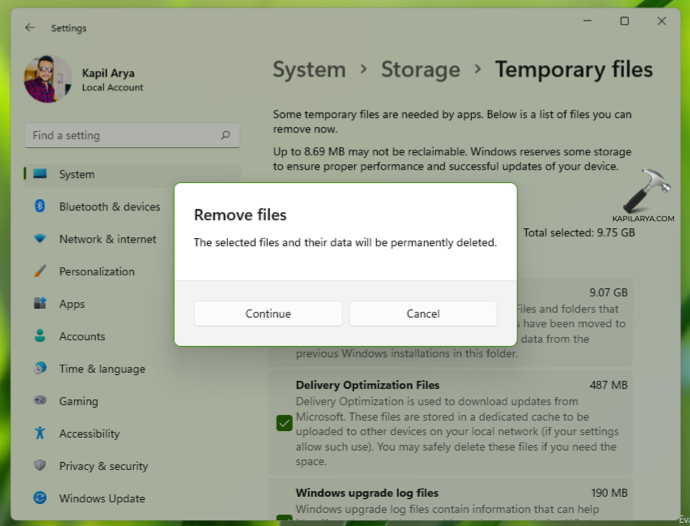
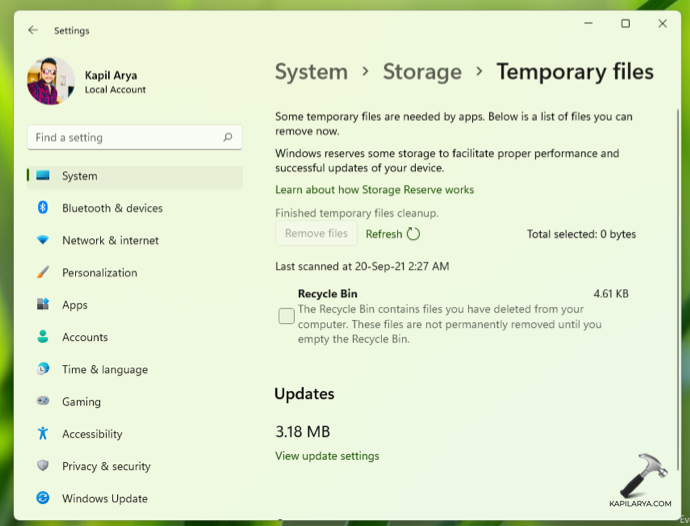
3. Under Temporary files, you can select the type of files you wish to remove. You can here also select to remove previous Windows installation files. After your selection, click on Remove files button.

4. In the confirmation prompt appearing next, click on Continue.
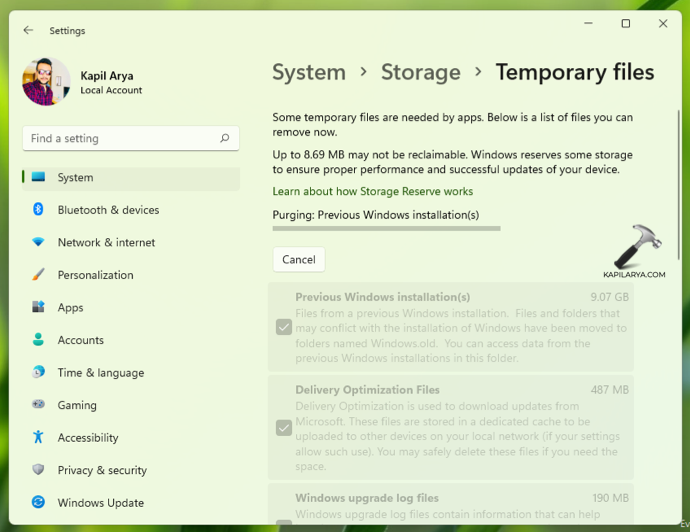
5. Now Windows will start removing temporary files on your system. This may take a while depending upon the data you are removing.
6. Once done, you will see finished temporary files cleanup.
Now if you go back, or to Settings > System > Storage, you’ll see that storage taken by temporary files is now free and you can use it for your work.
UPDATE (15/12/21): You can checkout following video to illustrate above steps for you:
That’s it!