
Starting with Windows 10 V1607 (or build 14316 or later), we have a new feature called Active hours. Microsoft has improved this feature version by version and in this article, we’ll see how to configure it.
Active hours is feature designed to prevent restart from Windows Update to finish system updates in working hours. For example, if you prefer to use your system between 9AM to 9PM daily, you can set this as active hours. Inside these Active hours, Windows will not restart automatically to complete updates.
If you’ve Active hours setting already configure, and if Windows needs to restart your system to complete update, you’ll get below shown notification:
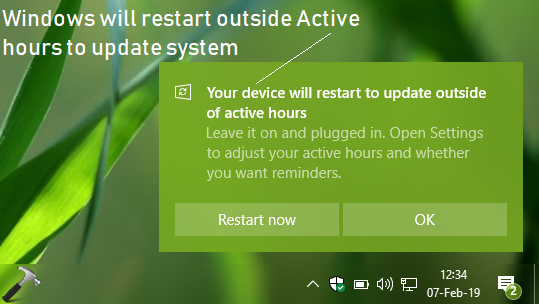
By this notification, you’ll be aware that a Windows Update restart is pending. You can click OK, or if you can afford losing your current session, click on Restart now.
Here’s how you can change active hours setting in Windows 10.
Page Contents
How To Configure Active Hours Setting In Windows 10
FYI: These steps are illustrated on Windows 10 V1809.
Method 1 – Via Settings App
1. Right click Start Button or press  + X keys and select Settings.
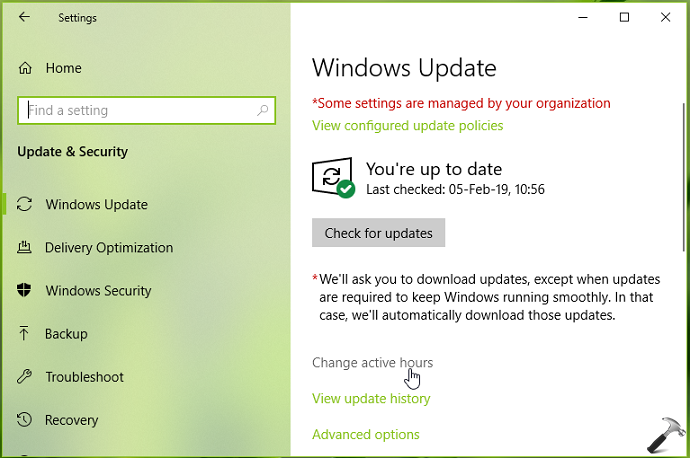
2. In the Settings app, navigate to Update & Security > Windows Update.
3. Now in right pane of Windows Update, click on Change active hours link.
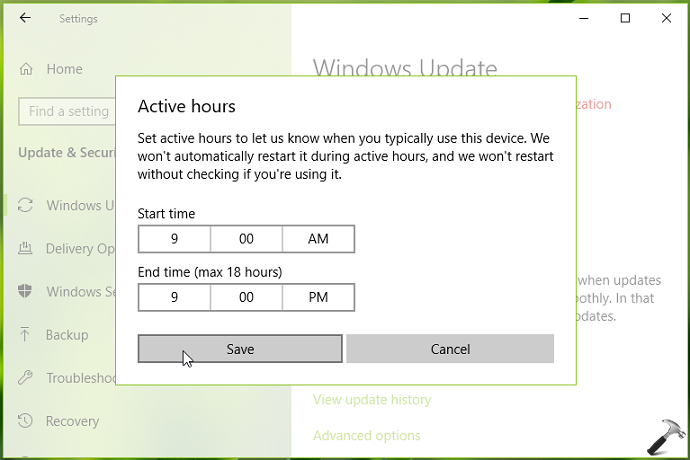
4. Then choose a Start time and End time. You can configure Active hours setting with 18 hours as maximum difference between Start and End time.

5. Once you’re done with your selection, click Save.
The settings will be saved immediately and in this way, you’ve configured Active hours.
You can also configure Active hours via registry, see Method 2 below.
Method 2 – Via Registry
Registry Disclaimer: The further steps will involve registry manipulation. Making mistakes while manipulating registry could affect your system adversely. So be careful while editing registry entries and create a System Restore point first.
1. Press + R and put regedit in Run dialog box to open Registry Editor (if you’re not familiar with Registry Editor, then click here). Click OK.

2. In left pane of Registry Editor window, navigate to following registry key:
HKEY_LOCAL_MACHINE\SOFTWARE\Microsoft\WindowsUpdate\UX\Settings
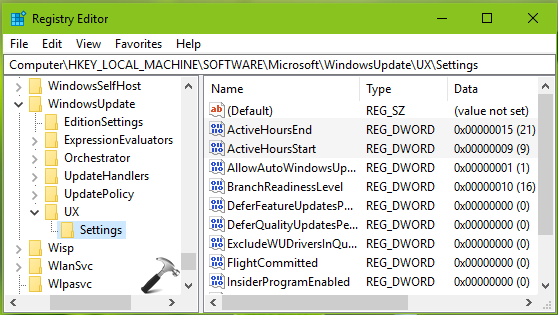
3. Now in the right pane of Settings registry key, look for ActiveHoursStart and ActiveHoursEnd named registry DWORDs (REG_DWORD). Double click on ActiveHoursStart registry DWORD to modify its Value data:
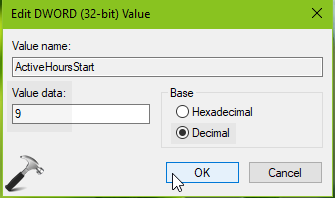
4. Set the Value data equals to Start time you want for active hours. Make sure you use value for 24-hour clock format here. For example, if its 9AM, you’ll use 9. Make sure you select Decimal Base for this Value data. Click OK.
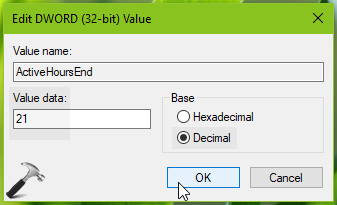
5. Similarly, modify Value data for ActiveHoursEnd registry DWORD. Select Decimal Base first, then type the value. For example, if you want to set it for 9PM, you must 21 as per 24-hour clock format. Click OK.
Close Registry Editor and reboot the machine to make changes effective.
That’s it!


![[Latest Windows 11 Update] What’s new in KB5089549?](https://www.kapilarya.com/assets/Windows11-Update-768x651.png)