Till now Microsoft Edge can autoplay media content on websites, by default. But with build 17713 or later, Microsoft added the ability for users to control this behavior. So now users can choose whether Edge will autoplay media content or not.
If you’re on build 17713 or later, open Edge and click on website identification or padlock icon and in the fly-out menu, under Media autoplay, you can Allow (default), Limit or Block.
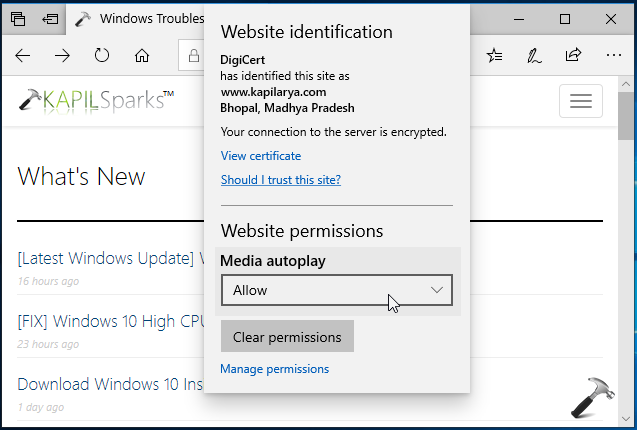
To configure the Media autoplay setting in bulk, you can refer below mentioned ways.
Page Contents
How To Configure Media Autoplay Settings In Microsoft Edge
WAY 1 – Via Settings
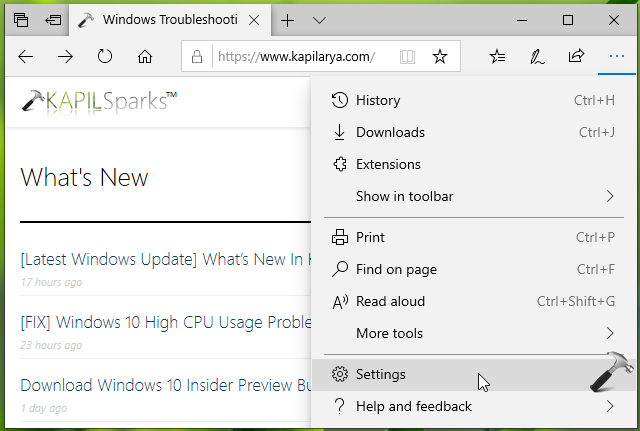
1. Open Microsoft Edge, click on triple dots ( · · · ) at top right corner, and select Settings.
2. Next, click on Advanced and scroll down in the corresponding pane to locate Media autoplay settings. From the drop-down, you can select Allow (default), Limit or Block as per your requirement.
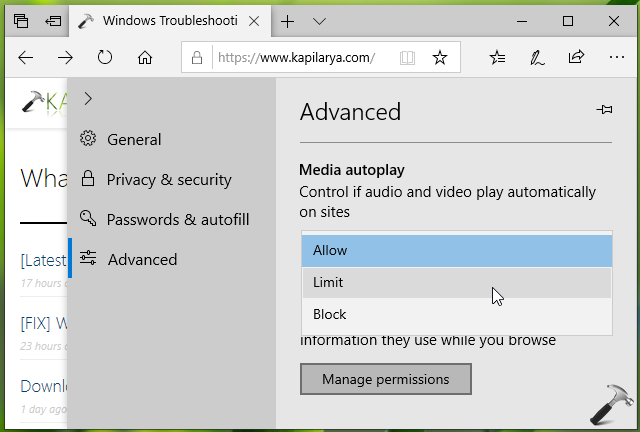
3. You can click on Manage permissions button in above shown window to configure per-site Media autoplay settings.
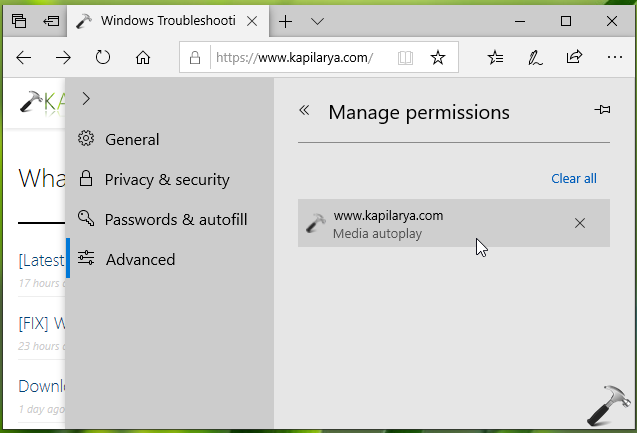
You can close Edge after configuring your desired settings.
You can also use the below mentioned registry manipulation to configure media autoplay settings.
WAY 2 – Via Registry
Registry Disclaimer: The further steps will involve registry manipulation. Making mistakes while manipulating registry could affect your system adversely. So be careful while editing registry entries and create a System Restore point first.
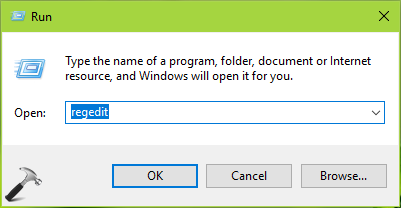
1. Press  + R and put regedit in Run dialog box to open Registry Editor (if you’re not familiar with Registry Editor, then click here). Click OK.
2. In left pane of Registry Editor window, navigate to following registry key:
HKEY_CURRENT_USER\Software\Classes\Local Settings\Software\Microsoft\Windows\CurrentVersion\AppContainer\Storage\microsoft.microsoftedge_8wekyb3d8bbwe\MicrosoftEdge\Main
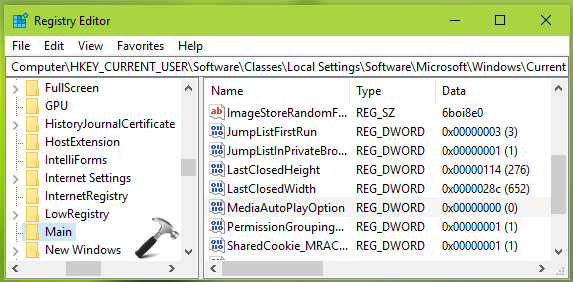
3. In the right pane of Main registry key, right click and select New > DWORD Value. Name the newly created registry DWORD (REG_DWORD) as MediaAutoPlayOption. Double click on this registry DWORD to modify its Value data:
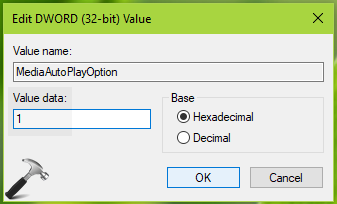
4. Finally, use following Value data to as per your requirement:
Allow (default) – 0
Limit – 1
Block – 2
Click OK to save the value and close Registry Editor. Reboot to make changes effective.
That’s it!