
If you’ve pretty important documents on your hard drive, you must have backup plan in advance. In case if you fear that your hard drive will die in future and you’ll lose your documents on it, this article is a solution for you. You can create a mirrored volume between two drives which is exact bit-to-bit replica of your data. This will help you keep your data safe and accessible, even when one of the participating drives in mirrored volume dies.
Below mentioned steps will show you how to create mirrored volume between your primary drive and parallel or external drive.
Page Contents
How To Configure Mirrored Volume In Windows 10/8/7
PART 1 – Add Mirrored Volume In Windows 10/8/7
1. Press  + R to open Run and type diskmgmt.msc in it to open Disk Management. Click OK or press Enter.

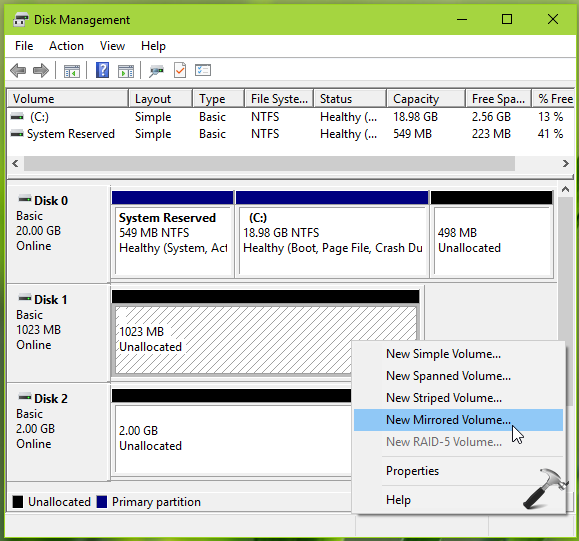
2. In the Disk Management window, identify the disks for which you want to create mirrored volume. Right click on it and select New Mirrored Volume option.
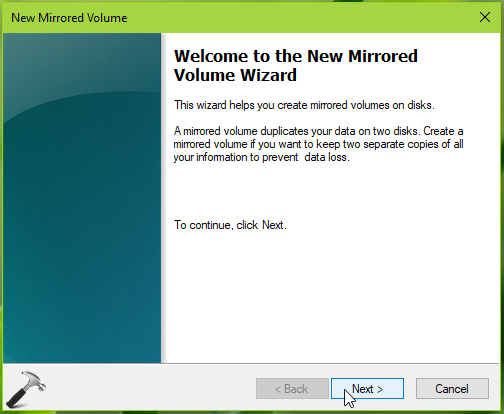
3. On the New Mirrored Volume wizard welcome window, click Next.
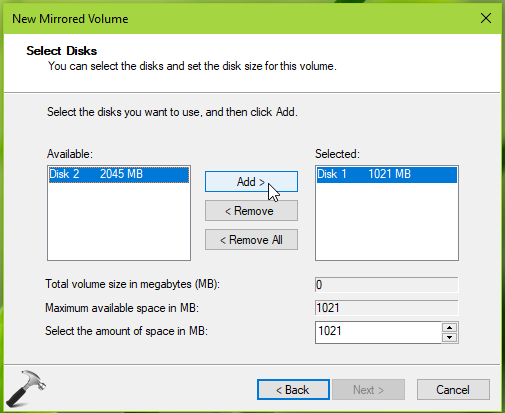
4. Then select the disks from Available section you want to create mirrored volume with and click Add button.
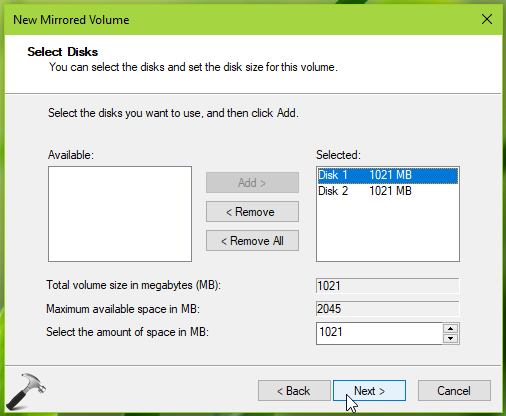
5. Once the disk you want to use is added to Selected disk column, click Next.
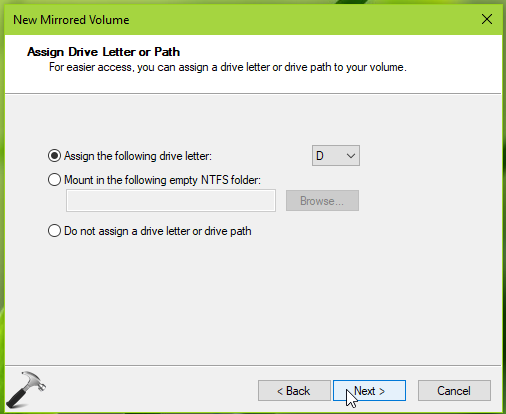
6. Moving on, then assign a drive letter for the resulting mirrored volume. The drive letter will help you identify the volume in File Explorer and other applications etc. Click Next.
7. Now specify formatting settings. As you’re using the volume with Windows, use NTFS file system and make sure you check Perform a quick format option. Click Next.

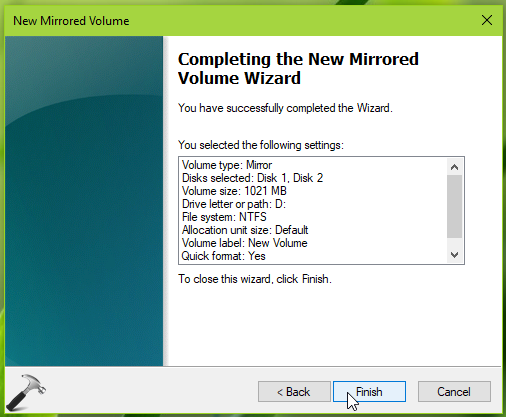
8. Then review all the settings you’ve made and if correct click on Finish button to start creating mirrored volume. You can use Back button to makes changes to previously configured settings, if any.
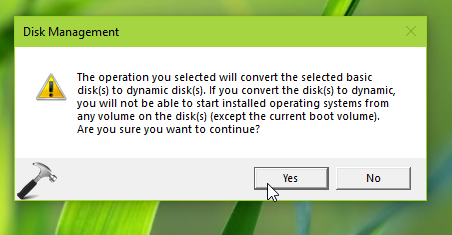
9. If the disks are basic, following prompt will appear which is asking the confirmation to convert the disk to dynamic format. This is because basic disks doesn’t supports mirrored volume. Select Yes and go ahead.
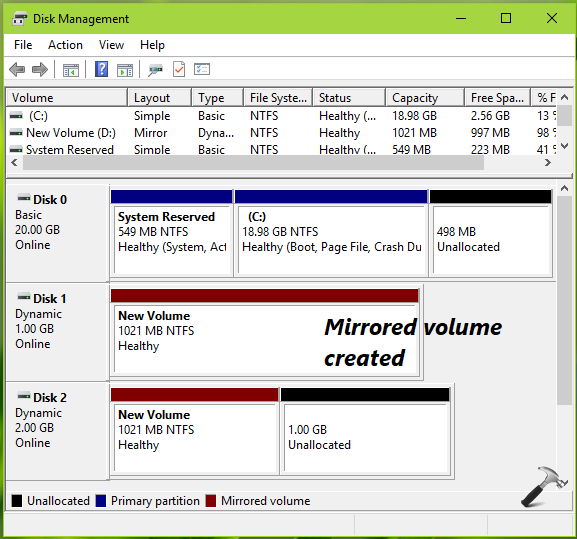
10. Finally, the mirrored volume is created and you can spot it in Disk Management snap-in.
To remove mirrored volume later, see Part 2 below.
PART 2 – Remove Mirrored Volume In Windows 10/8/7
1. Open Disk Management snap-in.
2. In the Disk Management window, right click on mirrored volume and select Remove Mirror option.

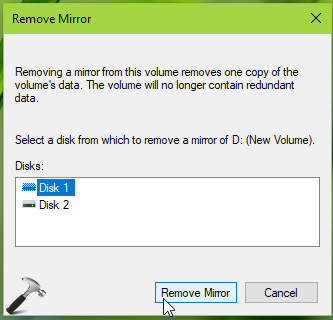
3. Now in the Remove Mirror box, select the disk from which you want to remove mirror and click Remove Mirror.
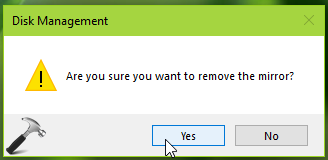
4. Finally, in the confirmation prompt select Yes option and mirror should be removed from selected disk while other volume becomes simple volume. You can close Disk Management snap-in and return to Desktop, if you like.
So this is how you can set up and use mirrored volume in Windows 10.
That’s it!


I am not getting a option to copy c drive in New mirrored volume, also when i click add mirror on c drive it says disk 3 is not lagre enough even though it is twice the size of the c drive.