
It is very easy to connect Windows 10 to any other casting/projecting/mirroring device. Thanks to Cast to Device option Microsoft implemented in this operating system. Recently, I got my Samsung Smart LED TV and I found that connecting Windows 10 to this TV without wires can be done handily by casting. Thus I thought I should share the steps for this with all of you.

For this to work, the only requirement is that both devices should awake and are on same network. In other words, you should connect Windows 10 and your Samsung Smart TV to same wireless network to avail the benefits of casting.
Here are the quick steps you need to follow and play content from Windows 10 to your Smart TV:
How To Connect Windows 10 To Samsung Smart TV Wirelessly
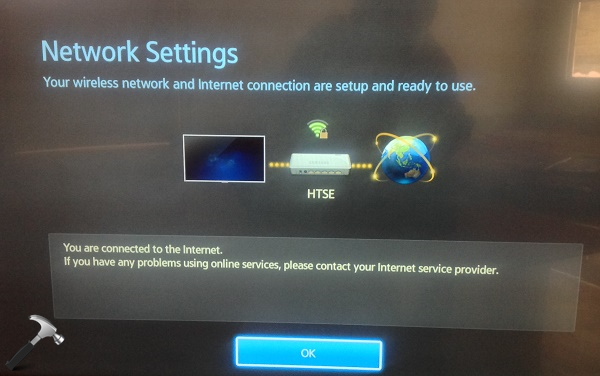
1. First of all, connect your Samsung Smart LED TV to your wireless network/device. The connection can be made from TV Menu > Network > Network Status.
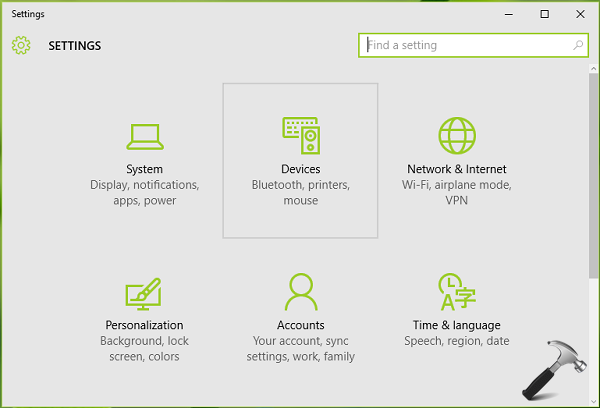
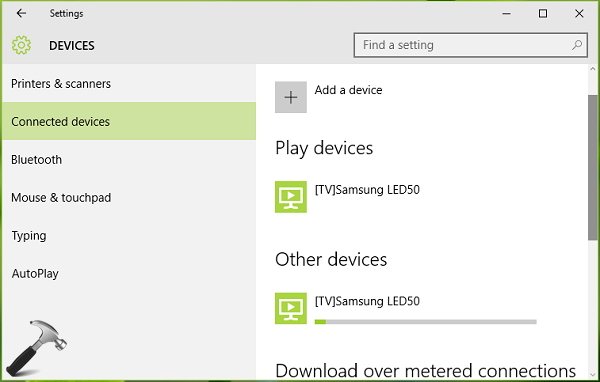
2. Now connect your Windows 10 to same wireless network/device to which your TV is connected. Then open Settings app and click Devices.
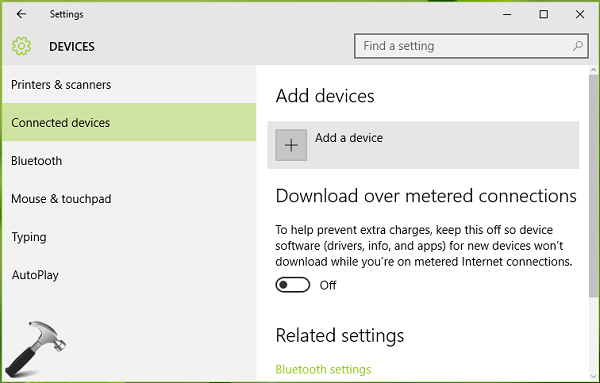
3. Next, in the left pane, choose Connected Devices. In the corresponding right pane, click Add a device option.
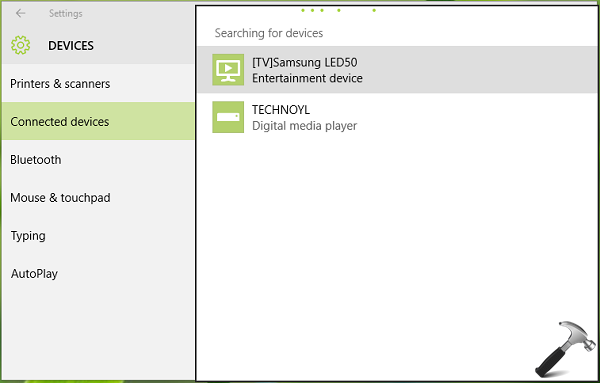
4. Your Windows 10 will now search for devices and it will automatically detect your Smart TV. When you spot your TV in available devices list, click on its entry to add it to your PC.
5. In few moments, Windows 10 will install the device so that it can be used any time for casting.
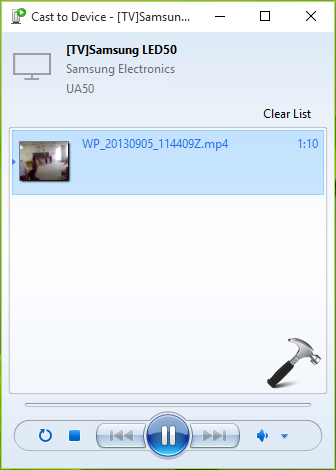
6. Now to play any content from your Windows 10, go to its file location. If the content type is picture, video or music, right click over it and choose Cast to Device > Your Samsung Smart TV.

7. Finally, Windows and TV both will prepare for casting and when both are ready, content can be played using play button, from Windows 10 to your Samsung Smart TV.
That’s it!


Hi, really it works parallels what is presented in the article, but cast to device function does not work in movies and TV app. Please respond to ***********@gmail.com. Thanks, Sorin.
clearly you know something that is not in the directions, because I have tried this a million times and it does not work. Oh and I am a software engineer so not entirely clueless on this…
this works well with videos, photos or music but I can’t project the computer itself and watch live football matches for example on the tv screen. the thing that i used to do but now no more. maybe because i updated windows 10 or something else.
^^ For that purpose, you can use HDMI cable and connect the TV with your Windows 10 machine 😊
[How To] Connect Windows 10 To Samsung Smart TV Wirelessly.
And you recommend using a HDMI cable.
You are a genius mate.
Microsoft Wireless Display Adapter – windows specific “wireless HDMI”
Any tips to cast my display via WI-Fi to my Samsung LED UA37D5000PR
I don’t want to use the HDMI cable. WIndows version 10
^^ Have you tried above mentioned steps?
My Samsung Smart TV is only 4 and a half years old and I’m fed up with trying the process above. It may work on a brand new Samsung Smart TV but Samsung isn’t recognizing the Windows 10 cast app. This is so disappointing. At least I can cast from my Samsung phone to the TV. Unfortunately it looks like Samsung isn’t keeping up with technology. No more Samsung products for me.
hello kapil. today i found your blog and tips about how connecting win10 to Smart TVs. i bought Samsung UHD 55MU8000 with tizen os. I became hate that because it just work with samsung devices. even smart view application for windows not worked! i asked for help from support center, they say some funny answers about your firewall and … (there is hundred of users in US and EU or In Middle East (Model: 55mu8990) with this problem but i wonder why samsung not officially help to solve that)
I searched for it the whole internet. using any tricks about using some third party apps or even turn off firewall completely and etc.
after one week i couldn’t found any way! can you help ?
i note that: I used dxdiag command for knowing if my PC can support miracast and its not supported. but in some forums i read about that, there is no need for that and just using 5gh channel in wireless modem is enough.
but my problem is that i have to connect it back everyday ,i didn’t had this problem with window 7,what wrong with window 10,i wouldn’t buy that piece of **** again
Hi Kapil, I also have problem with this cast to device. I can cast it with my tv but the problem is the video stop after it finish playing and I want it to play repeatedly. I’ve search it in the internet but still get a right solution for this. hoping you can help me. thanks.
^^ Make sure you’ve strong web connectivity on both the connecting devices.
Both of my devices are connected to my wifi, but I want to use my key board on my computer to connect to my Samsung smart tv, and I cannot find the information to do that, and the information I did find, would not let me connect my keyboard to my Samsung tv.
I am so disappointed.
So I used to be able to connect to my Samsung smart TV with my windows 10 laptop. For what ever reason my computer is not recognizing the TV any longer. I’ve made sure the tb is up to date and I didn’t see any settings that would cause the TV to be undiscoverable. Any ideas?
^^ Perform Network Reset on Windows 10: https://www.kapilarya.com/how-to-reset-network-settings-to-default-in-windows-10, see if that helps!
Hi I’m trying to do the connection and my computer makes the connecting sound but then 10 seconds later it gives the sound again and disconnects and I get a message on the TV to say so.
Many thanks
John