
If you are on Windows 10 and want to upgrade your system to Windows 11, this guide is for you. There are several ways you can use to upgrade your system to Windows 11. Usually, you will be offered Windows 11 update using the Windows Update feature, in case if your system is eligible for Windows 11. You can also follow this guide shared earlier to see the step-by-step process. If your system is eligible for Windows 11, but still if you are not offered Windows 11 update automatically, you can manually upgrade Windows 10 to Windows 11 using ISO file. In this guide, we will see the step-by-step process for this.
For this upgrade, you will only need the Windows 11 ISO file which you can download free of cost from Microsoft’s official website. You can also follow linked article to download this ISO file. Once you’ve the ISO file, you can start upgrading with below process. With this upgrade, there is an option to keep your data. So if you use that option, no data will be lost. If you like, you can also upgrade by removing your data. Make sure your system has enough battery, or let it be connected to power source during upgrade.
Page Contents
How to upgrade Windows 10 to Windows 11 using ISO file
Manual steps
1. Before starting the upgrade, you can you check your existing Windows 10 version by running winver command.

2. Locate the Windows 11 ISO file on your system and right click on it and select Mount in the context menu.

3. After mounting the ISO file to the DVD drive, double click on setup.exe file.

4. In the User Account Control confirmation prompt, click Yes.

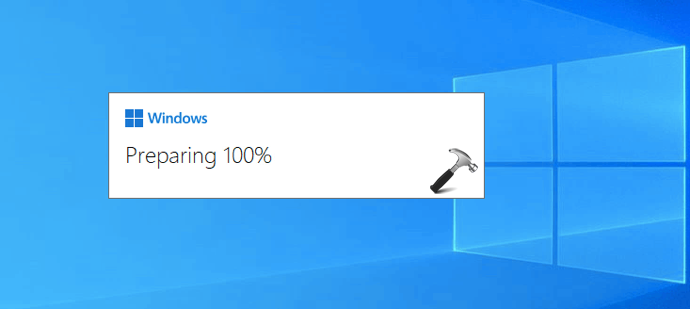
5. After this, Windows will start preparing for the setup.
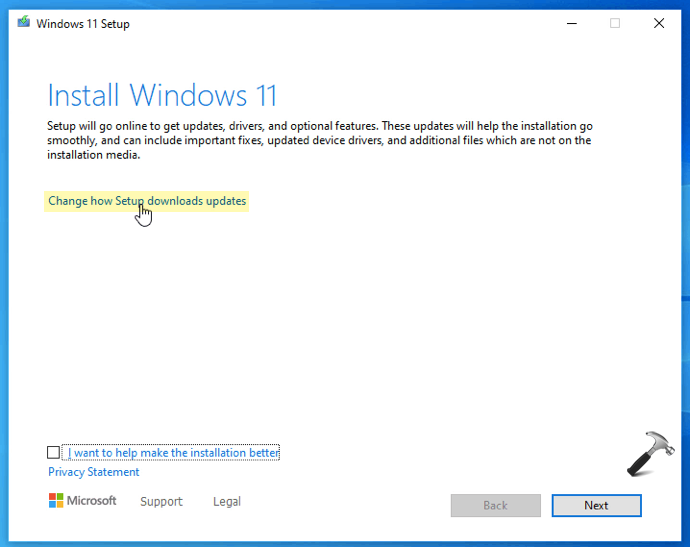
6. Next, in the Windows 11 setup welcome screen, click on Change how set up downloads updates. If you like, you can uncheck I want to help make the installation better.
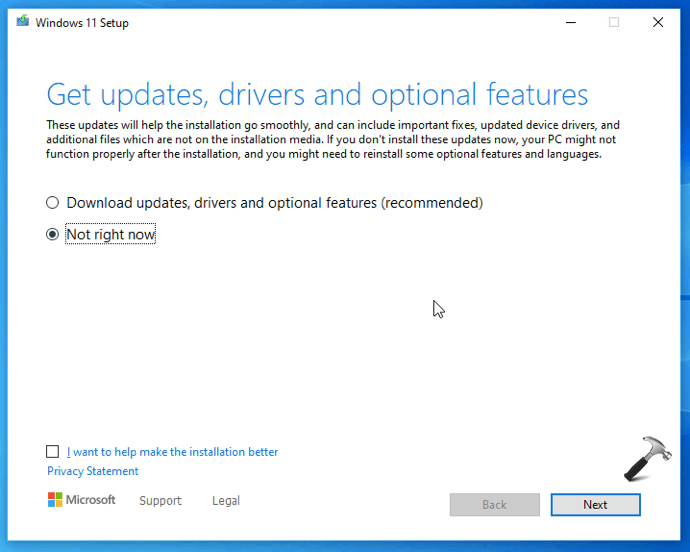
7. Moving on, you can select Not right now, in case if you do not want updates during this upgrade process. If you want updates, select Download updates, drivers and optional features. Click Next after your selection.
8. After this, setup will start checking your system.

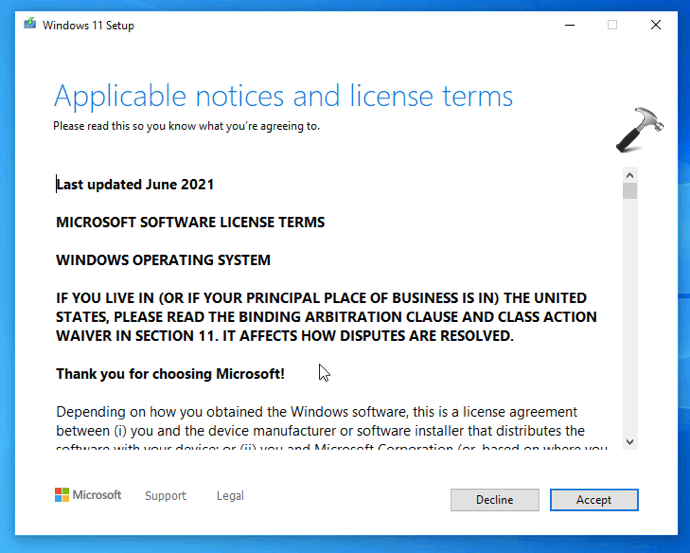
9. If everything is OK at previous step, you should be presented with licensing terms. Click Accept for these licensing terms.
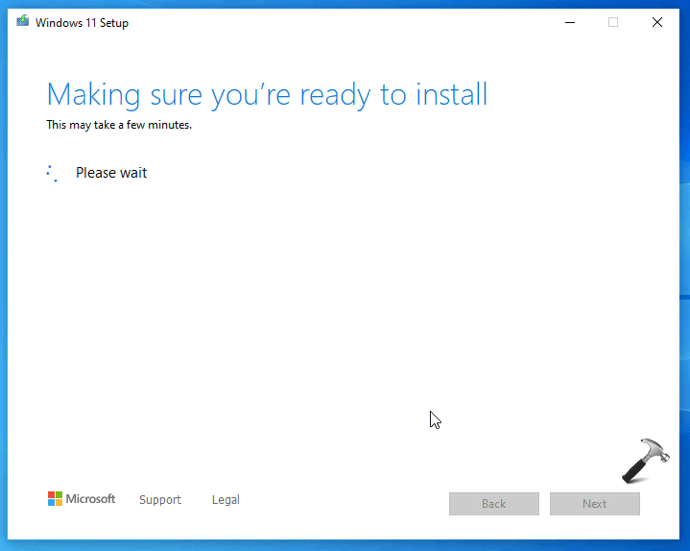
10. Now, the Making sure you’re ready to install screen may take few moments to complete.
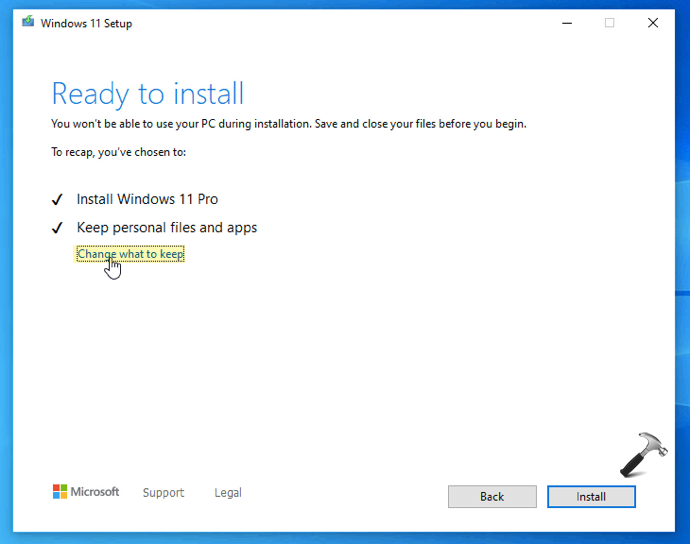
11. At the end, you will be presented with Ready to install screen. Click on Change what to keep link there.
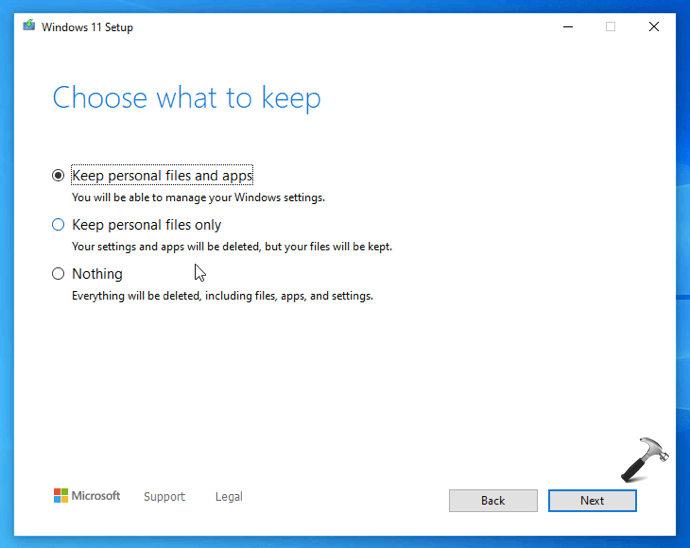
12. On Choose what to keep, you can select whether you want to keep your data such as files and apps. Be careful here and don’t select Nothing, as it will delete everything and no data will be kept after upgrade. Click Next.
13. Finally, click on Install button.

14. This will initiate Installing Windows 11 screen. In the phase, Windows 11 is installed, so make sure you let it complete.
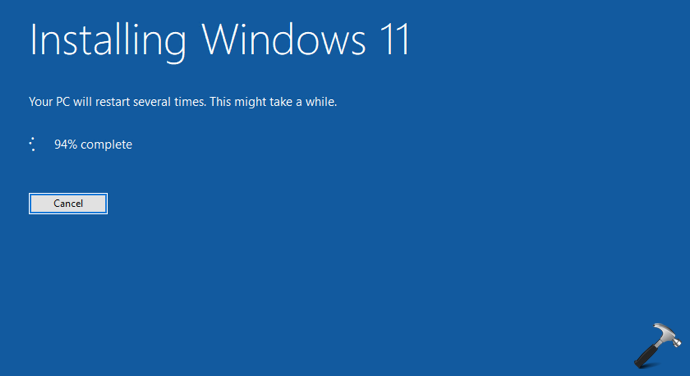
15. Once Installing Windows 11 screen is completed 100%, your system will be restarted.

16. After restarting, Windows will now migrate your data. This screen may take time depending upon the data available on your system.
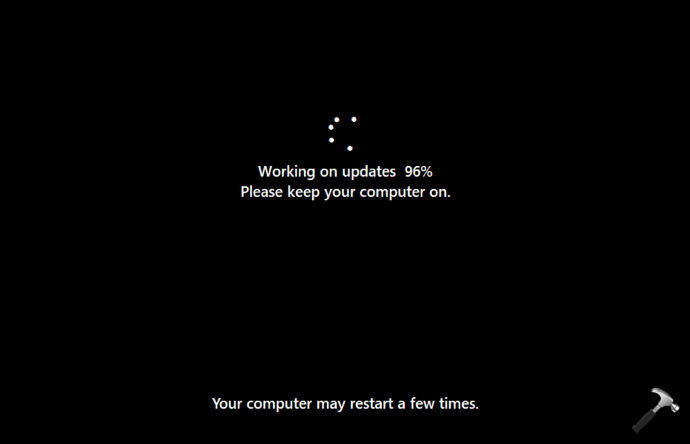
17. Once the Working on updates screen is completed, you’ll be able to log into your account. In case if you have selected to keep Nothing at step 12, at this stage you’ll have to create a new account on the system to continue.

18. After sign-in, you’ll see first time sign-in animation, which may take few moments to complete.
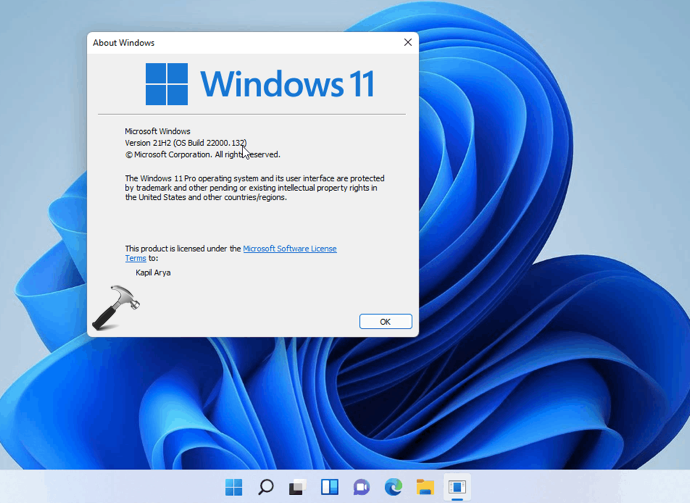
 19. Once you are logged into your account, upgrade process from Windows 10 to Windows 11 is completed. You can now run
 winver command to check your existing Windows 11 version/build information.
Video guide
For live demonstration of above shown process, refer this video guide:
That’s it!


How much space does the Win 11 ISO file need…? How big a flash drive do you need to have if you want to boot the machine from a flash drive, or just put the ISO files on a flash drive to do the install…?
^^ For ISO file, a flash drive with 8GB is sufficient. If you want Windows on USB, at least 64GB I would recommend.
I have an 11 year old Lenovo with windows 8.1 pro with media center a pentium CPU at 3.00 GHz, 8 GB of RAM with a 64 bit OS x 64 based processor. Can I upgrade directly to Windows 11 or do I need to upgrade to windows 10 before going to 11? Will my media center be upgraded as well?