Last month, Microsoft announced Windows 11 is the next Windows operating system. The basic system requirements for Windows 11 or somehow different from previous Windows OSes. As of this writing, some of the older processors are not compatible with Windows 11. While there are other systems which are not compatible due to absence of required hardware. Well, if you ever need to create Windows 11 Virtual Machine using Hyper-V, this guide is for you.
As Windows 11 is still not released and only available to Windows Insiders atm, you can create Windows 11 Virtual Machine on your existing stable operating system and test Windows 11 and provide feedback to Microsoft. Follow the below mentioned steps to create windows 11 Virtual Machine.
Your Windows 11 Virtual Machine should fulfil these requirements, otherwise you may not be able to run Windows 11:
- Processor: 1 GHz or faster with 2 or more cores on a compatible 64-bit processor or System on a Chip (SoC)
- RAM: 4 GB or above
- Storage: More than 64 GB
- System firmware: UEFI, Secure Boot capable
- TPM: Trusted Platform Module (TPM) version 2.0
- Graphics card: Compatible with DirectX 12 or later with WDDM 2.0 driver
- Display: High definition 720p display that is greater than 9” diagonally, 8 bits per color channel
Now let us see the step-by-step part:
How to create Windows 11 Virtual Machine using Hyper-V
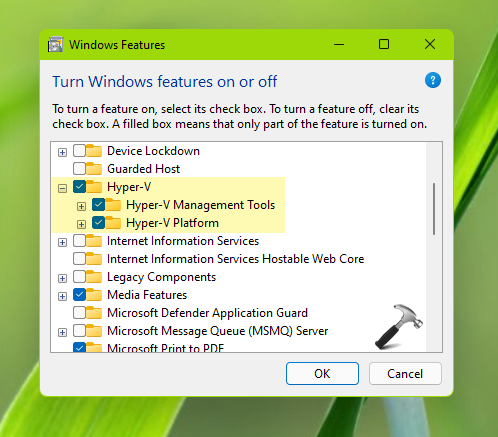
1. First of all, make sure you have Hyper-V enabled in your existing host Windows system. You can follow this guide to enable Hyper-V.
2. Open Hyper-V Manager using search or Cortana and click Action > New > Virtual Machine.

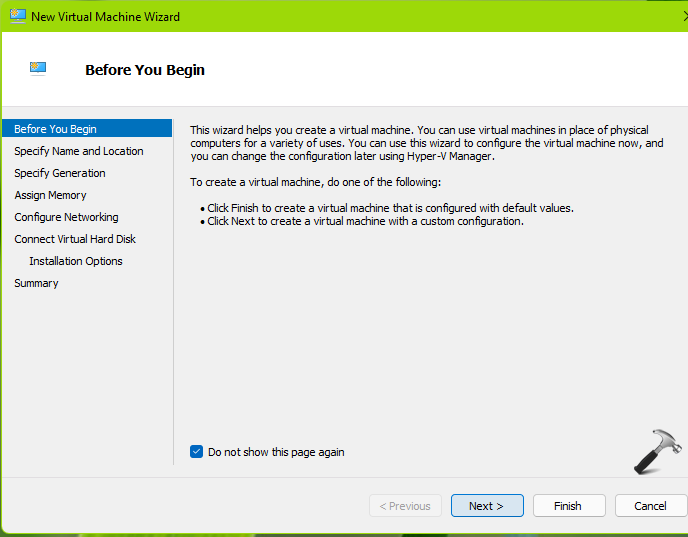
3. In the New Virtual Machine Wizard, on the before you begin section click on Next button.
4. Then specify name and location for your virtual machine. If you want to install this virtual machine to a different drive, check stop machine in a different location and then browse to location of other drive. Hit Next.

5. Moving on, now we have to specify a generation for this virtual machine. For Windows 11, you should select Generation 2 here.

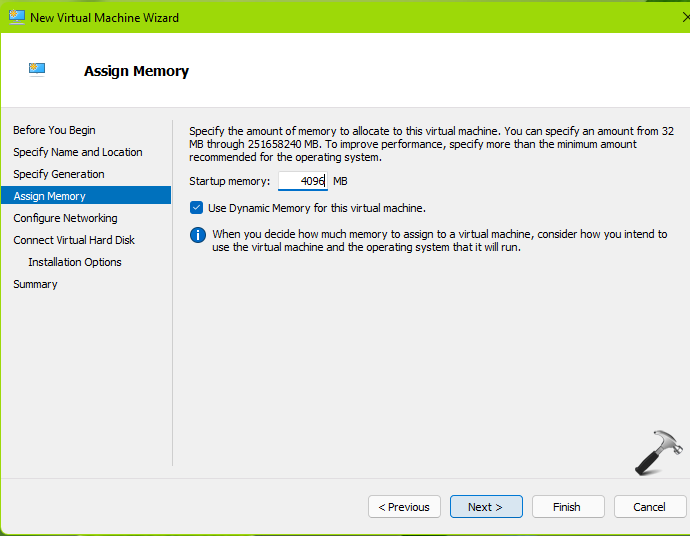
6. After that, we need to assign memory to the virtual machine. The minimum memory you can input here is 4096 MB. Want to use dynamic memory here? Check Use Dynamic Memory for this virtual machine option. Click Next.
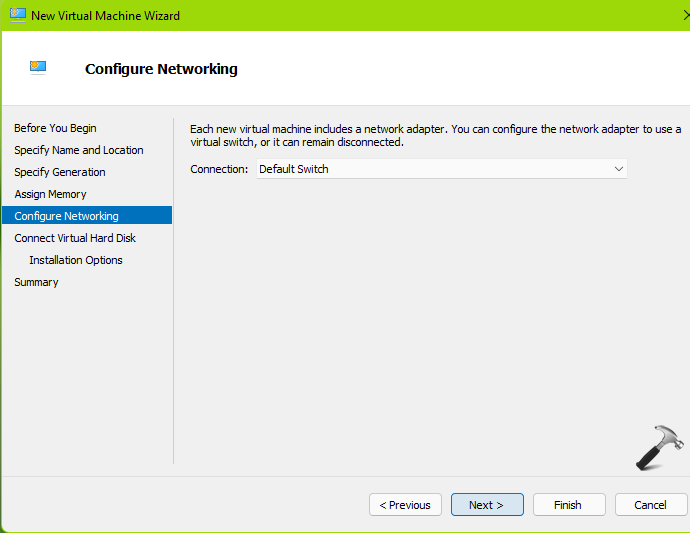
7. Now configure the network connection, and select Default Switch and go ahead with Next button.
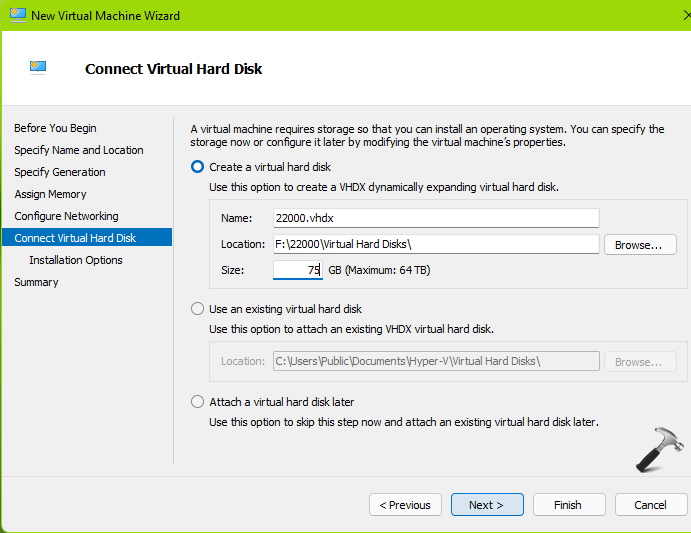
8. In the Connect Virtual Hard Disk, select Create a virtual hard disk option then specify only size of the disk as other information already supplied in previous steps. Make sure the disk size is above 64GB for Windows 11. Click Next.
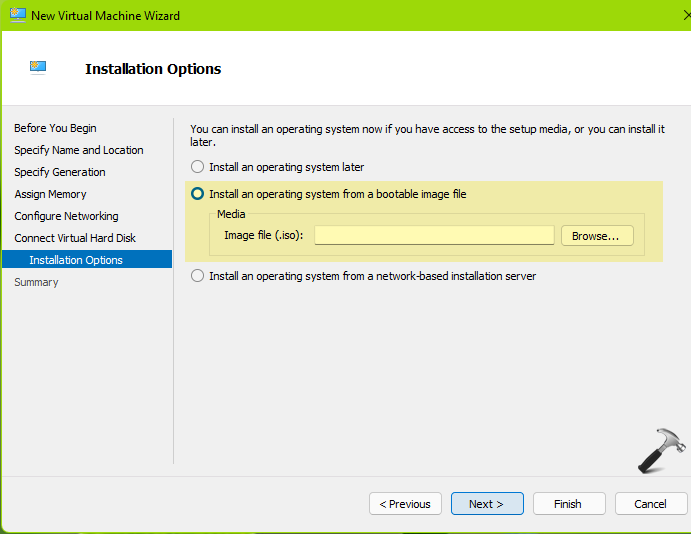
9. Under Installation options, select Install an operating system from a bootable image file option here. Then browse to and locate Windows 11 ISO file.
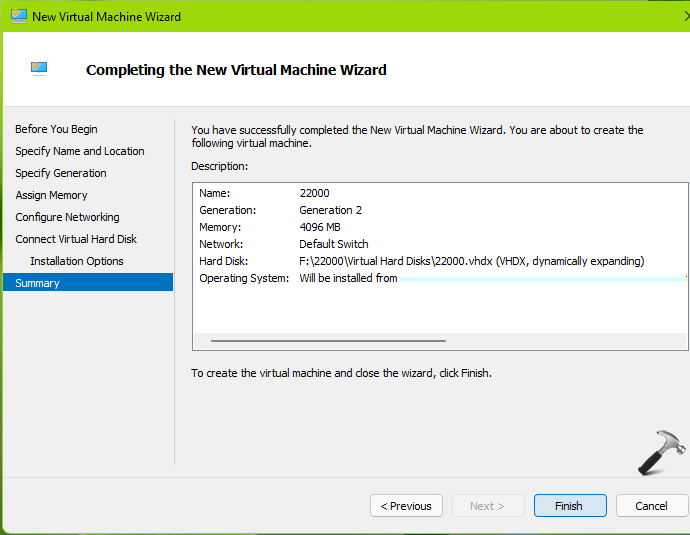
10. On Completing the New Virtual Machine wizard, click Finish.
11. Then in the Hyper-V Manager window, right click on your newly created virtual machine and under Security, make sure Enable Trusted Platform Module option is checked. Click Apply.
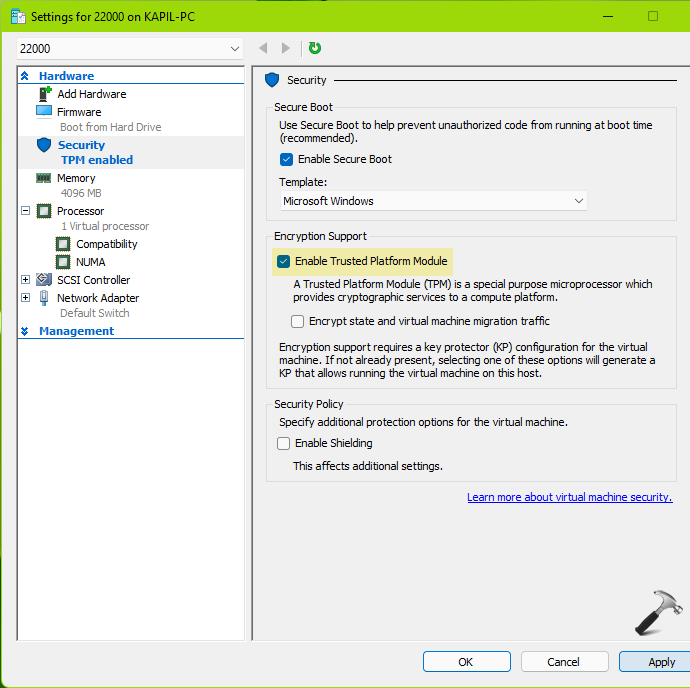
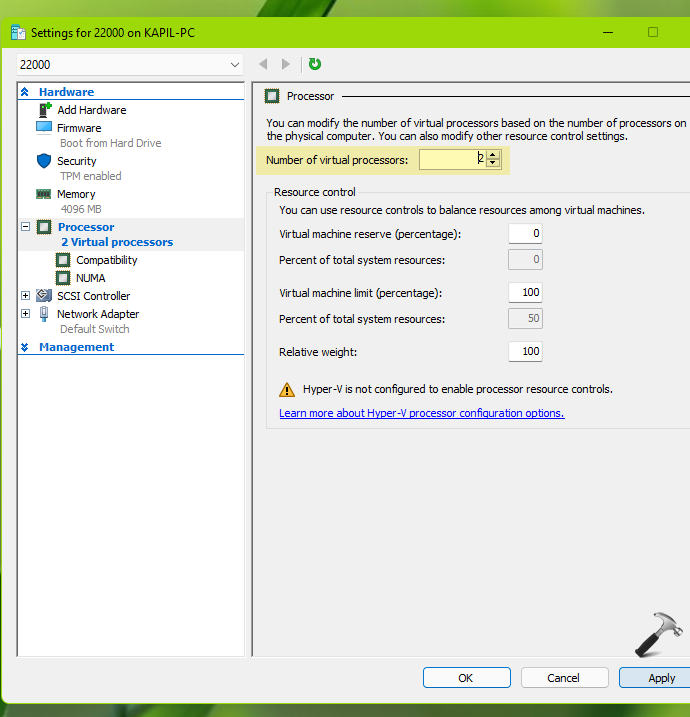
12. Now go to Processor section, name increase the Number of virtual processors from 1 to 2 or above.
Your virtual machine for Windows 11 is now ready. You can now start it and boot from Windows 11 media to complete installation of Windows 11 OS.
Checkout this video to illustrate above steps:
That’s it!