Precision touchpads were built-in to overcome the limitations found in traditional ones. Precision Touchpads are very useful to implement smart gestures like three-finger swipe-up to open Task View Interface, pinch-in and out for zoom-in and out, and two-finger swipe-up and down to scroll. They help to reduce the time of performing any task and provide better short-cuts. Here’s how to enable or disable Touchpad In Windows 11.
If you want to enable or disable your Windows 11 built-in precision touchpad, here is an easy way to do it. We can enable or disable the precision touchpad by the following 4 easy steps. Even if your laptop does not have a built-in Precision touchpad, you can follow the 4 easy steps from the second method to enable almost every useful smart gesture.
Page Contents
Enable or Disable Built-in Precision Touchpad in Windows 11
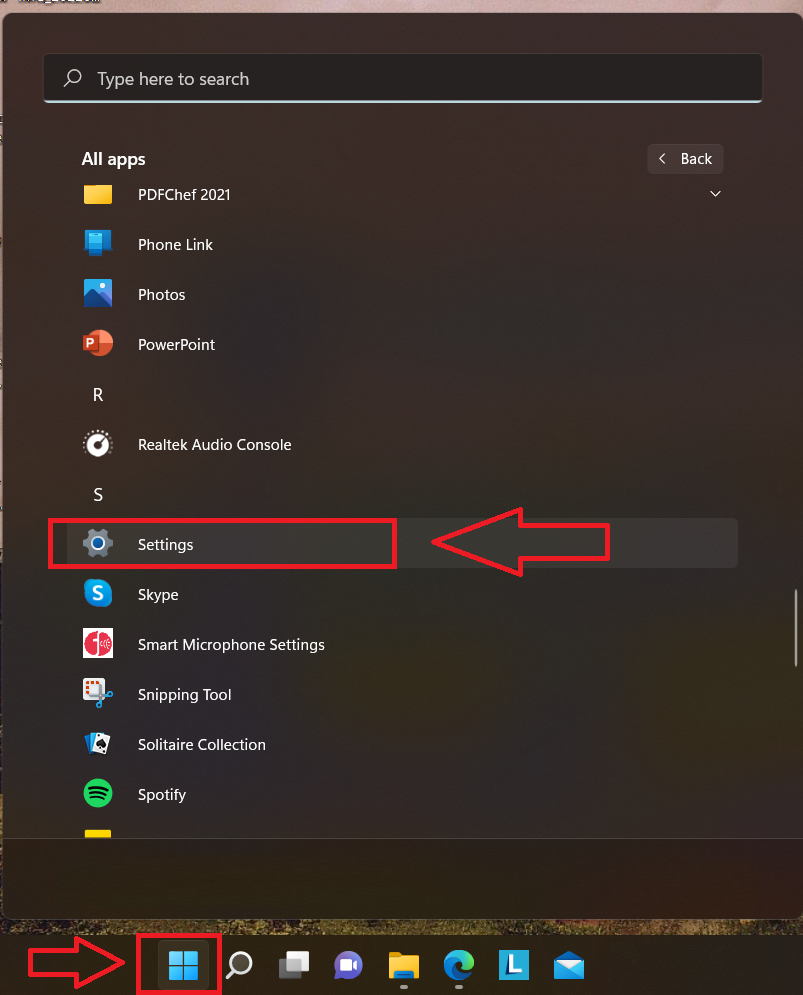
1. Click on the Windows Icon or Start button and search Settings by writing it on the search bar.
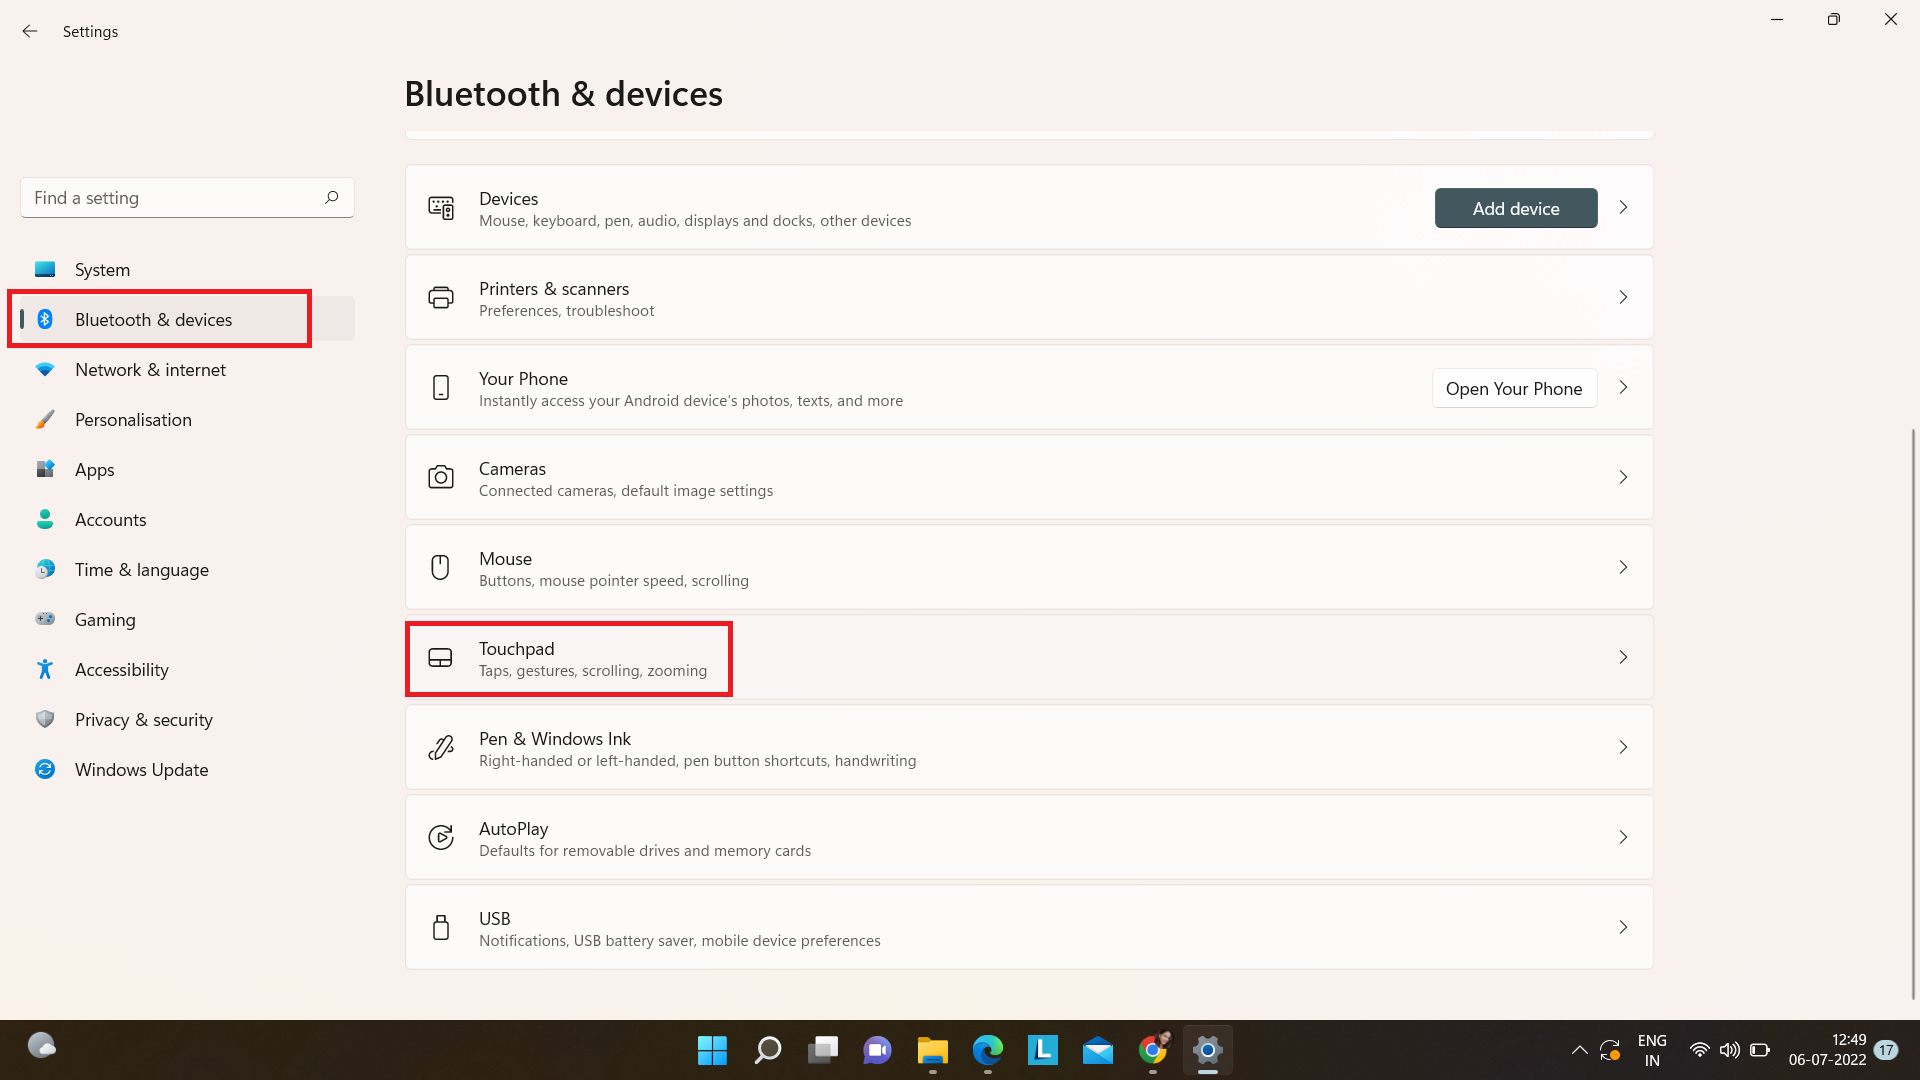
2. Click on Bluetooth & Devices from the left menu bar, and thereafter on Touchpad.
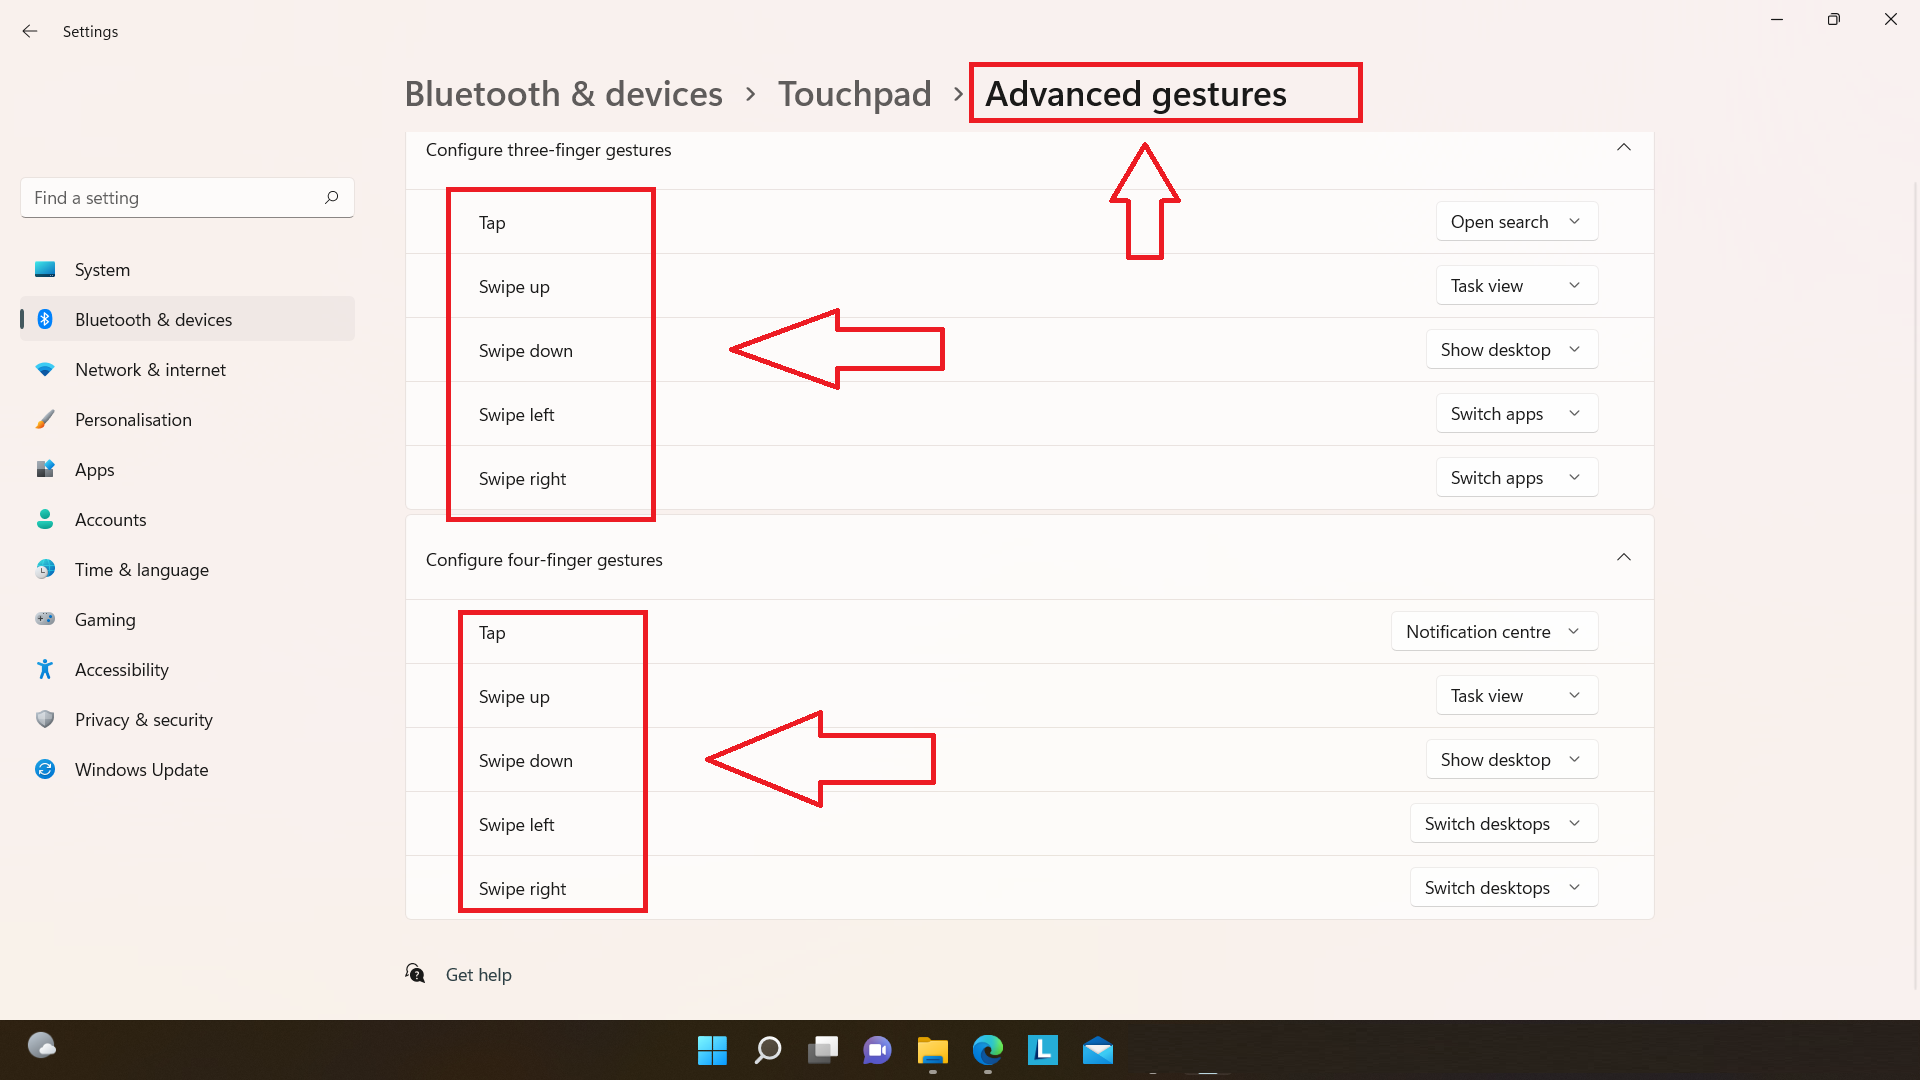
3. After clicking on Touchpad, it’ll wide open a menu on the left side. Then you can simply turn it on and off by clicking on the toggle button from the right side. You can also change some other settings from there.

4. You can simply close the Settings after changing as per your requirement.
If you don’t have precision touchpad
If you don’t have a built-in Precision touchpad, you can follow the given steps to get one. Though they won’t give as many advantages as the built-in one does like a customization feature to define every gesture’s functioning. So now, you will have to use some manufacturer’s provided tool like the synaptic control panel.
1. Click on the Control panel from Settings.
2. After that, click on Hardware and sound.
3. Thereafter, click on Mouse and then on Click pad settings.
4. Then you will see all the available gestures and options, you can select whatever you want from there.